How To Clean a Keyboard: Tech Pros Share Genius Tips Including a DIY Putty That Works Wonders On Crumbs
Plus, emergency instructions for a coffee spill — how to dodge the damage
Whether you use it to type up work documents, pay the bills, search the web or online shop, your computer keyboard is one of the most-used tech items in your home. This regular use not only makes a keyboard a breeding ground for germs and bacteria (University of Arizona researchers found that the average desktop has 400 times more bacteria than the average toilet seat) but also a catchall for crumbs, sticky residue, debris and dirt, which can hinder its performance and longevity, explains technology blogger Molly Thornberg of DigitalMomBlog.com. What helps: “Regular maintenance and deep cleanings will prolong the lifespan of your keyboard, while also keeping a hygienic work environment,” she says. Here, you’ll find the easy, expert-backed steps for how to clean a keyboard so it continues to work smoothly (without making you sick) for years to come.
How often should you clean a keyboard?
If you spend a lot of time at your desk and often eat near your keyboard, Michael Reynolds of CodeWithMike.com recommends sticking to a once-weekly cleaning routine that involves dusting and wiping it down. It takes just a few minutes to do and keeps dirt and debris from collecting in the keyboard and causing keys to get stuck or make an unwanted noises when pressed. The simple method to clean a keyboard:
Step 1: Disconnect and power off your keyboard.
Step 2: Turn the keyboard upside-down and give it a few taps over a trash can to remove debris collected inside.
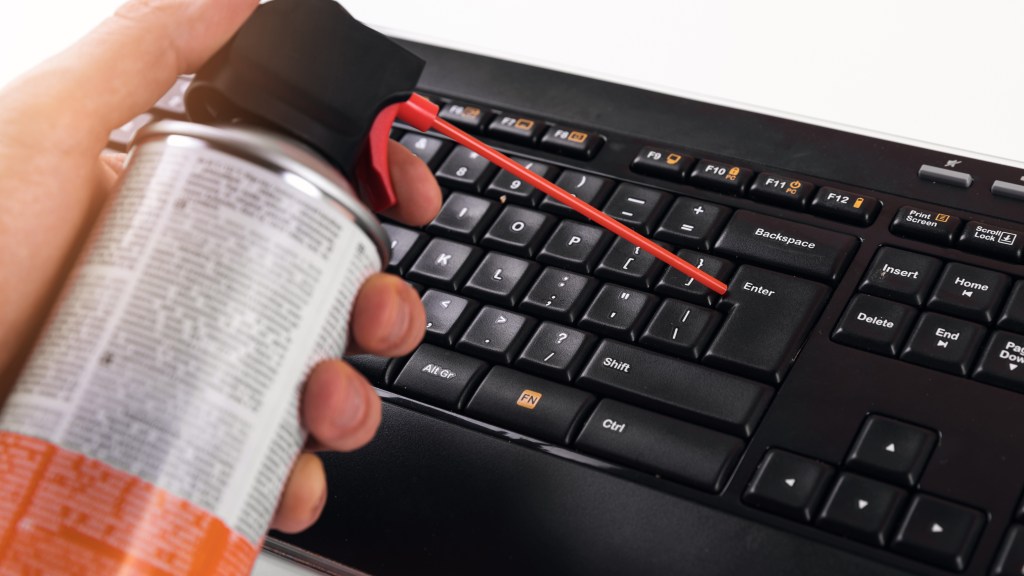
Step 3: Use a can of compressed air (Buy on Amazon, $8.50) or an electronic air compressor (Buy on Amazon, $21.99) to blow out any dust stuck between the keys.
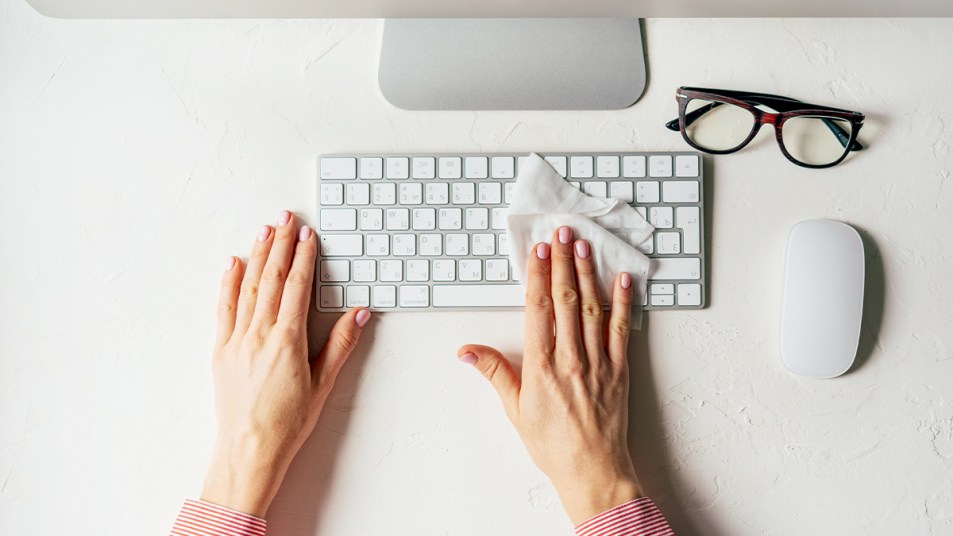
Step 4: Wipe down the keyboard with a slightly-damp microfiber cloth (Buy on Amazon, $5.99). “Its fabric will collect and remove any remaining dust particles,” notes Reynolds.
Step 5: Let the keyboard dry completely before plugging it back in and turning on the power.
Why you need to deep clean your keyboard
“Over time, even with weekly cleaning, gunk can collect in the bottom of the keyboard and cause it to overheat and even stop working,” cautions Haley Gray, electronics warranty expert for Upsie.com. So giving your keyboard a deeper clean every few weeks can help nix the buildup before it has the chance to cause problems. Plus, it allows you to deeply clean keys that may have become riddled with oil or sticky residue from fingers that a damp cloth can’t remove. About once a month, Reynolds gives his keyboard a deeper cleanse by removing and soaking the keycaps and vacuuming the keyboard plate.
How to deep clean your keyboard
Step 1: Disconnect and power off your keyboard.
Step 2: Use a keycap puller (Buy from Amazon, $7.45) to remove key caps from the keyboard.
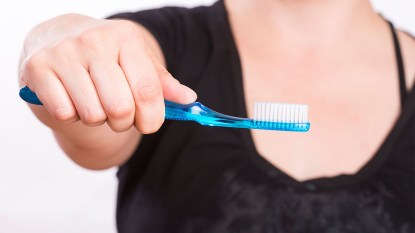
Step 3: Soak key caps in a bowl filled with warm, soapy water for 10 minutes. Use a clean toothbrush to give each cap a scrub before laying them on a towel to dry.
Step 4: Use a handheld vacuum to lift any debris from the key-less keyboard.
Step 5: Pop fully-dried keys back into place, then plug keyboard in and power on.
Check out the below video from Glorious’ YouTube channel to see how easy it is to remove keys with a keycap puller.
How to clean crumbs off a keyboard
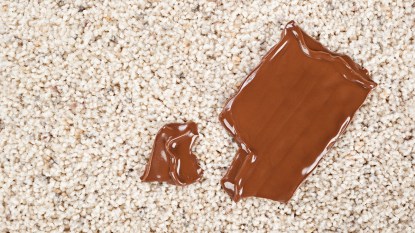
The easiest way to thwart food residue from accumulating in your device? Avoid snacking or eating meals at your desk. Not possible? Simply whip up a DIY cleaning putty that’s great for lifting crumbs, debris and even dust off your keyboard. To do: Mix 1 cup of warm water with 1⁄4 cup of borax until it dissolves. In another bowl, mix 1⁄2 cup of warm water and 5 oz. of white school glue. Next, combine the two bowls and stir until it turns into a ball (about 5 minutes). Store in a Ziploc bag and press the “slime ball” onto the keyboard after eating to get rid of gunk and crumbs fast.
Spilled liquid on your keyboard? This step-by-step helps
Uh oh! Spill water on your keyboard? We’ve all been there.
Simply unplug the keyboard or remove any batteries inside, turn it upside-down to allow liquid to drain out.
Next, use a keycap puller to pull the keys off; set them on a towel to dry.
Blast the keyless keyboard with a hairdryer set to low for a few minutes to dry it out. If you spilled coffee, soda, milk or any beverages other than water on the keyboard, dip a cloth in rubbing alcohol and wipe down the keyboard to make sure no sticky residue remains; let dry fully before plugging the keyboard back in, replacing the batteries or turning it on.
This video shows the east step-by-step:
How to sanitize a keyboard
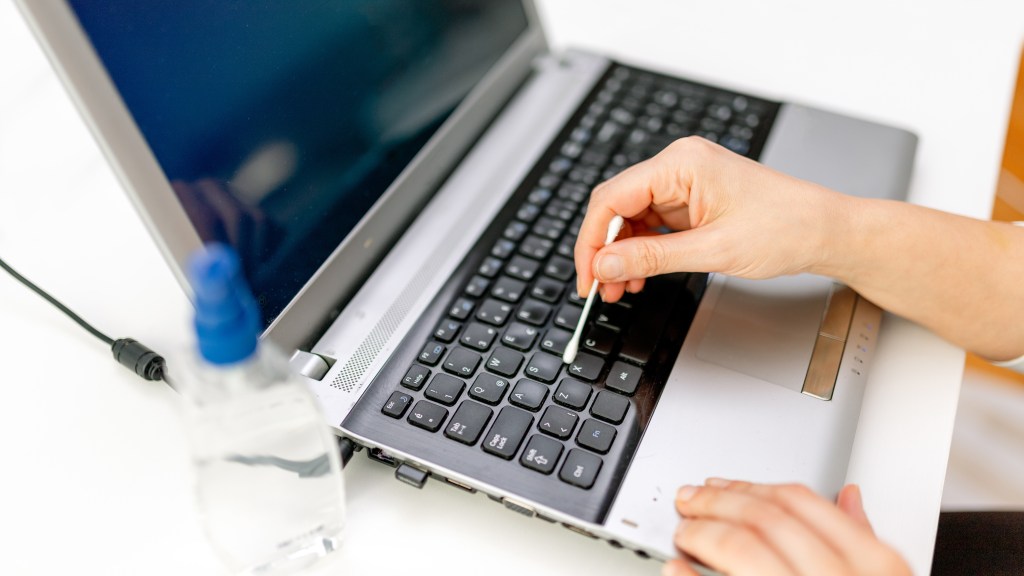
An International Journal of Environmental Research and Public Health study found that 96% of keyboards harbor bacteria. Luckily, the solution is likely in your medicine cabinet: Rubbing alcohol. “Power down and unplug your keyboard, then use a cotton swab dipped in rubbing alcohol to clean off each key,” says Thornberg. “Next, use a cloth slightly dampened with rubbing alcohol to clean off any grime surrounding areas of the keyboard surface.” The alcohol kills more than 99% of germs on contact.
Looking to sanitize your keyboard in the office or on the go? “Grab a bottle of hand sanitizer, dab a small amount of it on a cloth and gently wipe the keyboard,” suggests cleaning expert Kathy Turley of CleanHomeHeroes.com. The sanitizer’s alcohol nixes germs and bacteria, and it evaporates quickly, preventing damage to the delicate electronics.
What *not* to use to clean a keyboard
All experts agree, using too much moisture to clean your keyboard is a death sentence for the device. Avoid spraying or applying any liquids directly onto the keyboard or submerging the keyboard in water, these can cause it to short or damage the electronics inside. Also smart: Avoid using any harsh chemical cleaners on the keys, which can remove their printed lettering. Lastly, be sure to use a keycap remover tool to pop off keys without causing unnecessary damage to a keyboard, and don’t try to force keys off of your keyboard that won’t budge.
Looking for more tech tips? Click through these stories:
The Best Way to Clean Your TV Screen So You Can Watch Your Favorite Shows Streak-Free
Are You Working Too Hard? Check Out Our Cleaning Checklist To See What To Let Slide
These Genius Tricks Will Make Your Smartphone Louder — No Speakers Needed