Home Pro’s #1 DIY Trick Makes It So Easy to Remove Wallpaper
All it takes is 3 easy steps!
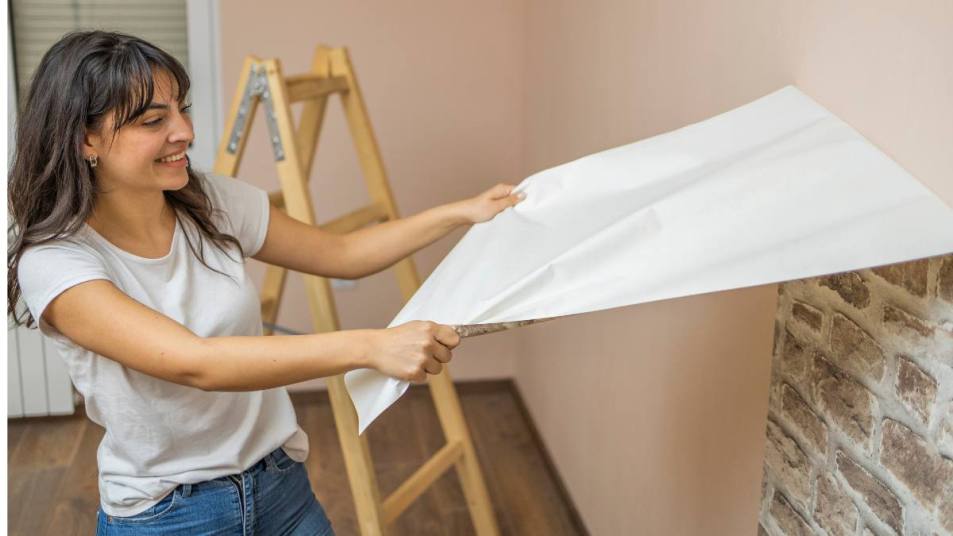
Whether you just moved into a new house or are ready to upgrade the one you’ve lived in for years, if one thing on your list of must-dos is to take down dated wallpaper, you may be thinking you need to call in a wallpaper-removal pro. But before you pick up that phone, we talked to an expert who assures that you can do it yourself. And while there are quite a few popular DIY techniques, we dug deep to weed out the unnecessary frill and get right to the most efficient way to get the job done. Plus, these tricks ensure your walls won’t get ruined. Keep scrolling to learn how to remove wallpaper in a few simple steps, using tools you likely already have at home.
How to remove wallpaper step 1: Prep your space
As with any potentially messy DIY, you’ll want to take some precautionary steps to avoid causing more harm than good to your area. That means laying tarps or garbage bags on the floor (and taping them to secure them in place) and taping off any electrical outlets so that liquid removal solution (if you’re working with any) doesn’t drip into them. It’s also a good idea to have a large garbage can nearby to discard paper as you go, so you can avoid a heavy duty clean-up.
How to remove wallpaper step 2: Assess your wallpaper type
Your approach to wallpaper removal will depend on the type of wallpaper you’re trying to take down. “If it’s peel and stick, all you have to do is quite literally peel it off,” says TaskRabbit Tasker Vanessa Garcia, who assists clients with everything from home renovation DIYs to interior design. Other papers that are secured with glue or adhesive will require loosening of the bond between the paper and the wall, using your method of choice (more on those below). Once the glue or adhesive is broken down, “really any and all wallpaper has to just be pulled off the wall,” Garcia says.
Related: Easy Stick-on Wallpaper Ideas: Design Pros Reveal Tips for Instantly Impressive Results
How to remove wallpaper step 3: Pick a removal method
Below are some common wallpaper removal methods to choose from, all using tools and items you likely already have around the house.
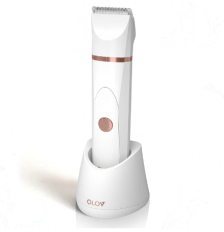
1. With a hair dryer
Most effective wallpaper removal methods will use some form of heat to loosen the adhesive. “My biggest trick is using a hair dryer,” says Garcia. “It will melt the glue and will facilitate removing any wallpaper.” She adds that it also helps prevent wall damage beneath the paper and is less messy, given that it doesn’t require a liquid solution. Simply heat up the paper in sections for 30 seconds at a time, and using a putty knife, gently scrape the paper away from the wall. “Starting from the top to bottom is ideal,” Garcia explains. “Not sideways, as that can get a little tricky when peeling it off the wall.”
2. With a DIY solution
A solution made with hot water can act similarly to a hair dryer by loosening wallpaper adhesive, making it easier to separate the paper from the wall. Some people prefer to first use a wallpaper scorer, which creates tiny holes that allow the solution to penetrate the paper more easily (especially if it’s vinyl or waterproof), but others, like home renovation blogger Alex Wehrley, say that step isn’t necessary. See how she does it below:
After removing as much wallpaper as possible with your hands (if any), in a spray bottle, create a solution of hot water mixed with vinegar or fabric softener, says Garcia, both of which will help dissolve adhesive. Wehrley creates her solution with a ratio of three parts hot water to one part softener. After scoring or not, spray the wallpaper generously with your solution of choice, and allow it to sit for a few minutes to soften the paper. Then, using a scraper or putty knife, remove the paper in strips. “This tool is your best friend when removing old wallpaper,” says Garcia of a putty knife. You can also use sponges soaked in your solution to really saturate stubborn areas, she adds. If the layer of glue beneath the wallpaper doesn’t completely lift with the first round of removal, you may need to apply more solution and repeat this process.
To accelerate the solution’s work time, you can take a page from Instagram’s @karleydecocker. Using dish soap, vinegar and warm water she sprayed her walls and sealed the solution by covering sections of paper with solution-soaked paper towels. This doubled the mixture’s dissolving power and made the wallpaper basically fall off — the scraping results are super satisfying. You can also use newspapers to achieve similar results, she noted.
Related: 13 Brilliant Uses For White Vinegar Guaranteed To Make Your Life Easier
3. With a steamer
Garcia notes that using a wall steamer is a popular way to remove wallpaper. How to use one depends on the model you choose, but put simply, it emits hot steam that works like the above techniques to dissolve adhesive and allow for easy scraping. An important note: If you choose to use a steamer or liquid solution, it is advised to cut the electricity to the room you’re working in — even if you’ve taped off the outlets — as liquids and outlets do not mix.
How to remove wallpaper step 4: Clean the wall surface
After all of the wallpaper is removed, it’s normal for a bit of stickiness to be left behind. This should come off easily with your DIY solution, a degreaser cleaner or an adhesive solvent like GooGone. Just be sure to clean the wall of any residue and patch any holes before moving on with paint or new wallpaper.
Related: Use This Cheap Trick to Remove the Stinky Smells Coming From Your Walls
Can you apply new wallpaper over existing wallpaper?
If you’re hanging new wallpaper, you may be tempted to forgo the wallpaper removal step altogether and slap on another layer, but Garcia firmly urgest against that. “That is a hard no for me,” she says. “You have to prep the wall in order for a new wallpaper to be properly installed, so I highly, highly advise against it.”
Bonus: How one woman earns $5,500 a week by wallpaper stripping

“Six years ago, while I was working as a house cleaner, I often heard about people struggling to remove their wallpaper. It seemed like a job that nobody wanted to do, and it got me thinking, I could do that,” says Jodie Newhouse of Traverse, MI. “All I needed was a sturdy ladder, a sharp blade and some patience. I took on my first client and seemed to have a knack for the work. While most people got flustered and started digging at their walls, making a mess, I found the activity soothing. Even in stressful times, my mind relaxed. After that first job, Rip It & Strip It was born. I printed business cards and dropped them off at local real estate offices. I got busy and never had to advertise again.
“I quickly learned that every house is different, so what I charge depends on the age and condition of the house. Would old plaster crumble? Had the surface been properly prepped when the paper went up? Based on that, I offer estimates on my time. On one big job, I made $5,500 in one week — all that just for stripping wallpaper!
“I still clean houses two weeks a month, but as a single mom, my wallpaper business has allowed me to take vacations, keep my gas tank full and buy a more reliable car. Most important, I was able to move my mom — who tells everyone her daughter is a ‘stripper’! —into my house. I even had a storage unit built for her on my property. I hope she’s proud of her stripper daughter!”
For more DIY removal tips, click through the links below!
How to Remove Super Glue From Any Surface + the Freezer Hack That Works in Minutes
How to Remove Chocolate Stains From Every Surface in Your Home