These Superfood Pumpkin and Quinoa Chocolate Bars Are the Perfect Snack to Grab on the Go
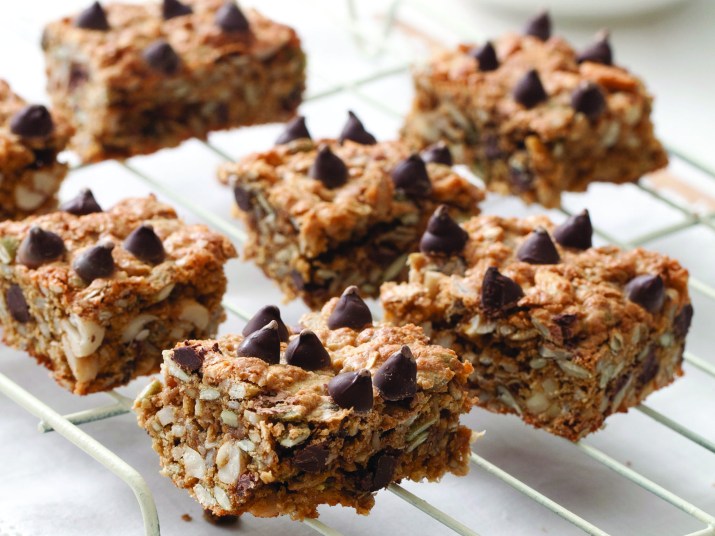
We typically think of savory recipes when it comes to chowing down on quinoa, but the superfood has a sweet side, too! These chocolate snack bars mix in plenty of healthy nuts and pumpkin seeds (also known as pepitas) for a twist on the traditional granola bar. Although whole peanuts look great in these bars, they can make it difficult to cut the bars if they’re too big. Roughly chopping the peanuts is a good idea — or you can also replace them with other nuts, or leave them out altogether. Whichever way you go, these bars are a great snack for every chocolate fan in your family.
Ingredients
- 3/4 cup quinoa flour
- 1 tsp gluten-free baking powder
- 3/4 cup quinoa flakes
- 1 cup brown sugar
- 2/3 cup chocolate chips, dark or milk
- 2/3 cup raw or roasted peanuts, roughly chopped
- 1/2 blanched, slivered almonds
- 2/3 cup pepitas/pumpkin seeds
- 2/3 cup sunflower seeds
- 1/2 cup butter, melted
- 1 tsp vanilla bean paste
- 2 extra large eggs, lightly beaten
- chocolate chips, extra
Instructions
- Preheat the oven to 350 degrees Fahrenheit and lightly grease a baking pan, then line with parchment paper. (Greasing the pan first helps the parchment stay in place.)
- Sift the flour and baking powder into a large bowl, then stir in the quinoa flakes and sugar. Mix well, making sure you break up any lumps in the sugar.
- Add the chocolate chips, peanuts, almonds, pepitas, and sunflower seeds and mix well to combine everything together.
- Pour the melted butter, vanilla, and the eggs over the flour mixture and stir really well until everything is combined and not dry. Evenly distribute the butter and egg throughout the flour mixture.
- Using the back of a spoon, press the mix firmly into the prepared pan. Scatter as many of the extra chocolate chips over the top as you like, and bake for about 20–25 minutes until golden.
- Remove from the oven and leave to cool for about 15 minutes, then cut into whatever size you desire. Leave to cool a little longer, then carefully remove the slice with the paper and place on a cooling rack to cool completely.
More From FIRST
9 Healthy and Delicious Honey Recipes to Keep You Energized All Day
This DIY Superfood Chocolate Cherry Hazelnut Bark is Better Than the Store-Bought Version
Strawberry Mousse Cake With Coconut Cream Is the Dairy-Free Dessert of Your Dreams