Polygel Nails: The Trending Manicure Technique That Makes Nails Look Longer, Stronger and Youthful
Find out if this viral gel-acrylic hybrid manicure is right for you
Going to get our nails done at a salon is study-proven to boost our mood and the gorgeous results of a fresh manicure make us look and feel put-together. While we’ve heard about acrylic nails and gel nails, there’s a new manicure style called polygel nails, which is a fusion of the two aforementioned techniques, and they’re getting a lot of buzz on social media. In fact, videos about polygel nails on TikTok have racked up over 2 billion views. Best of all, this nail enhancement is great for women over 50 as nails become weak and brittle with age, and polygel nails are damage-free and make nails look and feel stronger.
Before you decide if polygel nails are right for you or head to your local salon to have them done, keep scrolling for all you need to know about this type of manicure straight from celebrity manicurists.
What are polygel nails?
Polygel nails, which are also referred to as acrygel, are a hybrid between gel and acrylic manicures, says celebrity nail artist Elle Gerstein. They are made from a combination of acrylic and gel monomers. This gives the manicure the strength of acrylic nails with the shine and flexibility of gel nails. The gel formula that’s used to create polygel nails comes in either a squeezable tube, like toothpaste, or a pot. “It has a thick consistency,” says celebrity manicurist and nail educator Julie Kandalec. “Yet when padded out with a ‘slip’ liquid — like alcohol — it becomes very smooth and needs very little filing.”
The gel also comes in a variety of colors and finishes so you can go for a bold or subtle nail look. Additionally, polygel is malleable, which allows you to do longer nail shapes and more natural nail shapes, notes Gerstein.
How polygel nails are done

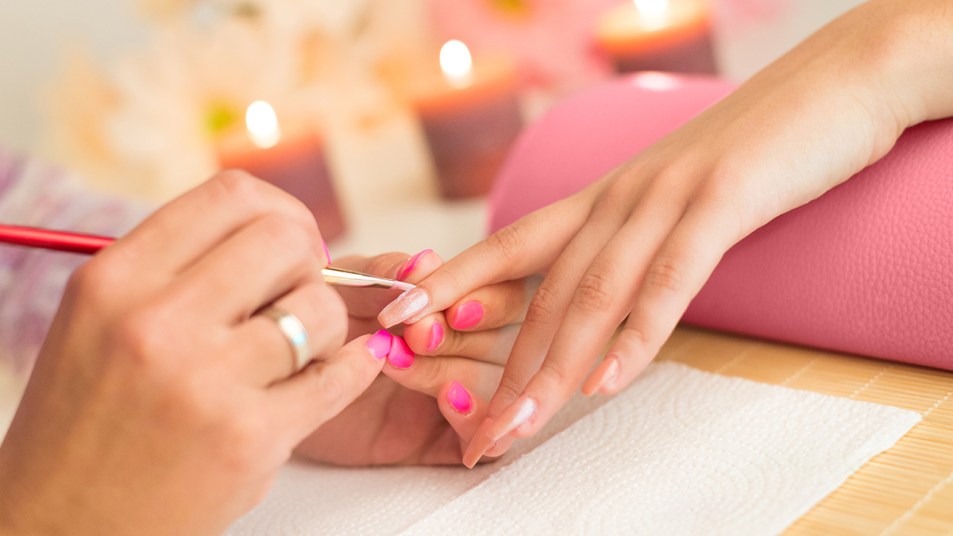
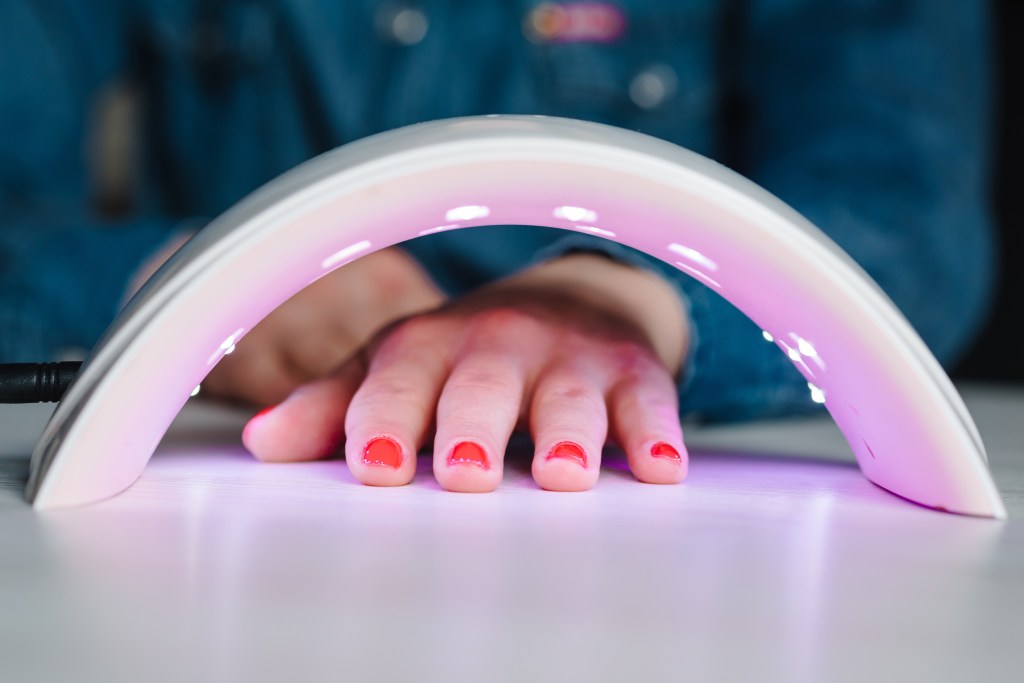
While there are many at-home kits on the market to DIY polygel nails at home, Gerstein advises only getting the service done in a salon since the gel is best handled by professionals. During an in-salon polygel manicure, the prep steps are the same as a regular manicure. The nail technician will file nails into your desired shape, push back and/or trim the cuticles, buff nail plates and wipe the surface of nails clean to remove any lint, oil or other impurities. Then, they apply a base coat — for polygel nails, a gel based coat is used and cured under an LED light.
After these steps, it’s time for the polygel and there are two common application methods. The first is applying polygel directly onto nails, then brushing the gel to create the shape and length you prefer before curing nails under the light. And the second method involves applying a small amount of polygel into plastic, flexible nail tips that are called dual forms, which is then spread to create the length and shape you desire. Next, the tip is pressed down onto the natural nail and cured under the light; the plastic tip is removed after the curing process. Each method is then followed by filing (if needed) and swiping on a layer of gel top coat. Bonus: Nail art can also be added to polygel nails before the top coat is applied. (Click through to see the best nail designs of 2023.)
To see how polygel nails are created using dual forms, check out the video below from the CutePolish YouTube channel.
The 5 benefits of polygel nails
1. They’re strong and durable
Polygel nails are stronger than gel nails and more flexible than acrylic nails, which makes them less likely to chip or break. “If someone is hard on their hands, it bounces back more easily instead of cracking,” says Kandalec.
2. They’re lightweight and comfortable
The gel that’s applied to nails goes on thin and won’t feel bulky. If you a prefer a thicker application, additional layers can be added on top of the initial layer.
3. They’re easy to apply and remove
Polygel nails are best applied at a salon and the application process is simple since the gel is premixed. And the removal process can be done in-salon or at home (more on this below).
4. They’re odorless and non-toxic
Unlike acrylic nails, which are notorious for their odor, polygel nails are generally odorless, which makes them a great option for those who are sensitive to strong chemical aromas. The gel that’s used is also free of any harmful chemicals.
5. They’re versatile
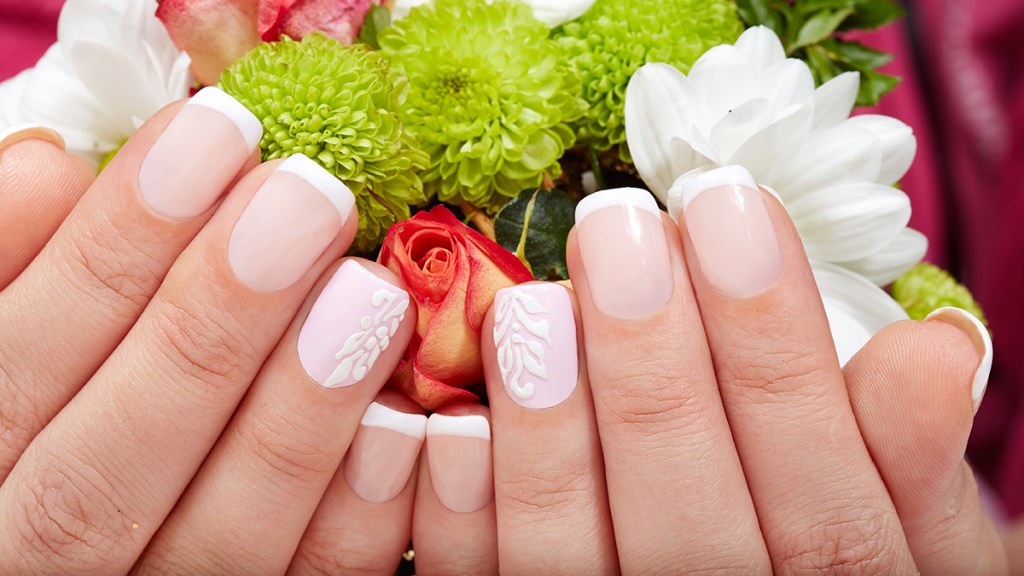
As mentioned previously, the color options for polygel nails are endless. And the gel can create a short, natural manicure or a long, glamorous one.
How polygel nails differ from acrylic nails
The biggest difference between these two manicure types is how they are made and applied. Polygel contains both gel and acrylic monomers, whereas acrylic is the combination of a polymer powder and a liquid monomer, explains Kandalec. This formula difference makes polygel more similar to gel nails in that they need to be cured with a LED light to be set. But “acrylic, when mixed in the proper ratio, cures on its own to a hard substance that can then be filed and polished,” says Kandalec.
Other drawbacks about acrylics, according to Kandalec, is that they’re high-odor, harder to file (meaning they take longer to file to create your desired shape and length), and they can cause damage and allergies depending on the acrylic that’s used.
How long do polygel nails last?
Polygel nails last until they’re soaked or filed off, but they do need maintenance or touchups every 3-4 weeks. This helps the manicure maintain the proper balance on the nail and prevent breaking, notes Kandalec. Your nail technician will advise you on when a new set of polygel nails are necessary. Tip: Opting for a light nude or pink shade will mask nail growth, helping the manicure last even longer.
How much do polygel nails cost?
The cost of a polygel manicure varies depending on a few factors: the location of the salon, the experience of the nail technician and the complexity of a design when adding nail art to nails. That said, most salons charge between $55-$150 for a full set of polygel nails. And fill-ins typically cost between $35 and $80.
Will polygel nails damage my real nails?
There’s no need to worry about polygel nails harming natural nails. The only way nails can become damaged from this nail enhancement is if they are not applied or removed properly. “Going to a reputable, licensed professional nail artist should not damage your nails, says Kandalec. She also notes that the process for getting polygel nails “should never hurt either.”
And proper removal of polygel nails is crucial not only to the health of your nails, but also the longevity of your next manicure. “This is because nail products adhere best to healthy nail plates — if the nail plate is damaged from peeling off an enhancement, it will not last,” says Kandalec. “Then the cycle will repeat, causing even more damage.”
How to remove polygel nails
Kandalec shares the steps it takes to safely remove polygel nails at home.
Step 1: Start by filing down (not cutting or they will crack, says Kandalec) the length as much as possible. If you have experience using an electric file, she says that will make the process easier and faster, but a regular file does the job as well.
Step 2: Use the file to make the thickness of the enhancement as thin as possible. Take care to not reach the natural nail with the file.
Step 3: Saturate cotton balls in 100% pure acetone and place one on top each nail. Tip: Apply cuticle oil around nails and under the free edge to prevent acetone from drying out skin.
Step 4: Wrap each nail with the cotton ball on top with a piece of foil. Gently squeeze it to lock the foil into place.
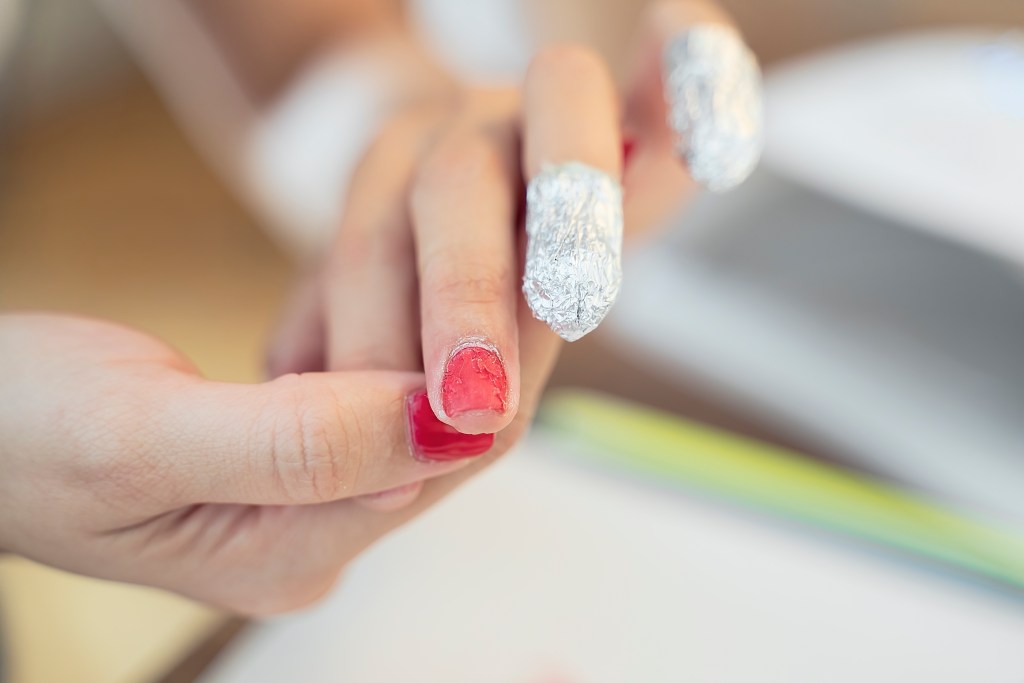
Step 5: Wait 10-15 minutes before checking on nails. The enhancement should curl up and be nudged off easily. If it does not, repeat the steps 3 and 4 above with new acetone-soaked cotton balls.
Step 6: Use an orangewood stick to remove the polygel. Then, gently buff nails with a file to remove any leftover residue.
Check out the below video from YouTuber Gabby Angelique for an easy tutorial.
How to keep nails healthy after removing polygel nails
Once polygel nails are taken off, both Gerstein and Kandalec recommend treating nails to ensure they stay healthy. Here, their tips and tricks:
Gerstein loves Dr. Dana Nail Renewal System (Buy from Amazon, $30), which includes a glycolic acid treatment (it gently exfoliates nail beds), buffer (it smooths the surface of nails and whisks away dead, damaged nail cells) and a hydrating treatment (it’s infused with plant-derived pistacia lentiscus that moisturizes and strengthens nails). Use once a week to prolong the nail-beautifying results.
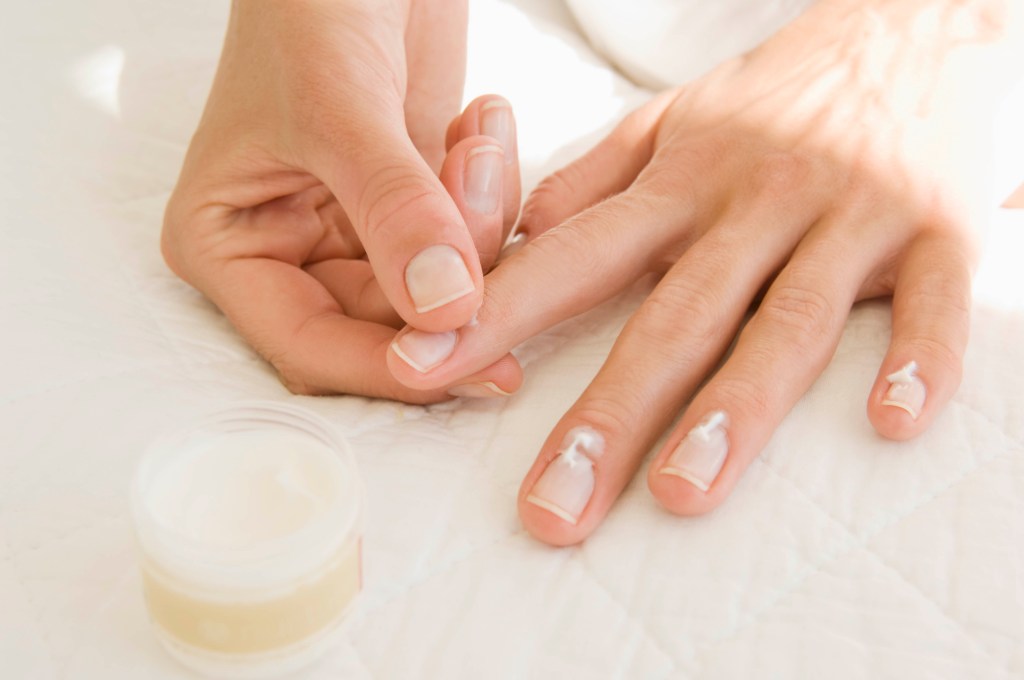
Also important is hydrating nails and skin at the cuticle area and underneath the free edge, notes Kandalec. The best way to do this is to apply a nourishing cuticle cream or oil twice a day. Two picks we like: Burt’s Bees Lemon Butter Cuticle Cream (Buy from Burt’s Bees, $5.99) and Morgan Taylor Remedy Renewing Cuticle Oil (Buy from Amazon, $11.50).
Bonus: “Press-ons can also help protect your natural nails as they are growing out if you miss the length,” says Kandalec. (Click through to see the best press on nails.)
For more ways to beautify your nails, click through these stories:
Dazzle on a Dime: 12 French Tip Nail Designs That are Easy to Do at Home
At-Home Gel Nails: How To Reap the Benefits of the Pricey Salon Treatment for $100s Less
How to Do Dip Nails at Home for Pennies — Manicurists Share Their Easy Tricks