The Easy Way to Do an At-Home Pedicure That Pampers Your Feet — For Less
Plus, how to whiten yellow nails, remove calluses and more
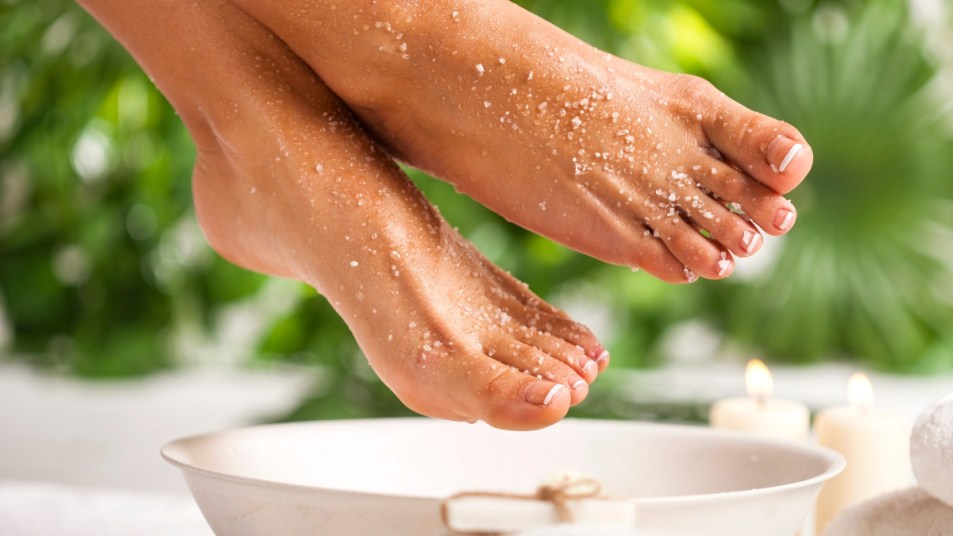
Whether it’s to get your toes ready for summer or your soles smoother in winter, there’s nothing like sitting back and relaxing in a salon chair for a pedicure, the perfect way to give yourself and your feet a little TLC. But it’s hard to feel relaxed when you’re shelling out big bucks for the pricey treatments. So for those times when you just don’t want to splurge but your feet are looking and feeling a little worse for the wear, we tapped experts how to give yourself an at-home pedicure for soft smooth feet and prettied-up toes.
Why are pedicures important?
Many factors can play a role in the health and condition of your feet. Simple, everyday tasks (such as walking) to strenuous workouts to your weight to even your job can impact your feet. An at-home pedicure helps ensure you are prioritizing the health of your feet, giving you the chance to exfoliate those cracked heels, prevent ingrown toenails through proper trimming and, at the very least, gives you time for yourself and self-care.
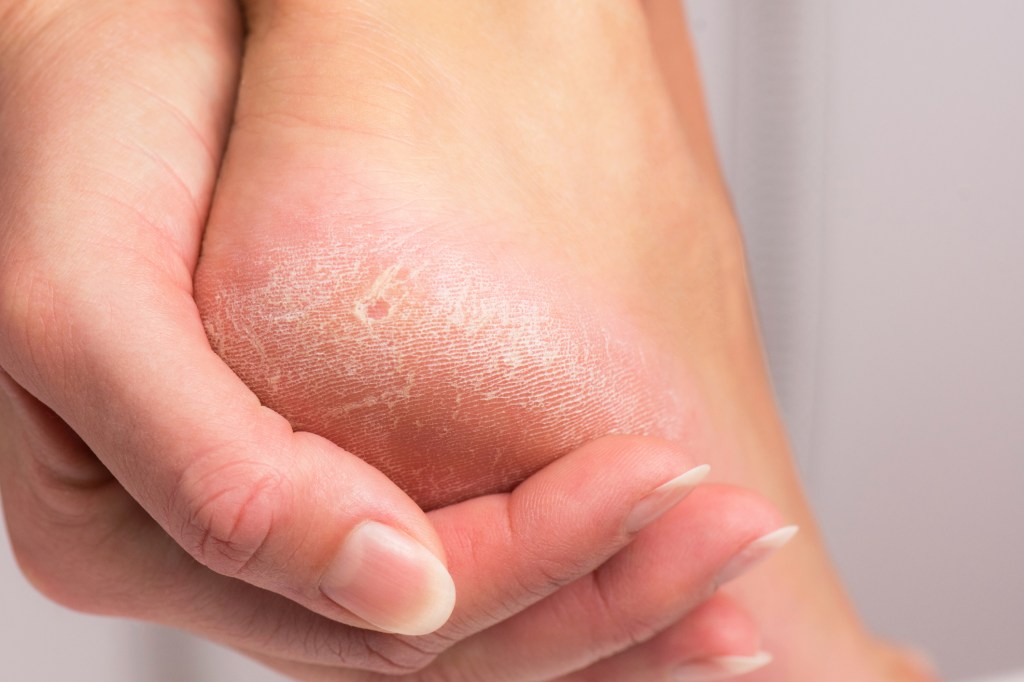
Getting pedicures is also important because “the build-up of calluses can quickly go from protecting your feet to splitting and causing serious pain,” says Hilary Dawn Herrera, professional nail technician. By treating yourself to an at-home pedicure, you are helping to prevent these calluses from any splitting or even forming in the first place.
How often should you get a pedicure?
It’s recommended to give yourself a pedicure one to two times a month, but this number can vary depending on the severity of your feet.
“A monthly maintenance is a great way to ensure your calluses don’t build up too far. Some prefer less time and others more,” claims Herrera. “If you have more build-up or are on your feet more, you may want a pedicure more often; If you are performing it yourself, check how pliable your calluses are. If they don’t move with your foot, they can crack and that can be a world of pain.”
What do I need for an at-home pedicure?
You’ll probably already have quite a bit of what you need to do your own pedicure sitting in your bathroom closet, but check your supplies and gather everything together before starting. You may also want to treat yourself to something new, whether it’s a nail polish in a gorgeous shade or a luxury cuticle oil.
As a general rule, you’ll need the following for a good pedicure:
- Nail polish (ideally a base and top coat, as well as your color of choice)
- Nail polish remover
- Nail file
- Foot file or pumice stone
- Exfoliant/scrub
- Bowl/container to soak feet
- Foot cream
How to do an at-home pedicure
Follow these steps from Herrera to get that perfect, salon-worthy pedicure right from the comfort of your home (and save a few bucks in the meantime!).
1. Prep
If you’ve got any polish on your toenails already, make sure it has been completely removed by soaking a cotton pad in nail polish remover. Hold the pad in place for a few seconds to make it easier to wipe the polish off. Don’t be tempted to leave any scraps of polish as this will affect the finished results of your pedicure.
If you’ve been wearing a dark nail varnish, you may notice that your toenails seem a little yellow or even stained. Rubbing cuticle oil on your nails can help make the staining less noticeable.
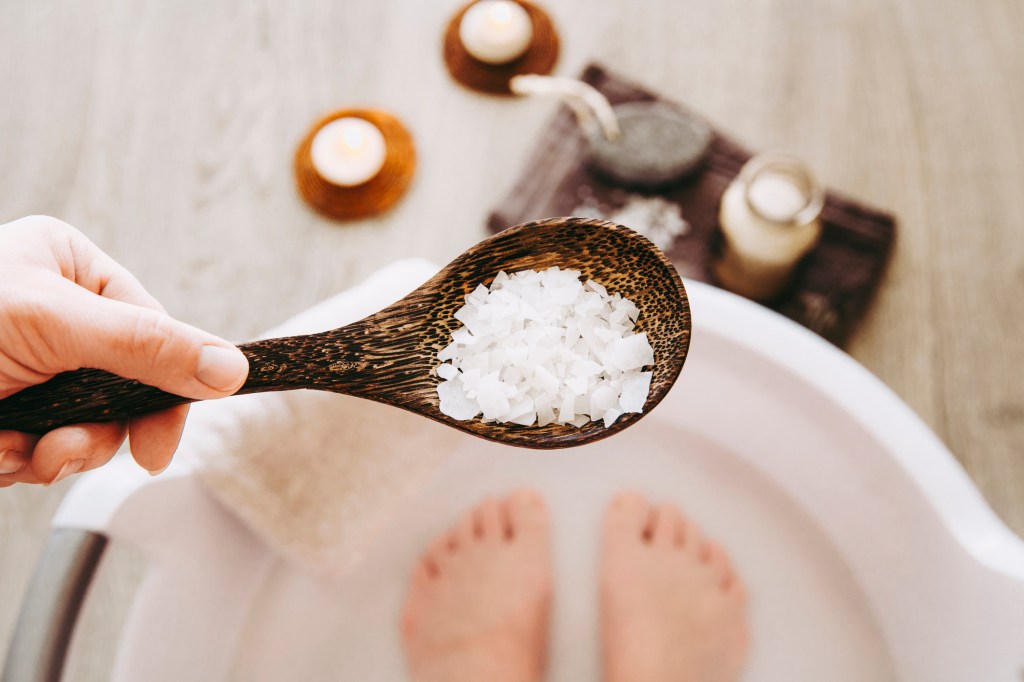
2. Soak
This stage is the most enjoyable part of the pedicure experience. To take it up a notch, light a candle, put on your favorite T.V. show or calming music and maybe even pour yourself a glass of wine.
Get a large bowl and fill it with warm water “that is slightly warmer than your first instinct because once you set it down and dive in, you will notice it cools down quickly,” suggests Herrera. “Gather at least six hand towels to dry and clean as you go. You may need more or less depending on how many parts of the service you wish to include (i.e. exfoliating, massage, etc.).”
Next, add in bath salts. Herrera loves the VOESH New York Pedi Moments kits, which include four products in each kit to DIY your at-home pedicure: sea salt soak, sugar scrub, mud mask and massage butter. For this step, add the sea salt from the kit into your tub of water, and let soak for 5-10 minutes. If you want to just use what you have on hand, add some epsom salt. Soaking softens the skin on your feet, making it easier to get rid of any tough areas.
3. Exfoliate
Your feet work hard for you all year round, which in turn commonly leads to areas of tough skin and calluses. Dry your feet after your soak and remove these areas of tough, dead skin using either a pumice stone or a foot file.

To further combat this dead skin, opt for a sugar scrub, such as the second step of the VOESH kit. Rub all over feet and legs, especially focusing it on the areas where you have hard lumps and bumps and also your heel. Aim to keep going until your feet feel smooth but don’t go too far; You don’t want to leave your skin feeling sore and irritated. Then stick feet back in the water to rinse the scrub off.

4. Moisturize and massage
When we moisturize our bodies, whether after the shower or before bed, we often forget about to slather that lotion on our feet — but they need it too! Grab your favorite lotion or body cream (or the fourth step in the VOESH kit, the body butter), and massage into skin on legs and feet. “When giving yourself a little massage, focus on the parts of your foot that make contact with the ground and don’t be afraid to gently stretch your ankle,” advises Herrera.
If you have extra time, you can apply a firming mask (like the third step in the VOESH kit, the mud mask) to legs and feet after the exfoliation stage and before you moisturize, but this isn’t a super necessary step when doing an at-home pedicure.
5. Trim
Use nail clippers to trim your toenails to your desired length. They don’t have to be perfect at this stage — we’ll shape them up next.
6. Shape
Grab your nail file and use it to shape the edges of your toenails, making sure they are even and smooth. This is a good chance to get rid of any sharp corners on your nails.
7. Base coat
Apply a clear base coat to toenails to protect and prevent them from staining — this is particularly important if you’re keen on using deep colors on your toes. Putting a base layer on will also help your pedicure stay looking great for longer.
8. Polish
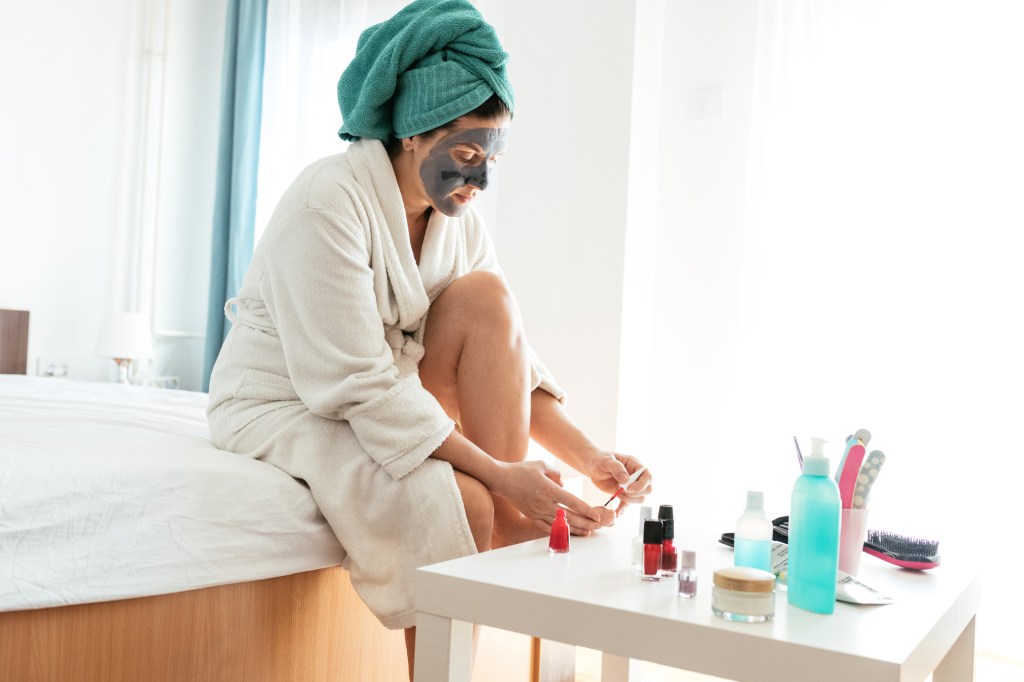
Choose a nail polish in a color of your choice and slip on a toe separator to avoid any smudging between toes. If you don’t have one, that’s fine, you can simply roll up some paper towel and pop it between your toes.
Apply two layers of your chosen polish (we love essie or OPI for regular polish and CND Shellac or Nailboo for gel polish); take your time and let each coat dry before you add another.

To do: Dr. Levine suggests before bed, soak feet in warm, sudsy water for 5 minutes, then towel-dry and apply a cream containing ammonium lactate (which exfoliates), ceramides (which restore skin’s moisture barrier) and hyaluronic acid (a powerful humectant). One we like: CeraVe Renewing SA Foot Cream Next, cover feet loosely with plastic wrap and slip on clean socks (or try these Moisturizing Heel Socks by VOESH). In the morning, take off socks and plastic and rinse feet. Then while feet are wet, use a foot file in a gentle sawing motion to remove calluses instantly and painlessly. Tip: If you don’t like sleeping in socks, just leave the cream on for an hour; repeat twice that week for similar results.
Toenail fungus?
Fungus thrives in damp, dark conditions (thanks closed-toe footwear!) and enters nails through tiny cracks. It first shows up as white spots on the nail, then turns the nail yellow and thick if left untreated. To the rescue: tea tree oil, a natural anti-fungal proven to be as effective as topical anti-fungal cream.
To do: Fill a large basin with 8 cups of warm water, 5 drops of tea tree oil and 1⁄2 cup of epsom salts. Soak feet for 15 minutes; dry skin well. Done three times a week, this can cure a mild case within eight weeks; a more advanced infection may require three to six months.
What to avoid when doing an at-home pedicure
“I would recommend avoiding large jars of products to eliminate cross contamination (in other words, single use products are sometimes best for at-home pedicures),” says Herrera. “As for ingredients, be wary of products that contain talc, phthalates. parabens and benzophenone. Major plus if it has been dermatologist tested!”

For more nail tips and tricks, click through these stories:
How To Remove Gel Nails at Home: A Nail Pro Shares the 5 Easy Steps That Won’t Damage Nails
Polygel Nails: The Trending Manicure Technique That Makes Nails Look Longer and Stronger
Top Manicurists: The Best Nail Designs of 2023 That Put Happiness At Your Fingertips


