No-Makeup Makeup Trend: Pro Tricks to Get That Natural Look With Little Effort
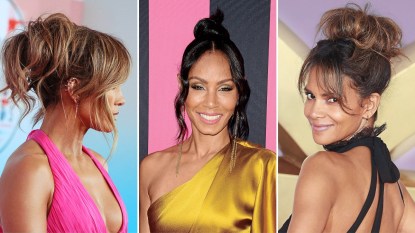
Discover why it works so well for women over 50
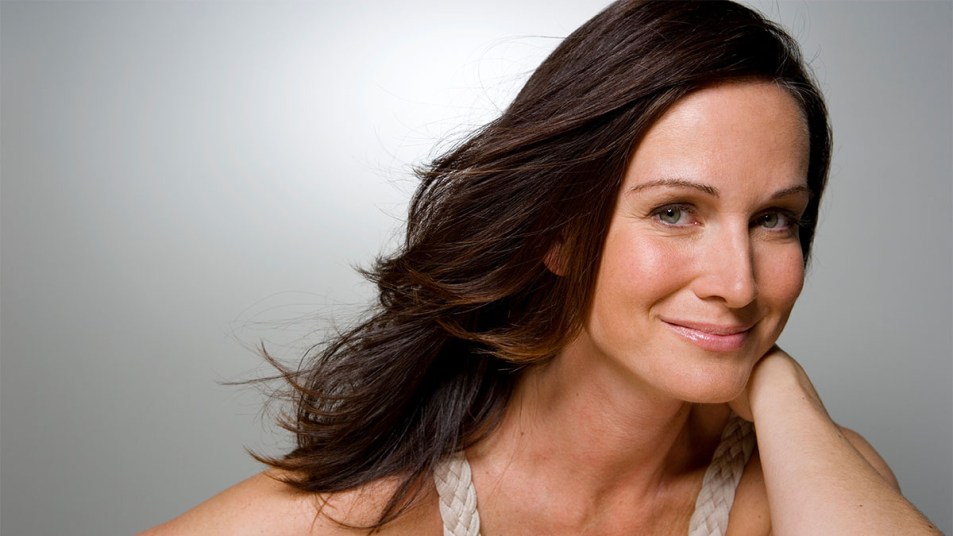
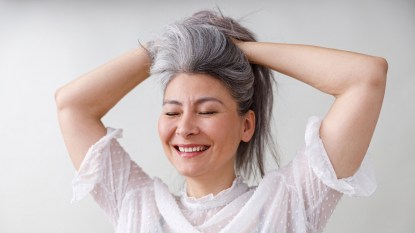
Notice how your foundation and concealer go on much less smoothly as the years go on? Or that the same makeup application you did 20 years ago might not work for you today, as the products now tend to settle into wrinkles and fine lines, making you look older? Well, there’s good news: A new “less is more” approach may be the answer to your anti-aging prayers, and it’s aptly called the ‘no-makeup’ makeup look. Keep scrolling to learn more.
What is the no-makeup makeup look?
“The point of this viral trend is to focus on bright, fresh-looking skin while still having an even tone, creating a natural look that can bring focus away from aging skin,” says Shirranda Edwards, makeup artist for KIKO Milano, while using fewer products so shave time and money off of your makeup routine.
The look works for many women because it accentuates your best features while not looking overly made up. But even though it sounds like it’s easier to achieve since you’re using fewer products, experts say it can still be challenging. “Believe it or not, natural makeup can be difficult to get right because most of us tend to put way more [makeup] on than we need to!” says pro makeup artist Genn Shaughnessy, who has worked with stars like Judy Greer and Carrie Underwood. So what’s the key to getting this natural beauty look right? Read on for all the tricks of the trade of this makeup technique that can turn back the hands of time.
How to get the no-makeup makeup look?
Step 1: Get skin glowing
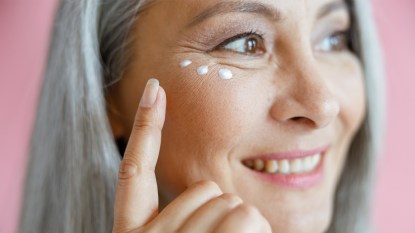
Edwards explains that the better your skin looks, the less it’ll need color-correcting, concealing and makeup caked on. “Start with well-hydrated skin. I love KIKO Milano’s Skin Trainer Serum (Buy from KIKO Milano, $31), which will help increase hydration and suppleness,” says Edwards. “For mature skin, this is a step you cannot skip!” This can be added to your already existing skincare regimen between cleanser and moisturizer.
Step 2: Focus on the eyes
“All you really need is a matte finish shadow that’s close to your natural skin color applied across your entire eyelid with the most minimal eyeliner in the corners of your top and bottom lashes and a heavy coat of mascara on curled lashes,” Shaughnessy explains.
Primer: Next, you’ll want to shift focus away from the skin and to the eyes, advises Shaughnessy. Begin by prepping the area with a thin layer of makeup primer, like e.l.f Power Grip (Buy from e.l.f. Cosmetics, $10), that helps the shadow stay put.
Shadow: Don’t go darker or lighter than two shades away from your skin tone. Shaughnessy opts for a palette like Charlotte Tilbury’s Super Nudes (Buy from Ulta, $60) for her clients because it has an array of natural shades that suit almost everyone.
Pro technique tip: Use a fluffy shadow brush and pat the shadow onto the skin, going from your top lash line to your brow bone.
Liner: use a smudging, soft coal pencil, like Maybelline Line Express (Buy from Walmart, $6.12). “If you’re fair-skinned, opt for light brown. Darker skin tones can choose dark brown,” says Shaugnessy.
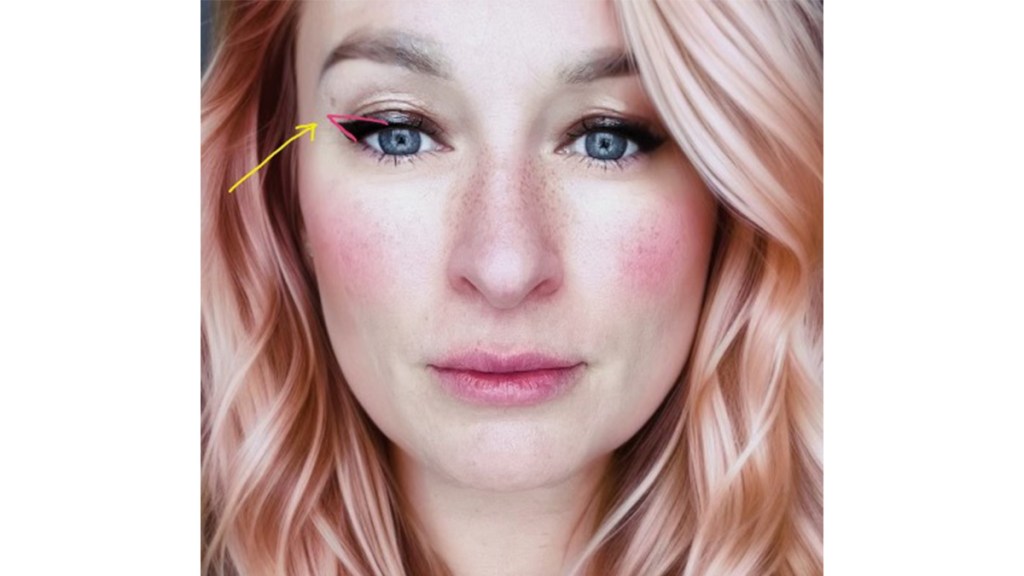
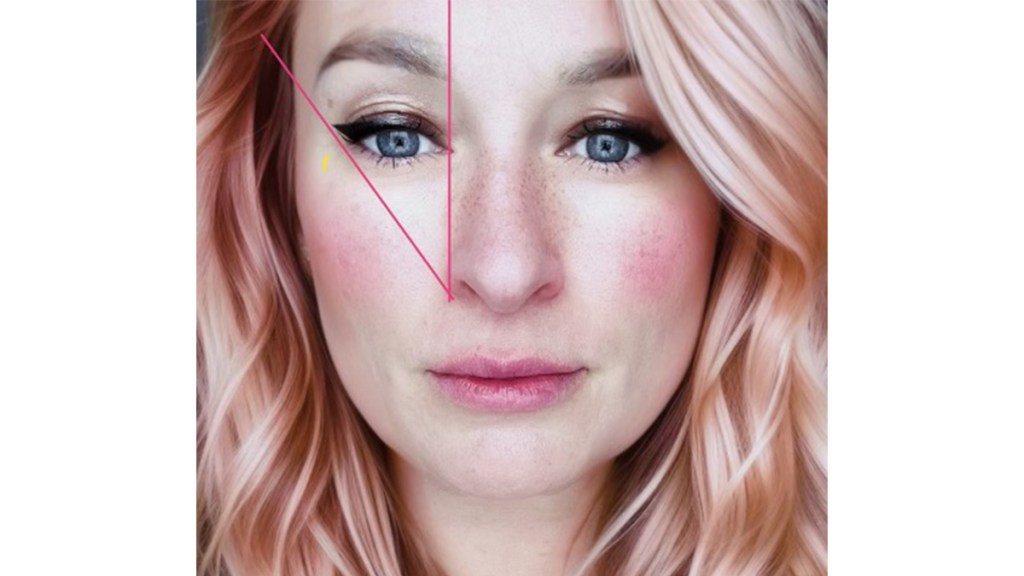
Pro technique tip: “Create a V on the top and bottom of your eyelid. Use your pencil brush about one-third of the way over, starting on the outer corners. You can smudge the soft pencil so that it’s darker in the outer corner and lighter in the inner corner,” says Shaughnessy, as pictured below.
Mascara: First curl lashes using an eyelash curler and then apply 1-2 coats of brown mascara (unless you are darker skinned tones with black lashes, you can opt for black).
Related: 6 Natural Eye Makeup Looks for Women Over 50 That Prove That Less Is More
Step 3: Apply foundation
“The trick here is not to be heavy-handed and not give yourself a foundation mask,” advises Shaughnessy. “Start by applying a concealer one shade lighter than your skin tone wherever you have breakouts or noticeable discoloration your foundation won’t cover. You can do this by using the applicator that the concealer comes with or a concealer brush.” (Click through for more on color-correcting makeup.)
Next comes the foundation, which is important to this whole look. If you choose a shade that is too light or dark, you can blow the natural look entirely. Your undertones are a key factor and can be warm, cool or neutral. Pay attention to these so you don’t fall into the trap of choosing a shade that matches your face alone. “A good trick is to look at the veins in your wrist. If they look blueish, you have a cool undertone, if they look greenish, you have a warm undertone,” explains Shaughnessy.
Her trick to find the right foundation shade? “Choose three that appear to be a good match, and then take each one and apply a line of each on your jawline, leaving a little skin between,” explains Shaughnessy. Whichever one is closest to your natural coloring is the winner!
Your skin type can also play a part. “If your skin is really dry, you’re going to want a cream foundation or a CC cream, which gives you both moisturizing and coverage, but keep in mind that liquids typically provide a heavier coverage, so use sparingly,” says Shaughnessy. If you’re more on the oily side, “a mineral powder foundation is a good choice,” to soak up the excess oil.
Pro technique tip: Shaugnessy recommends using a foundation brush to apply your liquid foundation, and if you opt for powder, you can also use a brush, but that tends to be more sheer and may require a couple of layers.
Step 4: Brush on some blush
Now that your base is on, a “touch of color on the cheeks is essential for this look to bring life to the skin,” says Edwards. “The secret is to choose a creamy texture with a natural finish. Nothing too matte! Try KIKO Milano’s Velvet Touch Creamy Stick Blush (Buy from Ulta, $14) — it’s incredibly easy to apply. Just swipe the stick right onto the skin and blend it out with your fingers or a brush,” she suggests. For color selection, you’ll want to “pick one that looks like your skin is naturally flushed like you were just outside or came back from a run,” advises Shaughnessy. Your lip color should be similar to this.
Step 5: Touch up the brows
Finish your no-makeup makeup look with a brow touch-up. “A sculpted brow can have a ton of influence on a final look without feeling like we need to layer on a ton of product,” affirms Edwards. “I highly recommend using a brow powder instead of a pencil or gel. The powder gives the most natural-looking finish,” says Shaughnessy. “Choose a color closest to your existing eyebrow color, but if you’re gray or very light blonde, you can go a shade darker,” she explains.
Pro technique tip: “Apply brow powder with an angled eyeliner brush or angled brow brush to fill in sparse spots, staying with the shape of your natural brow. Hold your brush straight up above your brows from the inside corner of your nose. That’ll be your starting point, then turn your brush so that the inner corner of your nose is pointing towards the outer corner of your eye; that will be your ending point,” she explains, as pictured below.
For more makeup hacks, click through these stories:
Pink Eyeshadow Is the Makeup Artist Secret for Brighter, Younger-Looking Eyes
Makeup Pros Reveal How to Recreate Priscilla Presley’s Iconic 60s Style
Makeup Artists: The Strategic Way to Apply Blush to Accentuate Your Best Features