How to Professionally Caulk Your Home and Save Thousands Even If You’ve Never Seen a Sealant Gun Before
Most people don’t think about replacing the caulking in their homes, but the reality hits home when you find yourself trying to scrub away unsightly stains from caulked gaps between surfaces, and no amount of elbow grease will remove them.
You can ignore it, but unfortunately, the problem isn’t going to fix itself and, if left untreated, may lead to more persistent issues like bad odors in the bathroom, build-up of bacteria, mold, mildew, and even wall damage further down the line.
How much is it to recaulk your home?
Estimates for having your home professionally caulked range anywhere from $265, including labor and caulking supplies, up to $3,000 for the average-sized home. In the case of the lower estimate, the breakdown is $244 for labor and $21 for materials.
That’s quite a difference!
The final cost depends on the size of your home and how much of it needs work. You can work out an approximate cost by measuring the areas that require new caulk and then multiply by the cost per square foot. This is generally in the range of about $2 to $4.50, depending on the difficulty and your location.
No matter which way you slice it, even the lower estimates are significant. If you know how to do the job yourself, you can easily pocket the difference between labor and materials costs and save yourself a nice chunk of change.
Do I need a professional plumber to caulk my home?
You might think you need a plumber to do the job, but in reality, it’s one of the most manageable DIY tasks you can do, and anyone can master it with a bit of care and attention.
In fact, you can caulk any area of your home in just a few simple steps.
How to caulk your surfaces perfectly in three easy steps
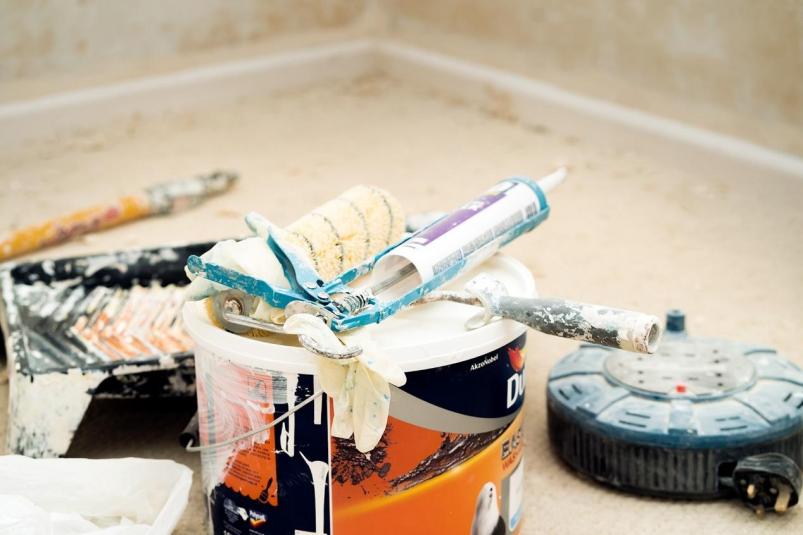
Step one: gather your materials
- Tools to remove old grouting: a caulk scraper or any standard utility knife will do;
- Caulk softening agent: you can use a hairdryer or buy a commercial product to soften the existing caulk;
- Materials to cover your floors: old bedsheets or any plastic sheeting will do;
- Get prepped: A soft brush and cloth to clean the area after the old caulk is removed;
- Goggles and gloves: caulking is a low-risk job, but better safe than sorry;
- Good quality caulking sealant: choose a good quality brand and base material;
- Caulking tools: a caulk gun with some cloth to wipe away excess.
Step two: prep the area.
- Lay down your sheeting;
- Soften the existing caulk with your hairdryer or softening agent;
- Remove the old caulk with your knife or caulk scraper;
- Clean the areas with your soft brush and cloth.
Step three: get caulking!
- Fit the caulking sealant cartridge into the caulking gun;
- Carefully fill all the cavities with your sealant, removing any excess as you go;
- Allow the new caulk enough time to dry according to the manufacturer’s instructions;
- Shape the caulk using either a smoothing tool or by running your gloved finger dipped in a little soapy water along the grooves to give an even finish.
And you’re done!
Choose the best materials
Not all caulking materials are the same. Here are the main types you need to be aware of:
- Acrylic latex: great for long life but subject to cracking under extreme temperatures, prone to shrinkage over time;
- Pure silicone: highly durable, flexible, water-resistant, and retains its shape over long periods, not ideal for painting;
- Latex with silicone: excellent for water impermeability, some shrinkage over time;
- Polyurethane: resists moisture, chemicals, and corrosion, tends to expand over time, low resistance to UV.
What’s recommended

If you’re unsure what to use for the specific area of your home, pure 100% silicone is a great general choice, and it’s recommended. You can learn more about this general-purpose caulking material before you make a start. After all, a little knowledge beforehand will always result in a better job.
The bottom line
Caulking your home can be downright expensive, costing up to $3,000 in some cases. With a little effort, you can master this easy task and save yourself a small fortune.
Now that you’re in DIY mode, let’s take a look at those frozen pipes you’ve been fretting about and get those fixed too!
First For Women partners with external contributors. All contributor content is reviewed by the First For Women editorial staff.