Celebrity Colorists: Make Brown Hair Look Two Times Thicker *Instantly* Just by Adding Subtle Highlights
These DIY tricks make it easy to achieve beautiful multi-dimensional results at home — for less!
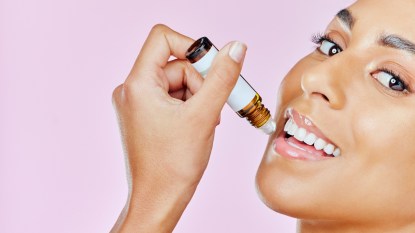
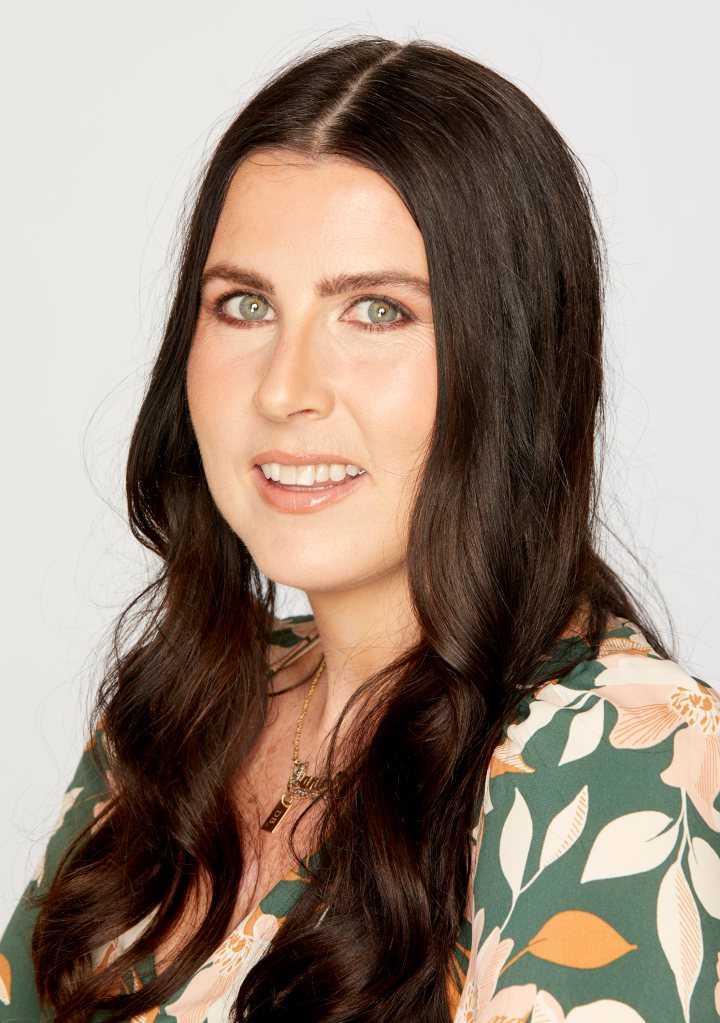
Maybe you’re a brunette who’s had the same shade of espresso hair for what feels like forever. Or perhaps it’s been a while since you’ve tried something new to enhance your toffee-colored tresses, and you’re ready for a change. One easy way to transform your look? Adding in highlights for brown hair.
“Highlights, in simple terms, are a technique to add dimension to monochromatic hair color,” says celebrity colorist and salon owner Christopher Naselli, who works with AGEbeautiful Hair Color. The coloring technique can take many different forms but involves lightening sections of hair using bleach or lighter hair color. And when starting with a brunette base color, the tones you can create with highlights for brown hair are plentiful, spanning from beige and caramel to auburn and many more.
Before you decide if highlights are right for you, read our guide for everything you need to know about highlights for brown hair.
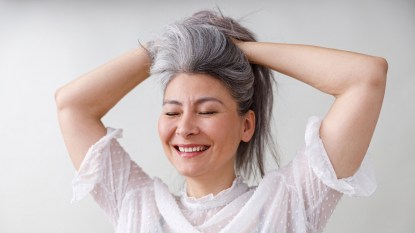
How highlights enhance brown hair and turn back the clock
Simply put, highlights for brown hair are flattering because they create contrast to a uniform base color. When hair is left a one-dimensional hue, it can look harsh and dull against aging skin, but the bright streaks leave hair and skin looking luminous.
“Highlights flatter brunettes by helping to add and put focus on movement and texture,” says Gregory Patterson, celebrity colorist and styling expert with Sally Beauty. “By adding highlights to darker tones, you bring more attention to the layering of a haircut, which helps create movement and the appearance of fuller, thicker hair.”
In addition to creating the illusion of a fuller head of hair, certain styles of highlights can also make you look more youthful based on where they fall. For example, “face framing highlights can accentuate bone structure and help take focus away from lines and wrinkles around the face,” says Naselli. This type of highlight can also optically chisel the cheekbones for a slimmer-looking face.
5 things to consider before highlighting brown hair
While highlighting is only done on sections of strands, it’s still an involved process that can require bleaching and toning to achieve your desired hue, especially if your hair is already color-treated.
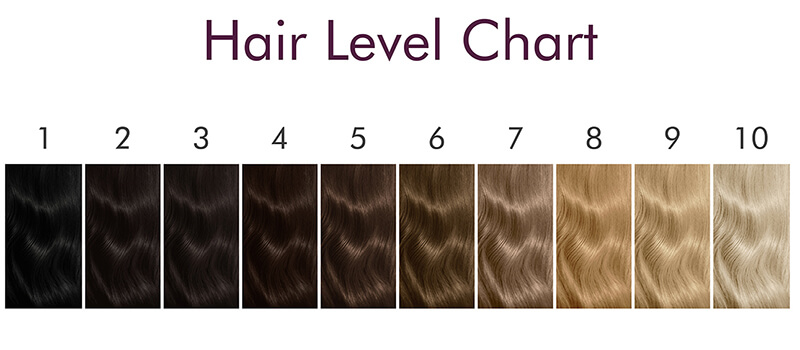
1. Look at your starting hair color level
“A few keys to successful highlighting would be to first and foremost know your existing hair color level,” says Patterson. “From there, you can never go wrong by lifting your color up two levels.” This will almost always guarantee complementary tones in the hair. See the chart below to help determine your starting hair level (level 1 is the darkest where hair is black and it spans to level 10 which is the lightest and hair is platinum blonde) and what to expect when lightening hair by two levels.
2. Perform a strand test
With any DIY color and especially when creating highlights, you’ll want to do a strand test first to see how your hair reacts to lightener. The underlying shade revealed from lightening up locks will also help you determine if you’ll need or want to tone highlights after they are created.
When doing this at home, Patterson recommends using a powdered lightener (Buy from Sally Beauty, $5.99) and a 20 volume developer (Buy from Sally Beauty, $4.89). You can can expect hair color to lift 1-2 levels when using a 20 volume developer, says Patterson.
To do a strand test, mix 1/2 tsp. of lightener and 1 tsp. of developer. Then, pick a small inconspicuous spot on the head like a 1/4-inch section of hair in an under layer in the back and saturate the piece from mid lengths to ends. Check the strand after 10 minutes by wiping off the lightening mixture. If you want to go lighter, then apply more of the mixture and check again after 5 minutes (continue this until your hair has been lightened to your liking, but it’s best to not exceed 60 minutes of processing time).
To learn more about why doing a strand test is important and to see how one is done, check out the video below from the Madison Reed YouTube channel.
3. Take your skin undertone into account
It’s good to be aware that once your hair has been lightened at least two levels, you may need to adjust the hue of highlights to best complement your skin undertone. (Click through here to figure out your skin undertone.)
After bleaching, you’ll see if hair’s lighter color looks warmer (more golden) or cooler (more ashy). And depending on the shade that’s revealed and looking at your skin undertone, you might want to do a second process to highlights, called toning, so they’ll flatter you most. Scroll down to “toning highlights for brown hair” to learn more.
Naselli’s rule of thumb: Always choose a hair tone that is opposite your skin undertone. “For example, if you have warm-toned skin, you should opt for a cooler shade hair tone, and vice versa.” This adds contrast to hair and will keep the brighter color from washing skin out. And those with neutral undertones typically can go with any kind of highlight shade.
4. Look for inspiration photos before you highlight
Whether you’re heading to the salon for color or going the DIY route, Naselli recommends finding some inspirational images, to get an idea of what may work for you. “Always show a visual to your stylist of what you have in mind,” says Naselli. “They will go over options and the techniques to provide the best results.”
5. Patience is key when highlighting hair
There’s a learning curve involved in creating highlights and a knack to figuring out placement, too, so you’ll want to take your time and not rush the process, especially if you feel comfortable going the DIY route. Above all, always follow the manufacturer’s instructions to achieve the best results.
Picking the right highlights for your brown hair
Now comes the fun part: Picking a highlighting style that will work for you. Read on for the popular types of highlights for brown hair and their anti-aging benefits.
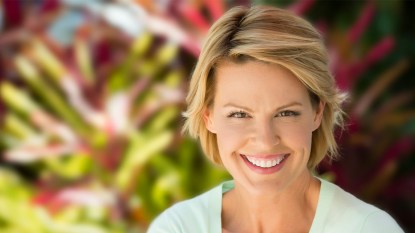
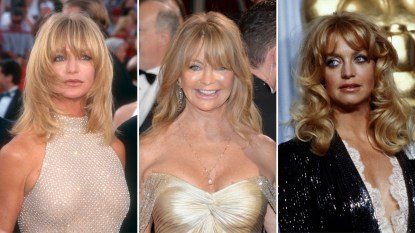
Ombré highlights: Slim the face
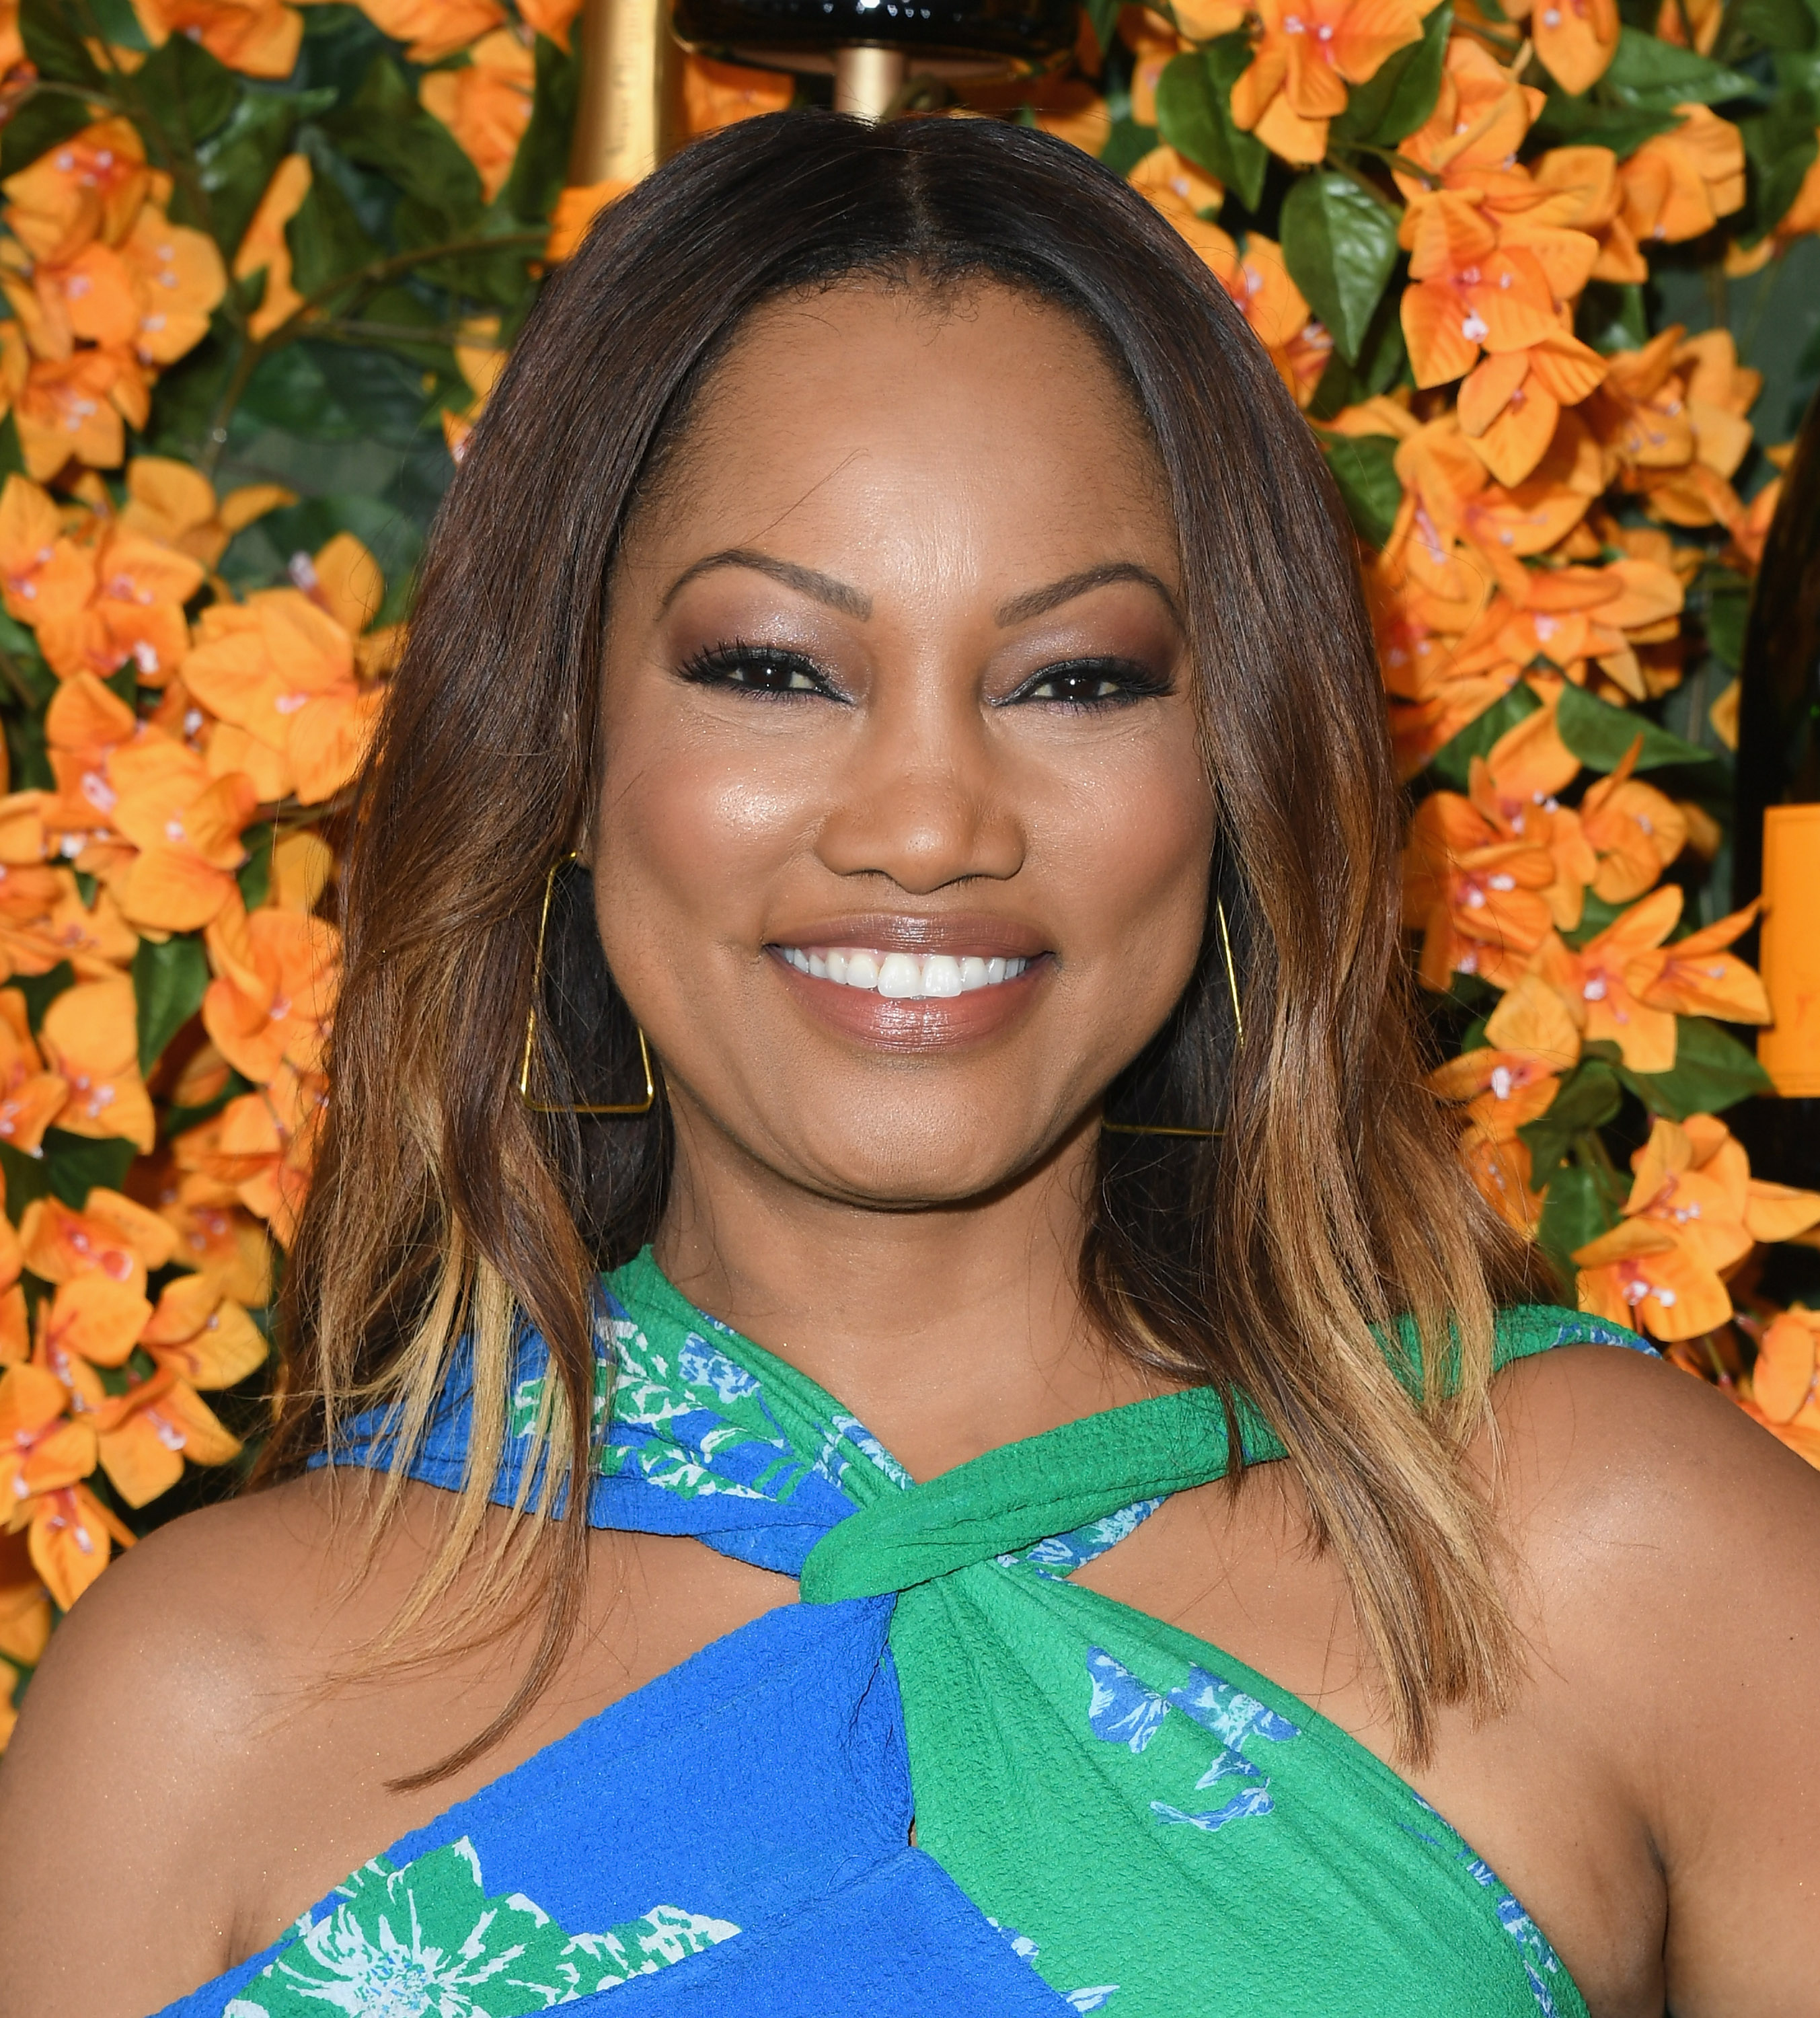
Getty Images
If you’re looking for hair color inspiration on Pinterest, you’re bound to run into ombré highlights. “Ombré is a color transition where two tones gradually blend from light to dark,” says Naselli. “This technique is low-maintenance because basically this is a dark-to-light color transition, so there is no harsh line of demarcation.” This means hair can grow out without the need for constant touch ups.
The color gradient effect you see with ombré typically goes from darker roots to lighter ends, and there’s plenty of opportunity for customization here. An ombré can be close in tone to your base color or higher contrast for an edgier vibe. Often, the effect will start around the ears and reach peak lightness at the ends, which draws attention vertically to elongate and slim the face.
Patterson says an ombré can be created with balayage, a French term for “hand sweeping” or “hand painting” that creates a soft, natural look. DIY ombré kits make it easy to create the gradient effect yourself, but you may need toner (more on this in the shades of highlights for brown hair section below) afterward since bleach can make dark hair look brassy.
How to get the look: Part hair into six equal sections; leave one section down and clip the remaining five sections up. Gently tease a 1″ segment of the section’s hair at the root, then paint on and heavily saturate ends with bleach from an ombré kit, like L’Oréal Paris Colorista Bleach, Ombre (Buy from Amazon, $7.90), gradually applying less bleach as you move upward; stop at mid-length, then wrap the segment with foil. Continue with 1″ segments, skipping a 1″ section in between, and once the whole section is done, repeat with each of the other five sections. Let process 45 minutes before rinsing.
To see this technique in action, check out the below video from the L’Oréal Paris Canada YouTube channel and colorist Brennen Demelo.
Off-the-root highlights for brown hair: Volumize hair
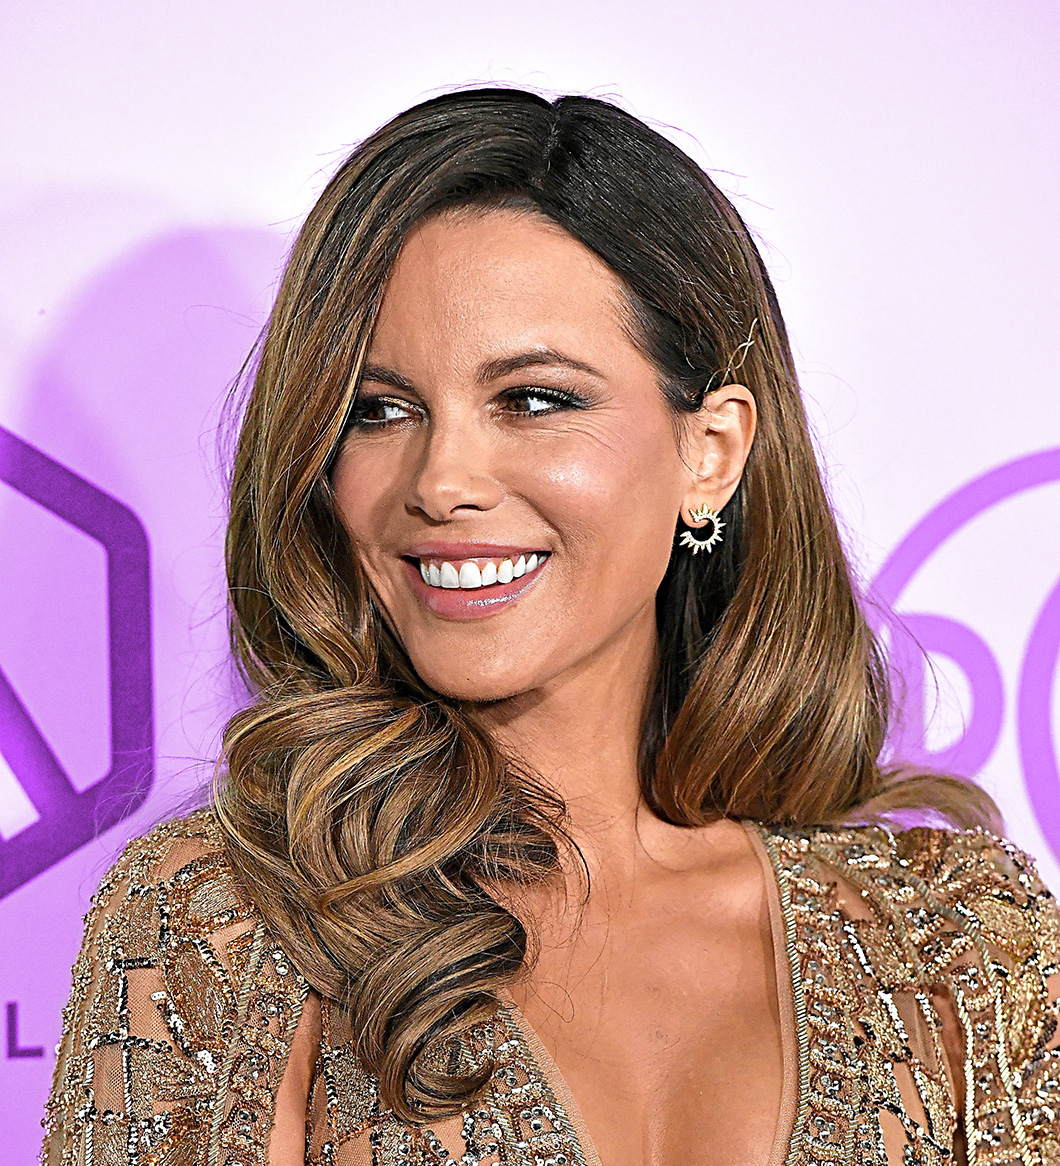
“Rooted highlights are just highlights that have a grown out or shadow root appearance,” says Patterson. “With this technique, you won’t see the highlight technique touching the root in uniform, but the placement of the highlights will be laid out in a way that allows for very low-maintenance upkeep.”
This technique works for brunettes of all tones, says Patterson, especially those who don’t want to be constantly touching up their color. That’s because the results are meant to look “lived-in” and can last up to three months.
According to Naselli, rooted highlights can be done on brunettes with foils or balayage. “The application is meant to hide the fact that your hair has grown out and to make hair color last longer,” says Naselli. Again, though this look is soft and low-key, Naselli adds that the contrast is enough to create the illusion of volume in aging hair that has lost some of its density. (Click through here to learn how to style thinning hair so it looks twice as thick.)
How to get the look: Paint bleach from a balayage kit formulated for dark hair like Clairol Nice’n Easy Balayage for Brunettes (Buy from Amazon, $14.79) onto various 1⁄4″ sections of hair starting 3″ away from roots and skipping a 1⁄2″ section in between. (This helps create more natural-looking streaks.) Let process for 40 minutes before rinsing.
For a step-by-step breakdown on how to create these highlights, see the below tutorial from YouTuber and colorist Brad Mondo.
All-over highlights: Enliven skin + thicken hair
Looking to conceal grays throughout your mane, boost volume and make your complexion pop in the process? All-over highlights might be your best match, says Naselli, since they can be very impactful. That’s because they’re a less subtle treatment than concentrating highlights around your face or at the ends.
“When deciding to do all-over highlights, you are looking to completely change your hair color, making brunette hair much blonder or lightening darker hair tones to a light shade,” says Naselli. Patterson agrees, adding that all-over highlights introduce maximum dimension for brunettes that might be thinning or have finer, limp hair.
It all comes down to the total amount of hair being lightened, and the effect this process has on that hair’s texture and appearance. “Lightened hair is a bit more rough to the touch, so it won’t nestle into its fellow hairs because it’s been opened up and creates more friction, which will result in hair that looks fuller,” says Patterson. “Also, by adding the play of light, it helps the eye view the overall silhouette as bigger and fuller because of the play of higher and lower color.”
Patterson’s biggest tip for brunettes DIYing all-over highlights? “Just be sure to watch your color and tone develop so that you don’t push the hair beyond what it needs in order to maintain the hair quality.”
How to get the look: Paint the bleach from a highlighting kit like Revlon Permanent Hair Color by Revlon, Permanent Hair Dye, Color Effects Highlighting Kit (Buy from Walmart, $6.97) onto various 1 ⁄4″ sections of hair around the face using a clean spoolie brush (it helps make it easier to paint on thin streaks and prevents you from over applying bleach). Rinse after 30 minutes.
To see a pro creating all-over highlights without any damage, watch the below video from colorist Angelina Schofield.
Face-framing (or halo) highlights: Lift features
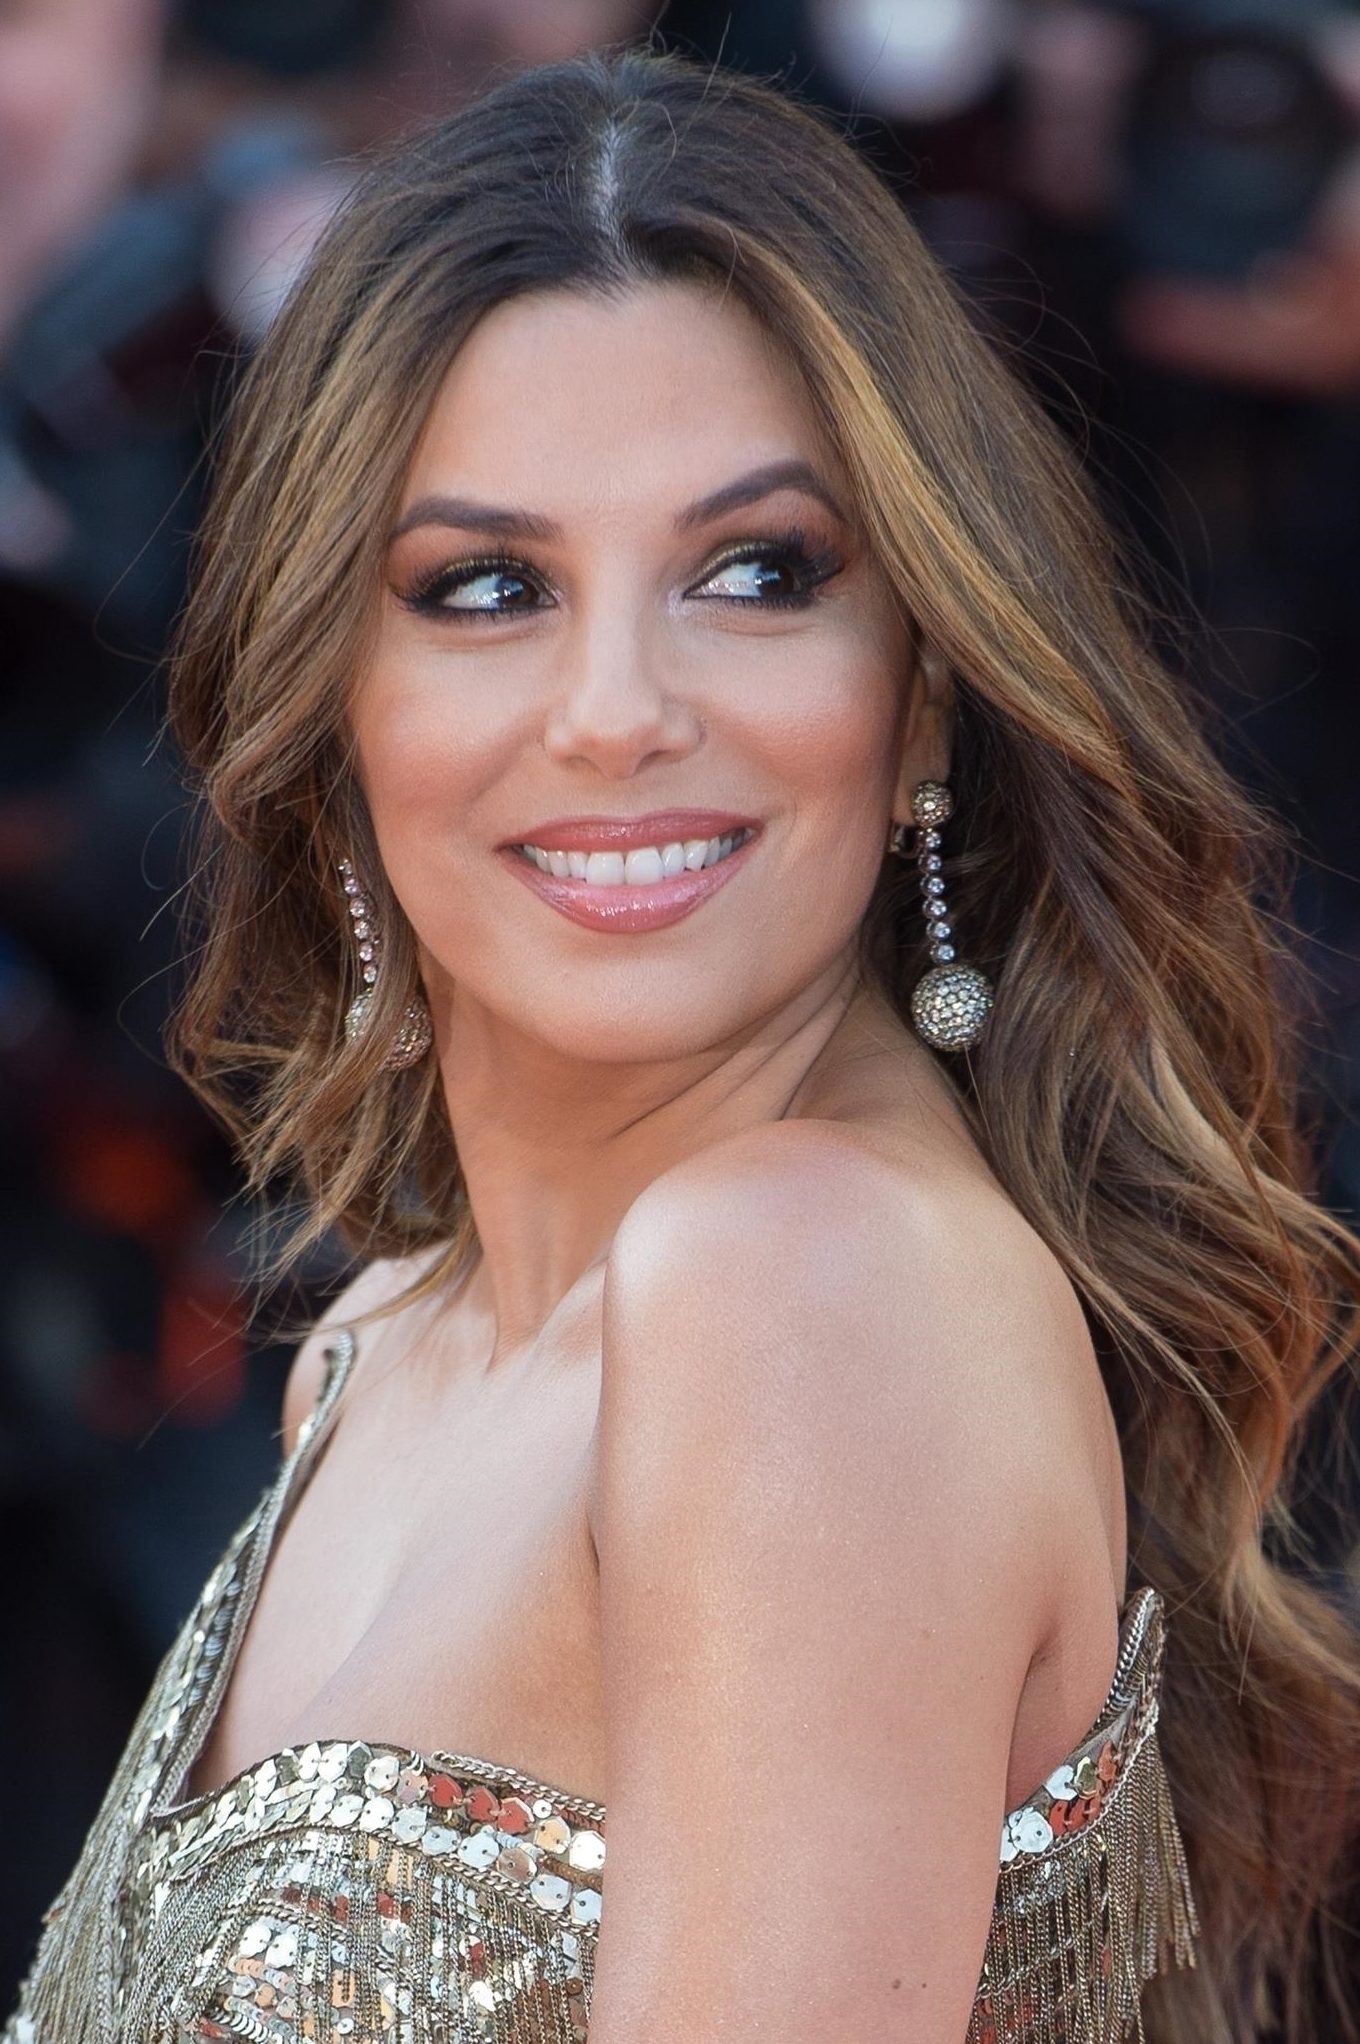
When you want to play up a favorite feature or detract from the signs of gravity like sagging skin or drooping eyes, face-framing (aka halo) highlights are a great option. This type of highlights for brown hair is also a nice way to dip your toe into lightening locks.
“Face-framing highlights are strategically placed to draw the eye to enhance and accentuate the face shape,” says Naselli. And according to Patterson, this technique works best with longer, layered hair since you’re lightening up with streaks concentrated along the hairline at your face, which creates a sun-kissed, halo effect.
How to get the look: Grab a highlighting kit that includes a brush-on applicator like Garnier Hair Color Nutrisse Ultra Color Nourishing Hair Color Creme, Icing Swirl By1 (Buy from Amazon, $7.79), which allows you to paint on skinny streaks with ease and precise placement. Apply bleach onto the brush and paint on three 1⁄2″ sections of hair around the face from roots to ends; repeat on the other side of the face. Let sit for 45 minutes, then rinse.
See for yourself how simple it is to create these highlights by watching the below tutorial from colorist Mirella Manelli.
Toning highlights for brown hair
After hair has been lightened, the brighter color can sometimes look too golden or brassy. To combat brass or change up the lighter color to a more complementary or ashy shade, you can apply a tinted toner or gloss like dpHUE Gloss+ Conditioning Semi-Permanent Color (Buy from dpHUE, $37; it comes in 12 different shades) to strands.
Patterson’s to do for how to use a toner post-bleaching: Completely rinse lightener out all the way, then shampoo, but don’t condition. Next, detangle your hair and work in sections to apply toner. Let sit for 20 minutes, then rinse and condition hair.
How to maintain highlights for brown hair
Once you’ve honed in on the highlighting technique and tone that’ll work for you, you’ll want to keep your strands looking their best and brightest. Maintenance is key, and you can do a few things at home to ensure highlights shine.
Opt for color-protecting products
First, you’ll want to protect your color with the right everyday products. “The best advice I give to all my clients at home is to always use shampoos and conditioners that are formulated specifically for color-treated hair,” says Naselli. “This goes for all color techniques across the board.”
Shield strands from UV rays
Shoring up your tresses’ defense against sun damage is also something to consider, no matter the season. “If you’re out in the sun, your risk for color oxidation is something you should be concerned about,” says Naselli. “Always use a product that has sun protection in it.” He also recommends wearing a hat to further shield strands from overexposure to the sun’s harsh rays. (Click through for ways to avoid a sunburned scalp)
Use color-correcting treatments
Finally, if, despite these efforts, you find your highlights are starting to look brassy, or overly orange or red, you can try a color-depositing shampoo to offset those tones. “I recommend using blue or green based color-depositing shampoos and conditioners,” says Patterson. “This will cool down the look with the blue tones, countering the orange brassy reflection, and the green countering any red reflections.” For a blue tinted shampoo and conditioner, try Eva NYC Brass To Sass Brunette Duo Set (Buy from Eva NYC, $22); and for a green-toned shampoo and conditioner, try Matrix Dark Envy (Buy from Sally Beauty, $19.99).
For more age-defying hair color inspiration, click through these stories:
“I’m a Professional Colorist and Here’s Why This Shade of Blonde Is Perfect for Women Over 50!”
Celebrity Hairstylists: Ginger Hair Can Lift Anyone’s Look — And It’s Easy To Do At Home
9 Stunning Home Hair Colors That Will Complement Your Skin Tone
Danielle Blundell is a New York City-based lifestyle writer and editor who has written on topics ranging from home to health and beauty for a variety of publications including Rachael Ray Every Day, Redbook, Family Circle, This Old House, Elle Decor, Esquire, Domino, and Apartment Therapy. She’s a graduate of Columbia University’s School of Journalism and has appeared as an on-air expert on Today, The Doctors, The Celebrity Page, and other local news programs.