Make Your Own Magnetic Picture Hangers
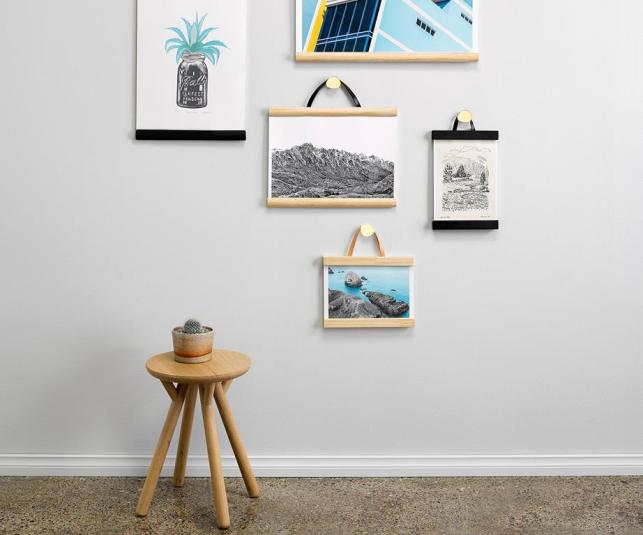
Imagine if switching up the artwork in your home could be as quick and easy as refreshing your home décor. With so many beautiful and affordable prints on the market, it’s possible to update your art as you please, and these DIY magnetic picture hangers make it even easier.
You Will Need
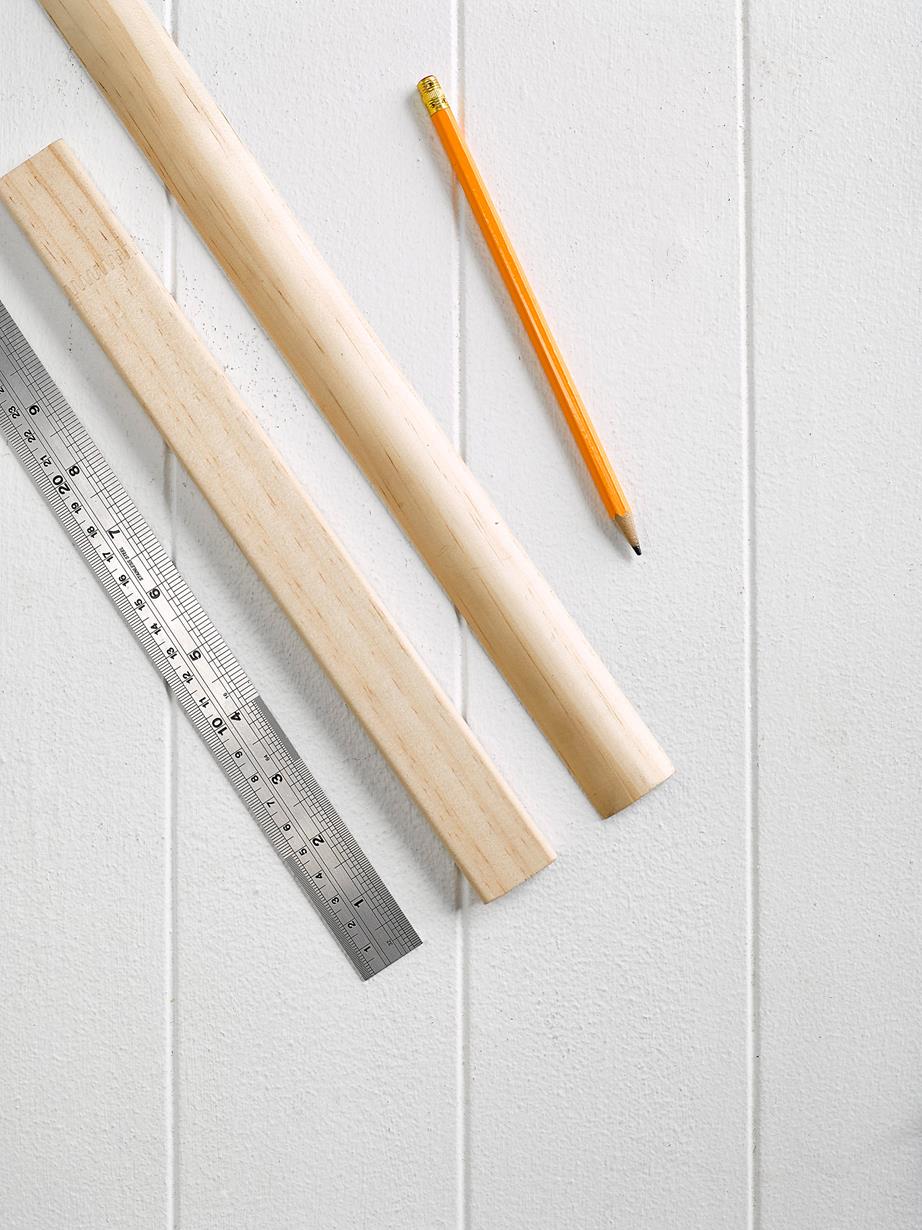
Ruler
Pencil
32mm half-round clear pine
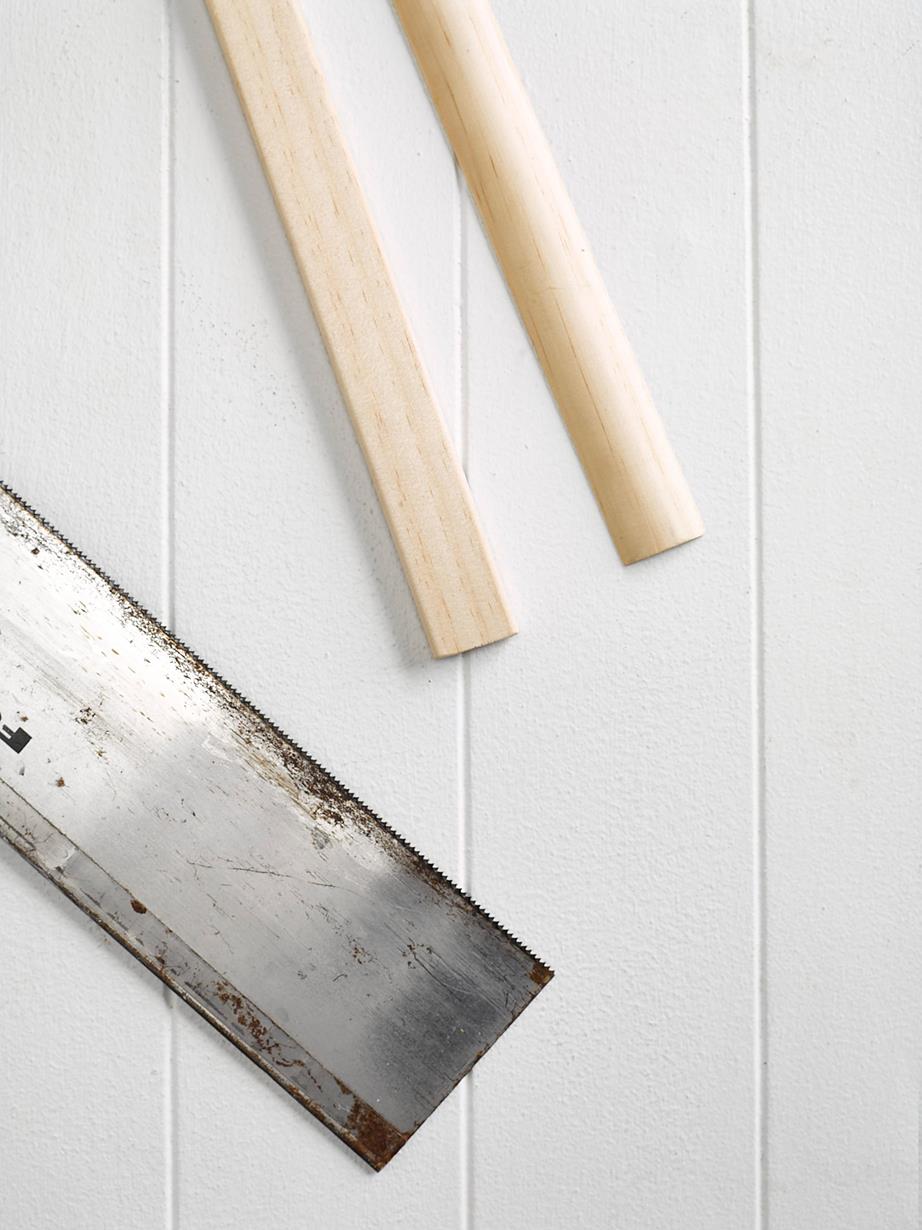
Hand saw
Sandpaper
Paint or wood stain (optional)
Sharp scissors
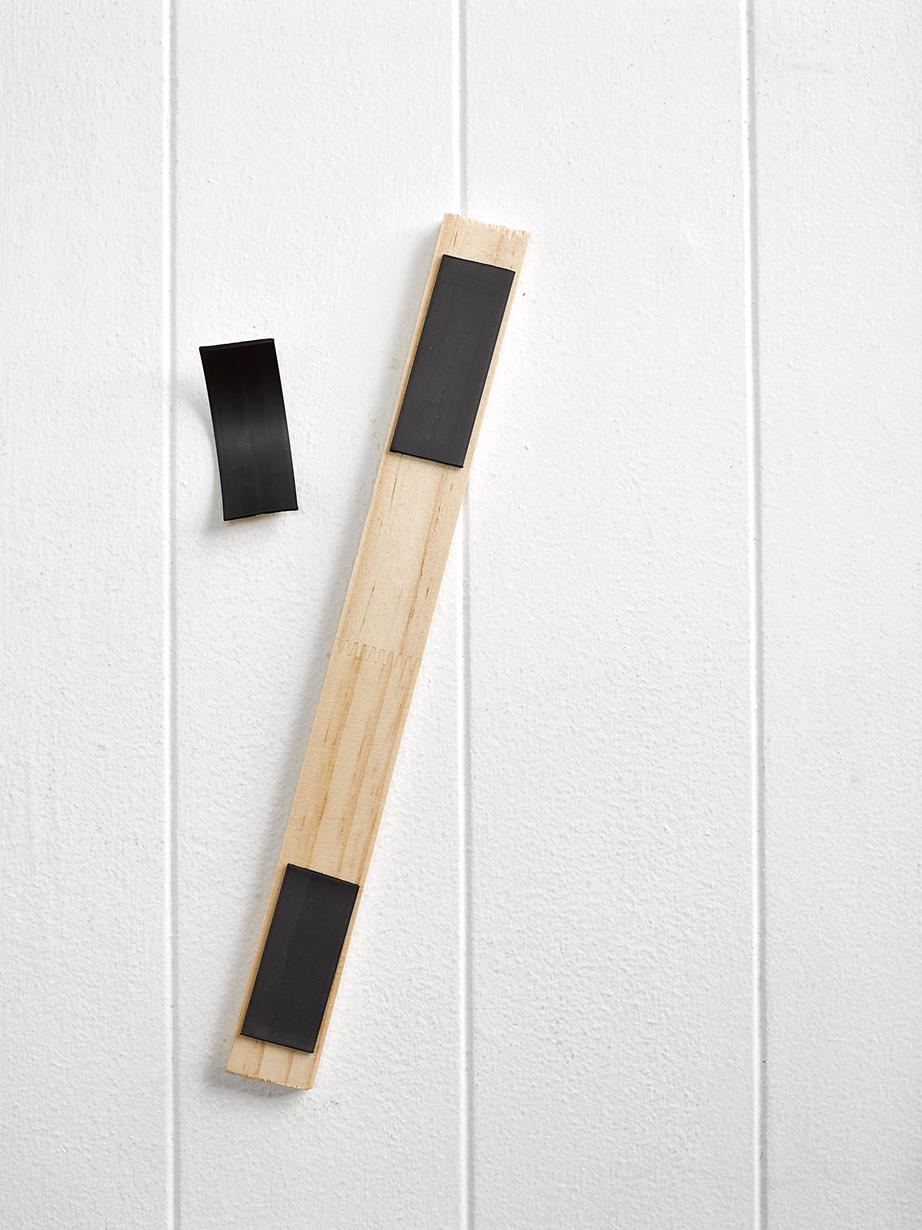
Magnetic tape
Superglue
String
Leather strap
Parchment paper
Heavy book
Tip: First, choose your art and measure each piece. Then work out how much wood and leather you’ll need before getting started.
Step 1
Measure the width of your artwork or poster. Measure and mark four pieces of half-round wood to this length. Double-check the marks match up exactly with the width of your artwork.
(Photo Credit: Wendy Fenwick)
Step 2
Use a hand saw (or drop saw if you have one) to cut through marks as neatly as you can. Give the ends a good sanding to smooth them off. If you would like, paint or stain the wood if you wish and leave to dry completely.
(Photo Credit: Wendy Fenwick)
Step 3
Cut eight strips of magnetic tape, each about one-eighth the length of the wood. Take a piece of wood and stick two strips of magnetic tape onto the flat side, one at both ends, using the tape’s own adhesive or a little superglue. Repeat for the other wood pieces.
(Photo Credit: Wendy Fenwick)
Step 4
Now make your handle. The larger your artwork, the bigger the loop will need to be. You can test this with a piece of string first. When you’re sure of the length you want, measure and cut your leather strap.
Step 5
Glue both ends of the leather to one piece of wood as shown in the picture. While the glue is drying, place a piece of parchment paper over the glued ends, and place a heavy book on top, so the leather dries flat.
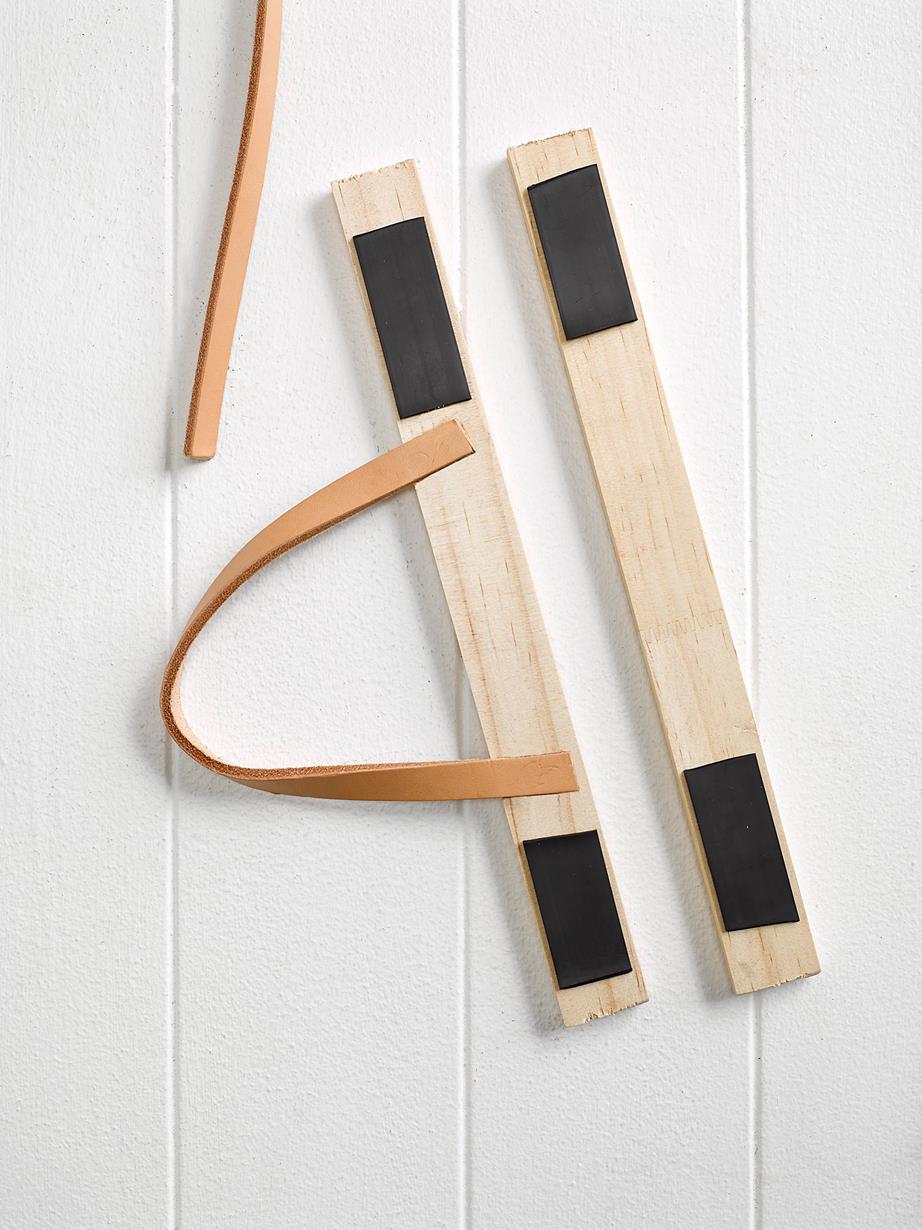
(Photo Credit: Wendy Fenwick)
Step 6
Once the glue has dried completely, sandwich your artwork between two pieces of magnetized wood at top and bottom. It might take some adjusting at first to get it straight.
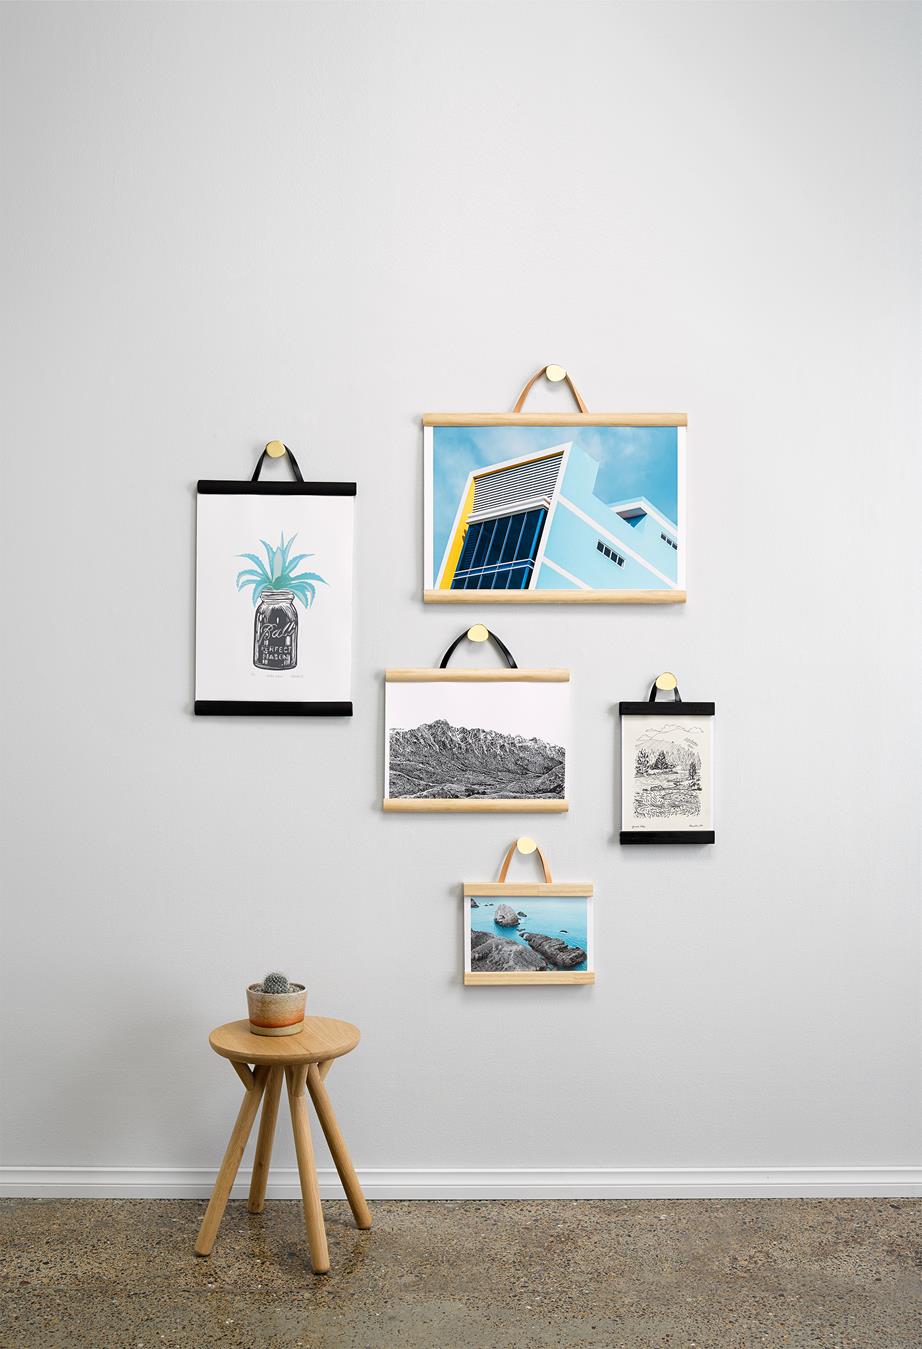
Tip: Make different sized picture hangers to create an eye-catching art display! (Photo Credit: Wendy Fenwick)

This post was written by Catherine Wilkinson and Martin Laidlaw. For more, check out our sister site Homes to Love.
More from FIRST
Make Hanging Pictures So Much Simpler with This Genius Fork Trick
4 Easy DIY Pegboard Projects for Maximizing Your Space
12 DIY Halloween Costumes You’re Going to Want to Start This Weekend


