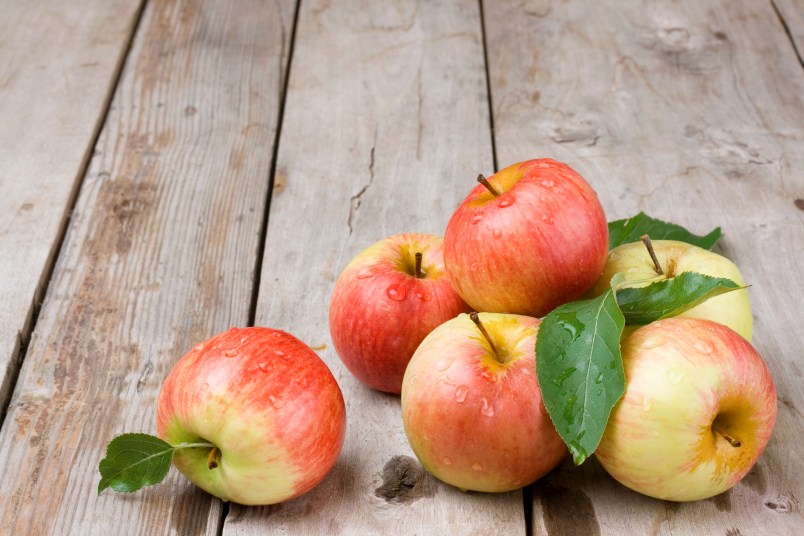
How to Preserve Ripe Apples and Save Them for Later

Did you just go apple picking with the family only to return home with an abundance of apples that you’re never going to be able to eat? Been there, done that. Luckily, you can preserve apples when they’re at peak ripeness and save them to use for your favorite fall recipes all season long! The easiest method? Freezing them.
Freezing your ripe apples might sound a little weird, but trust us, once you start, you’ll never go back. Other methods for preserving apples require canning and jarring and cooking, but who has time for all of that? Simply freezing your apples is a great way to save them for quick use later on.
Just as you wouldn’t take a bite out of a frozen preserved tomato, you won’t want to chomp into an apple like you normally would after it it has been frozen and thawed. Freezing changes the texture of the fruit and once they’re defrosted, they’ll be quite mushy and unappealing in texture.
However, freezing your apples is a great way to save them if you’re looking to bake up an apple pie, blend together a smoothie, or make apple sauce down the line. Below, we share two easy ways to do it.
How to Preserve Apples by Freezing Them
The first way to preserve your apples is by freezing them whole. This is by far the easiest way to do it, as all you have to do is gather your ripe apples, give them a thorough wash, and place them on a baking sheet lined with parchment paper in the freezer. Keeping them on the baking sheet ensures that they don’t stick together. Once they’re frozen, you can transfer them to a freezer bag and store that way.
The next way to preserve apples by freezing them is to store them pre-sliced. This requires a little more initial effort on your part, but it will make your life easier when it comes time to use them in recipes. To start, prepare some lemon juice or lightly salted water, which will help prevent your apple slices from turning brown from oxidation. Then, wash and peel your apples (unless you prefer them skin-on in your recipes), and cut out the cores. Cut them into slices, then dip each slice into your lemon juice or salt water mixture and place them on a lined baking sheet.
Allow the apple slices to freeze for a few hours, then remove the baking sheet from the freezer. You can now transfer your apples to a freezer bag for storage. Once you’re ready to use them, there’s no need to thaw before tossing them into recipes, though you may need to extend your cooking time.
Frozen apples will keep for about 12 months, so make sure to get out there and harvest the best of what this season has to offer!


