Brow Lamination Before and After: You Won’t Believe How Dramatically This Simple Procedure Can Restore Thinning Brows
Discover how easy this salon procedure is — and how you can get the same results at home for less!
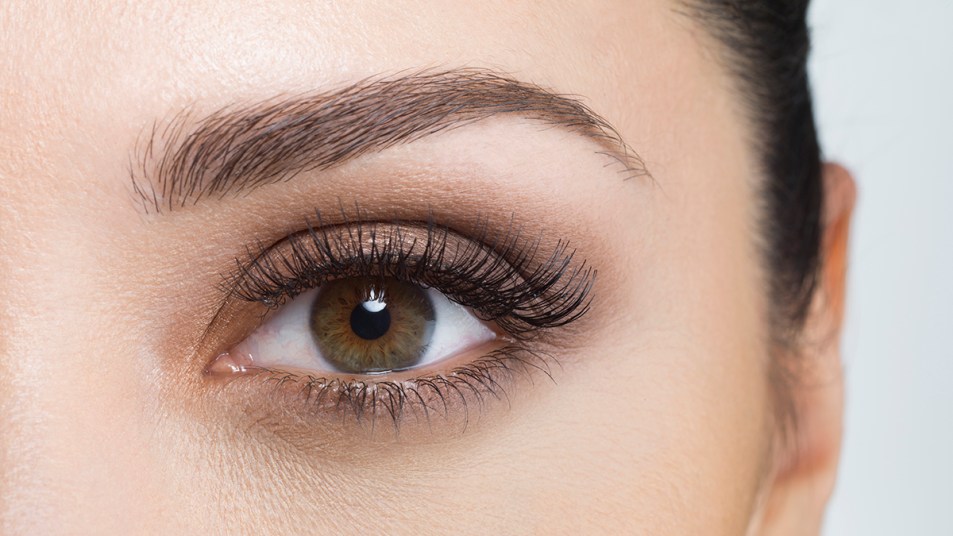
Picture this: You wake up in the morning, roll out of bed and look in the mirror to see that your previously sparse eyebrows are already full, fluffy and flattering, no makeup needed. Sounds like maybe you’re still dreaming, but in fact, achieving the brows of your dreams has never been more routed in reality — thanks to brow lamination. This beauty treatment is basically a magic wand for your eyebrows, especially if you’ve gracefully embraced a few more candles on your birthday cake and tend to already struggle with thinning hair. And while the simple procedure can cost upwards of $50 at the salon, once you’ve had it done once professionally, you can continue doing it with an at-home kit. And once you see the brow lamination before and after photos we’ve lined up, we bet you’ll want to give it a try. Read on to learn more.
What is brow lamination?
If you’re struggling to picture what, exactly, brow lamination is, you aren’t alone. Even just a couple of years ago this beauty treatment was much more niche. But thanks to social media platforms like Instagram and TikTok, where the tag “brow lamination” has been used over three billion times, this treatment has become more and more popular as a less-invasive alternative to microblading. (Click through for microblading before and after photos.)
The concept of brow lamination is actually pretty similar to other popular beauty treatments, such as perms or lash lifts. “Brow lamination is a perming technique that temporarily alters the direction of the hair growth,” says Bruna Cavallari, owner of New Jersey-based salon BeautyxBru. “This allows us to manipulate the hair placement to conceal gaps, create a fuller appearance and tame unruly hairs for effortless styling.”
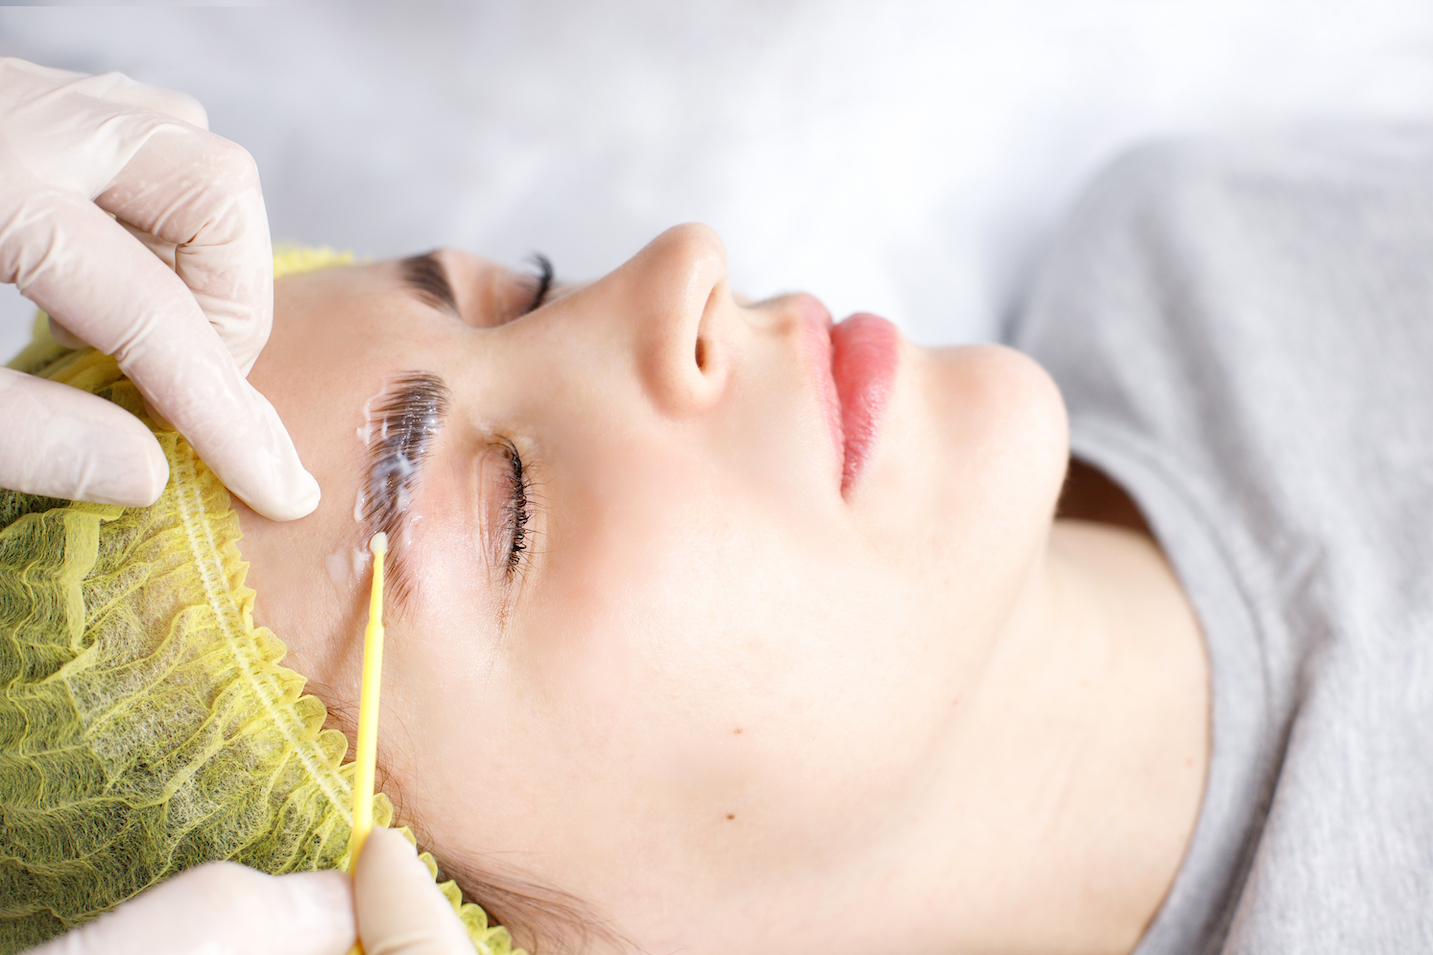
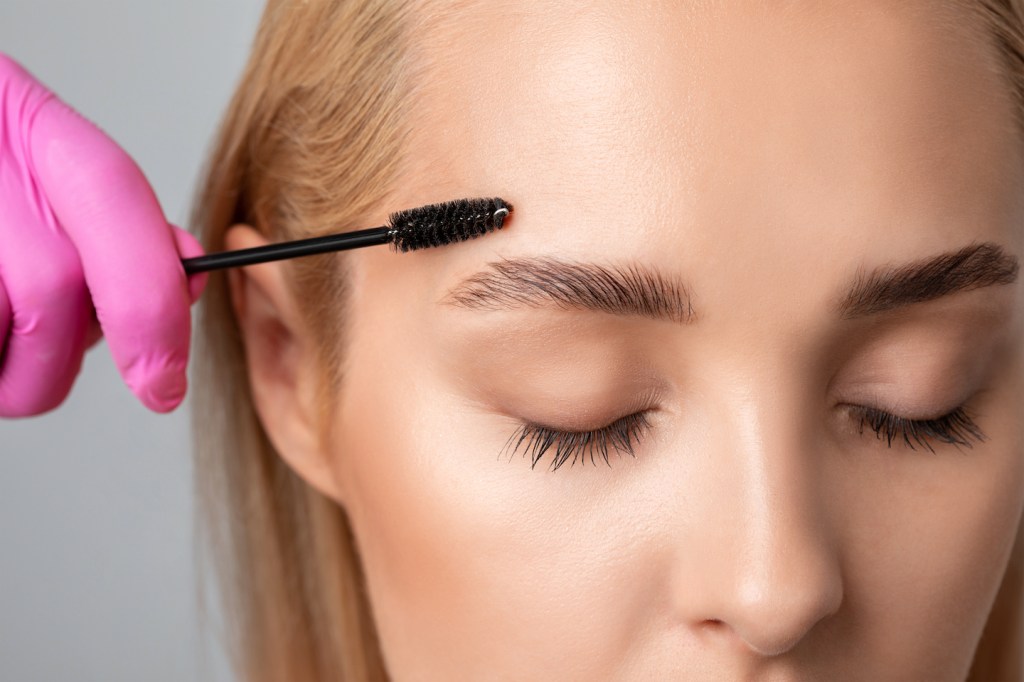
A chemical is applied to the brow to lift and separate each individual hair before they are combed and sealed into the ideal full, fluffy shape.
Benefits of brow lamination for women over 50
You might be tempted to think that this sort of trendy beauty treatment is a young woman’s game. But many women begin to experience thinning hair in their 40s as their estrogen levels drop, which can lead to overly sparse brows that don’t grow back after plucking. Brow lamination is a way to create fuller brows without the daily work of filling them in.
Leo Folden of California-based Studio Simonyi believes that while his clientele used to be on the younger side, he’s seeing more and more older women who are benefitting from this service, he says. “And best of all, laminated brows can be styled sleek, fluffy or full.”
Deras also recommends that women over 50 give brow lamination a chance. “I actually love the before and afters of a brow lamination on an older woman, because they’re always so surprised how much brow hair they have and what their own brows are capable of!”
What upkeep does brow lamination entail?
One of the major benefits of this procedure is how little upkeep it requires. Once your brows are laminated, you can kiss the daily struggle of taming them with gels and pencils goodbye. A little extra hydration is all they’ll need to look full and fabulous all day long, from the moment you wake up until the moment you hit the pillow again at night.
“I give my clients a mini after care kit that comes with castor oil,” says Sared Deras of California-based beauty business @drsbrows. “To me, this is the best oil since it hydrates the brows and promotes hair growth. I recommend to dab some on daily and brush up with a spoolie.” (Click through to learn more about how castor oil regrows thinning hair.)
How often do I need to get my brows laminated?
How often you need to get your brows laminated, as well as how much it costs, depends on your personal preferences and the studio that you go to. But in general, estheticians recommend waiting at least six weeks between lamination sessions, especially for women over 50 who may have thinner brows to begin with.
“I recommend clients get this treatment every six weeks, to give the brows a break and fully get them back to normal,” says Deras. “Anything sooner can be too fragile for the brows, especially if they are not so thick.”
How much does brow lamination cost?
Each brow lamination treatment can cost between $50 to $150, depending on where you live and how much your local salon charges. If that seems a bit beyond your budget, we have good news: You can also buy at-home brow lamination kits to DIY this bold new beauty treatment.
To see an in-salon brow lamination in action, watch this Youtube video:
How to do brow lamination at home
Before forging ahead with an at-home lamination kit, there are a few things you should know. First, just like doing a perm at home can be risky, so too can eyebrow lamination. If done incorrectly, you run the risk of ruining the integrity of your eyebrows. So we’d recommend heading into the salon to get at least one brow lamination treatment done professionally so you can ask questions and learn more about the process before trying it at home. “Consulting a professional for an assessment is recommended, as they can determine whether you are an ideal candidate for brow lamination in the first place,” Cavallari explains.
Find a high-quality at-home brow lamination kit: If you’ve seen what the pros can do and are still committed to laminating your eyebrows at home, there are a few important steps to take to make sure you have the best DIY experience possible. First, you’ll want to find a high-quality box kit from a reputable beauty supply source, like Makeup Revolution Brow Lamination Kit (Buy from Ulta, $25).
Make sure to patch test: Patch-testing and considering any sensitivities or allergies you may have is a good rule of thumb before brow lamination in general, not just an at-home procedure. “We use a keratin solution to redirect the brows, and it would be good to know if a client has any allergies to the hair dye solution, or sensitivity of the skin,” says Lin Seto of Sydney-based salon Lash Blossom. Only after you’ve ruled out the possibility of a reaction should you proceed with your brow lamination.
Create a barrier: Just like you’d create a barrier before dyeing your hair at home, it’s a good idea to create a skin barrier around your eyebrows before laminating them. You can do this by gently rubbing Aquaphor or Vaseline into the skin around and above your eyebrows to protect them from the laminating chemicals. (Click through to discover how aquaphor can help regrow eyelashes and eyebrows.)
Set a timer: Timing is everything with this treatment, so to help you keep track of time and make sure you don’t leave any of the chemicals on your skin longer than necessary, make sure you have some sort of an alarm or timer handy. If you leave the laminating agent on for too long, you run the risk of burning your skin.
Brow lamination before and afters
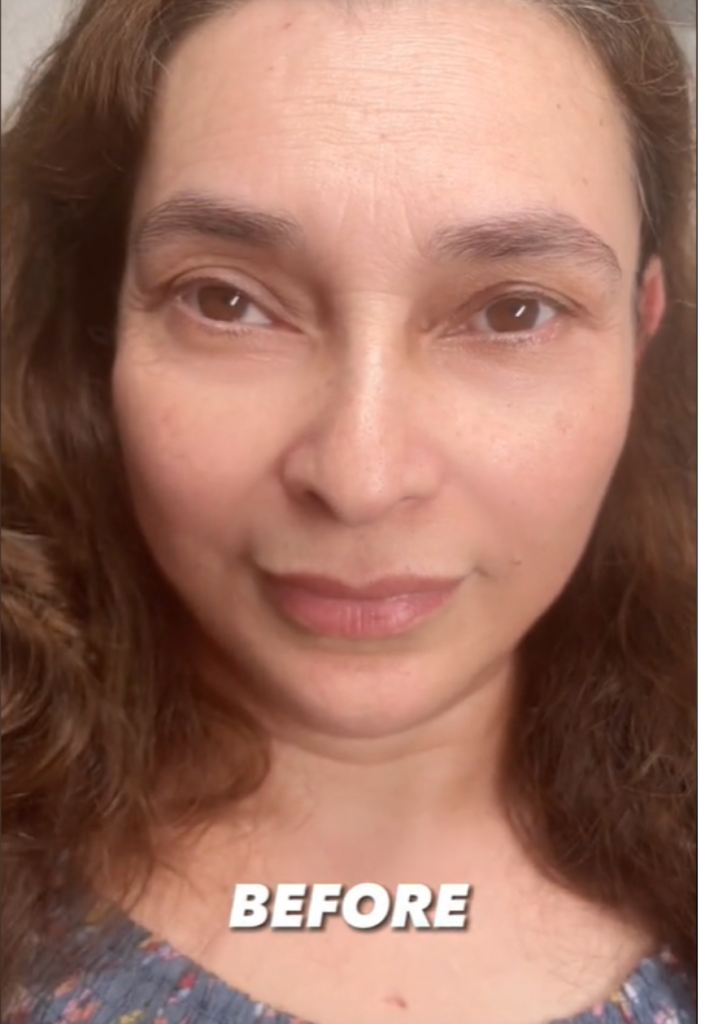
If our deep dive into the world of brow lamination before-and-afters proves anything, it’s that women of all ages can enjoy the confidence boost that comes from having full, perfectly shaped brows at all hours of the day. Here, 5 we love:
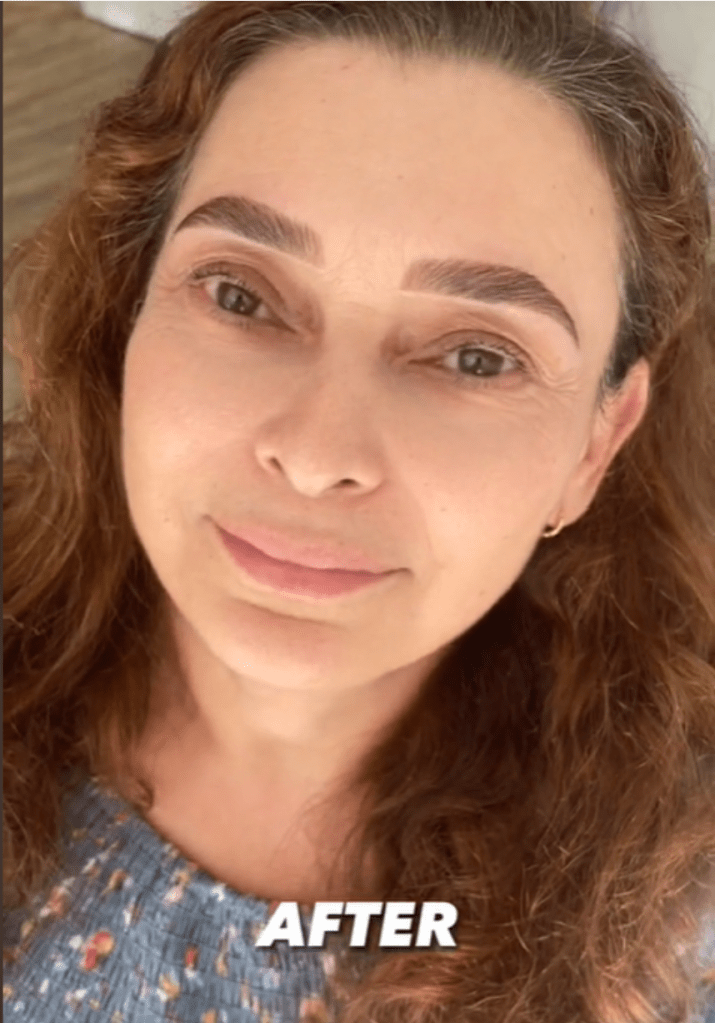
1. TikTok user @browsbymonnar2 demonstrates a before and after brow lamination on one of her clients. Although the general shape of her client’s eyebrows have remained the same, you can clearly see that they are much fuller and more defined after her lamination treatment.
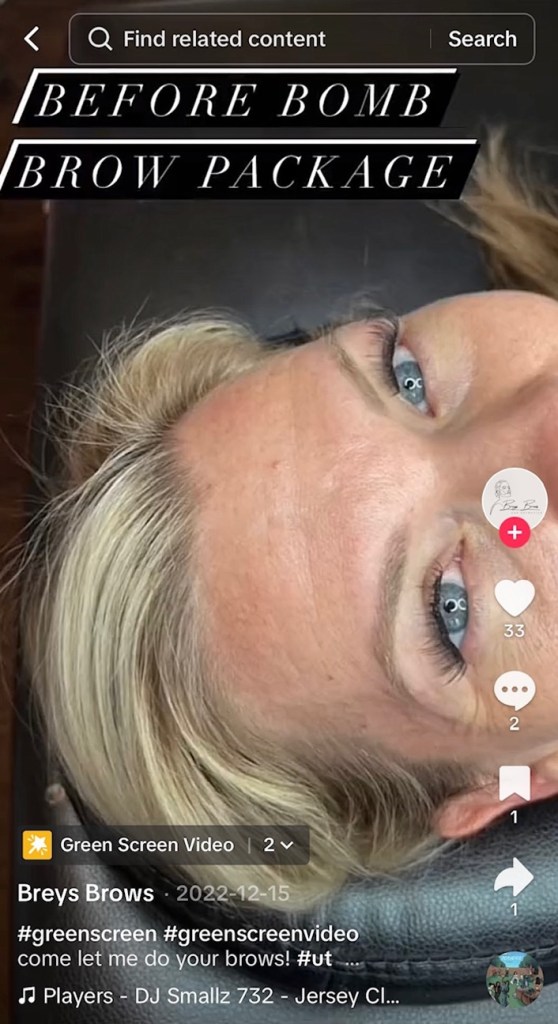
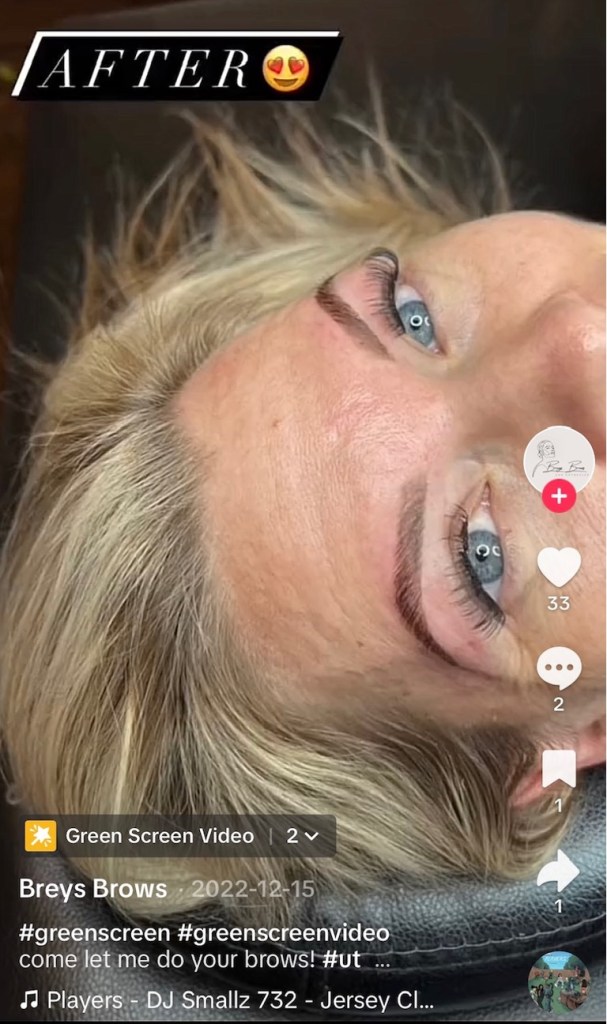
2. TikTok user @breysbrows demonstrates before and after a brow lamination on one of her clients.
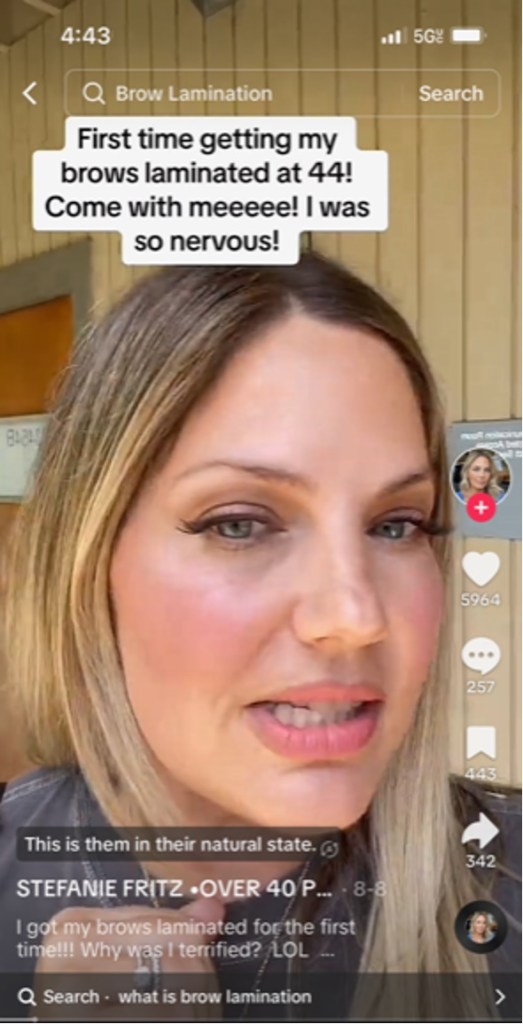
3. Professional makeup artist Stefanie Fritz demonstrates her before and after getting her brows laminated for the first time at age 44.

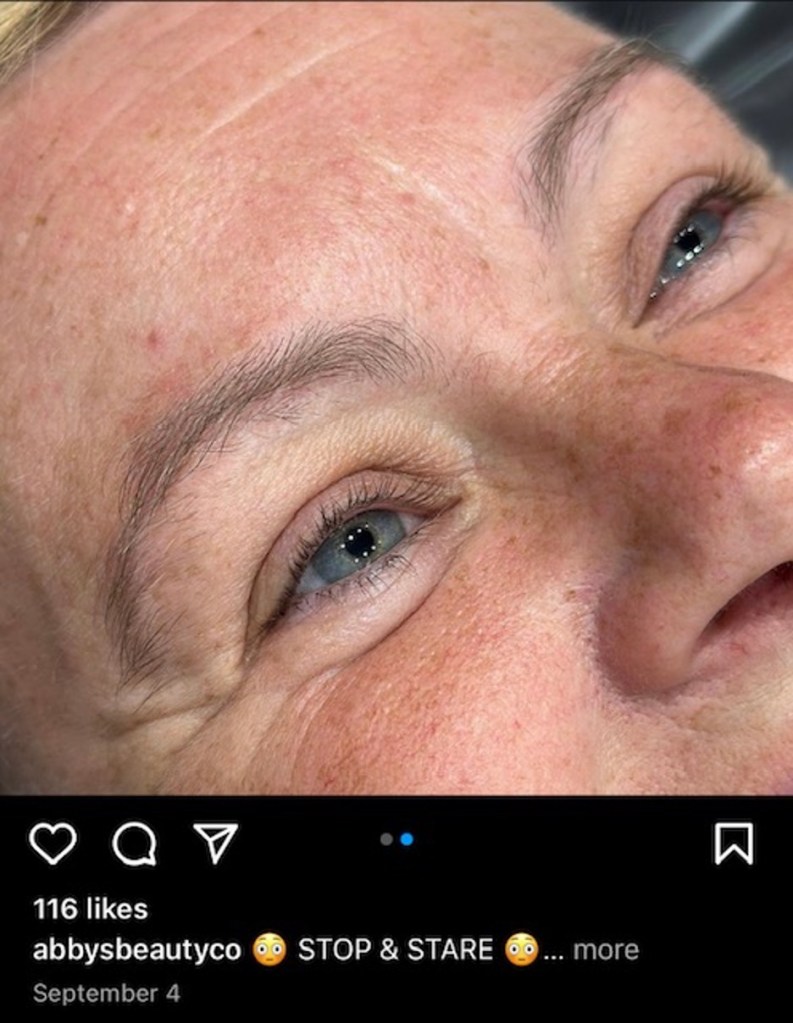
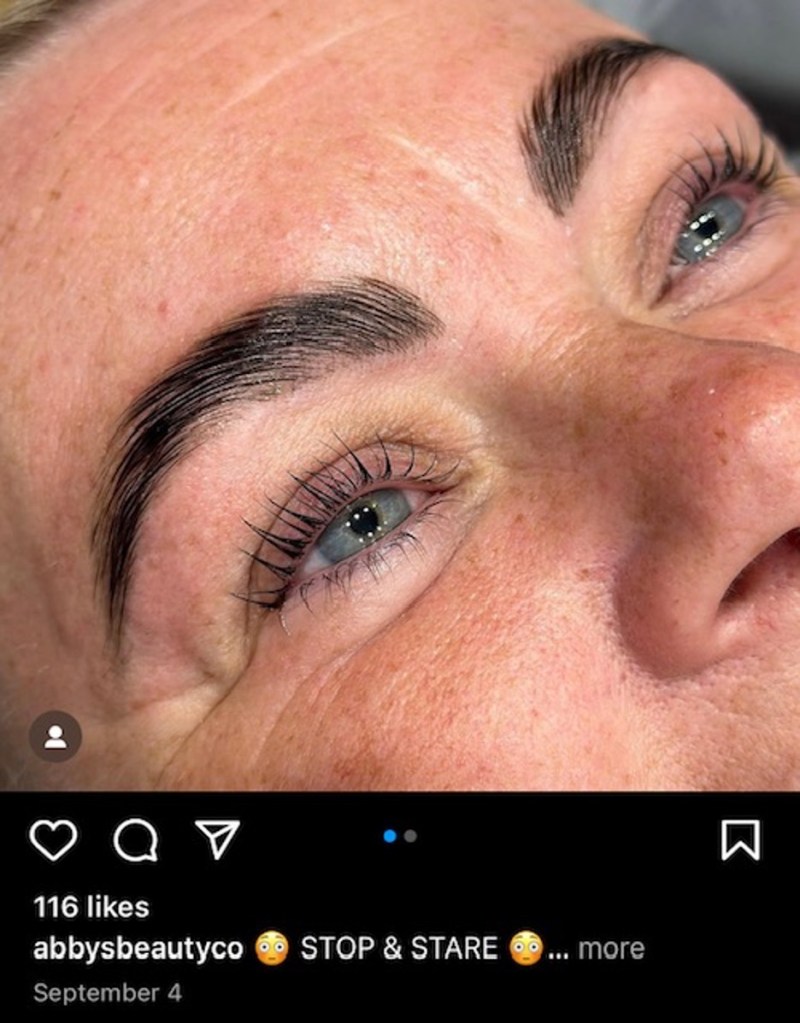
4. Instagram user Abby Murray demonstrates before and after brow lamination and tinting on an older client.
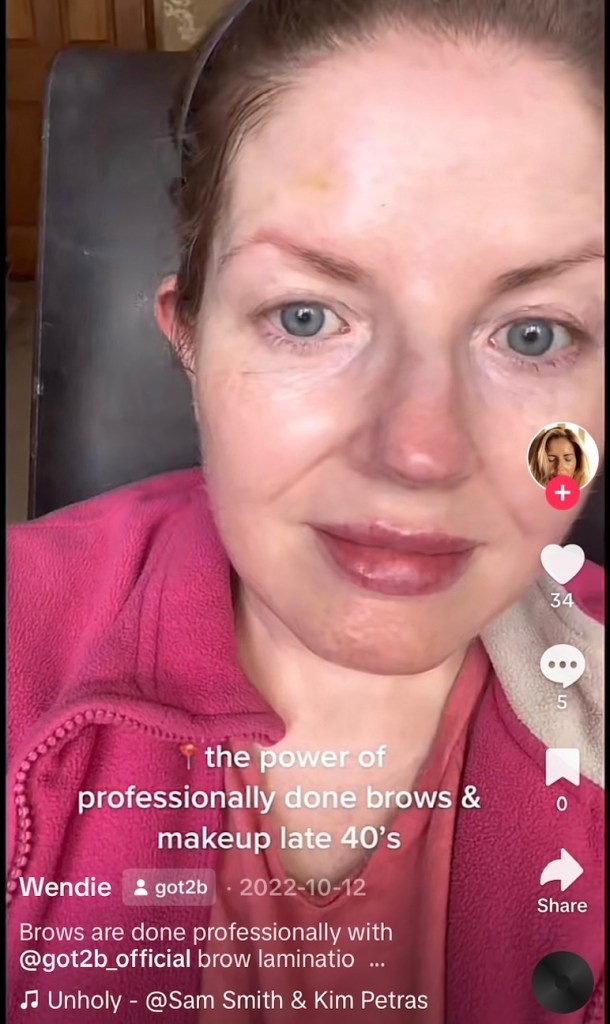
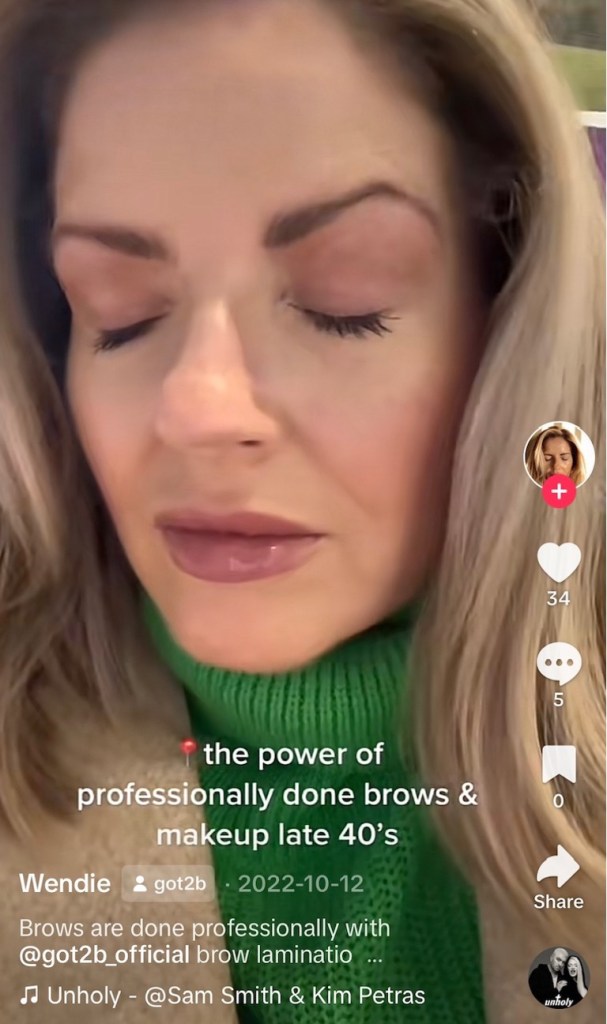
5. TikTok user @wendiegregg demonstrates a before and after using an at-home brow lamination kit. We especially love how she has kept the natural shape of her brows and used the power of brow lamination and makeup to emphasize her natural beauty, rather than trying to over-correct.
Is brow lamination right for you?
If you’re still unsure whether brow lamination is for you, we get it – the sheer number of new beauty treatments out there can be overwhelming. How’s a woman supposed to know whether she should get her brows dyed, microbladed laminated or none of the above?
One of the best ways to determine which beauty treatment best fits your needs is by getting a consultation from a professional aesthetician. This is also a good way to get your questions answered about different procedures before committing to spending the big bucks on one.
You could also consider why you want to get your brows laminated. At the end of the day, getting this type of beauty treatment should be about having fun and feeling more confident in your own skin.

To learn more about how to thicken brows, click through these stories:
‘Soap Brows’ Are the Secret to Making Sparse Eyebrows Look Thick and Fluffy in Seconds
MDs + Makeup Artists Reveal The Best Ways to Make Sparse Brows Look Thicker Today
Women Over 50 Are Increasingly Turning To The Simplicity of Permanent Makeup
Before & After Photos That Prove Keratin Treatments Can Make Hair Gorgeous


