Microblading: ‘I Got Semi-Permanent Eyebrows in My 50s and I Feel Years Younger’
Nancy Anglis, a dental hygienist in her 50s, had severely over-tweezed eyebrows. She regularly spent her mornings filling them in with every brow product from pencil to powder to gel — she even tried brow stencils! But then she heard about microblading — a semi-permanent technique that uses a specialized handheld tool to tattoo tiny “hairs” and create a fuller brow— which shaved precious time off her morning routine and took years off her face.
Although microblading before-and-after photos often feature women in their 20s and 30s, Nancy’s experience sheds light on why this procedure is quickly gaining popularity with women in their 40s, 50s, and beyond. The cost of the procedure can range from $300 to $800, but when you think about all the time and money spent on beauty products you will save, it could very well be worth it. It certainly was for Nancy.
“When I was in my teens and 20s, I tweezed my eyebrows very thin because that was the style,” Nancy explains. “There was only one person in my generation at that time that had the big, full eyebrows and that was Brooke Shields. She looked so different from the rest of us, but Brooke was right, we should have kept them full!”
By the time Nancy realized this, it was too late, and in her 40s, her eyebrows stopped growing in altogether. So every day for at least 10 years, she spent 10 to 15 minutes filling in her brows with the mass of products she had accumulated. But on January 1st of this year, she decided enough was enough. “I thought that this year, I really wanted to look younger,” she says. She knew she had to do something about her brows.
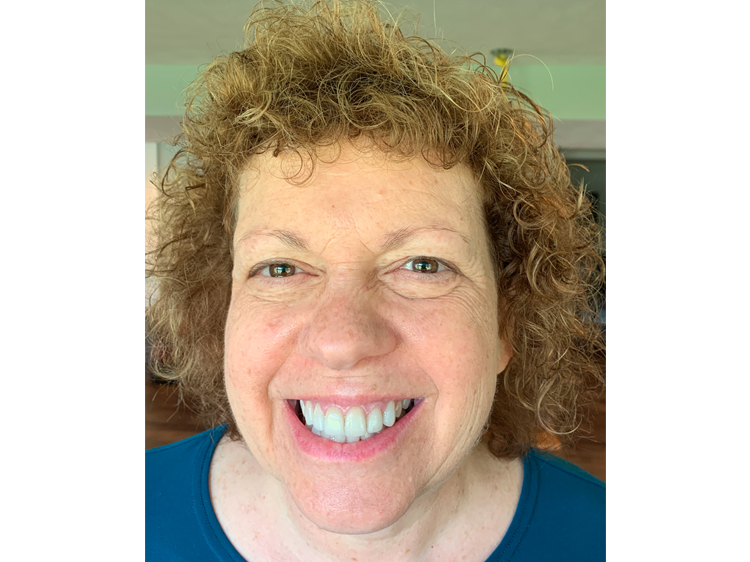
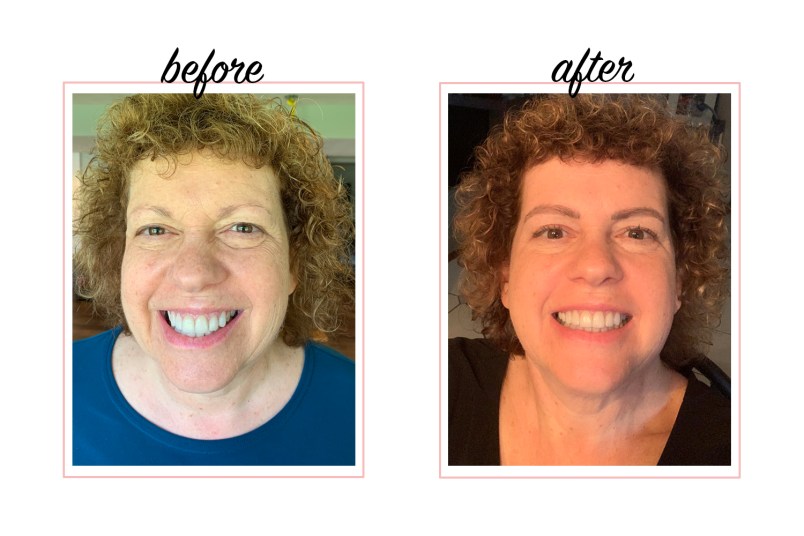
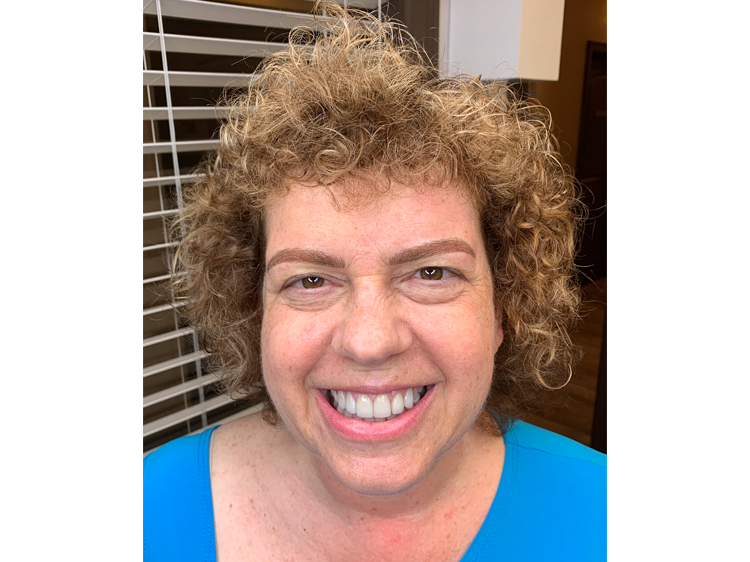
Nancy before her microblading procedure without makeup. (Photo Credit: Nancy Anglis)
The Lead-up
Nancy first heard about microblading from some patients at the dental office where she works. She was attracted to the idea (touch-ups are only needed every few years!), but she was anxious about how they would look — not to mention thinking about getting a tattoo on her face!
“I saw a lot of people’s brows that had microblading, but it did not look good,” she says. “They did not look natural. They looked like I drew them on.”
So Nancy dived into her own research, comparing before-and-after photos from various salons and studios. “I looked for women in their 50s like me,” she explains. “I looked for people who had wrinkles and dark circles under their eyes. Because when they’re young and beautiful, everybody looks great. They might just be looking for something with a little artistic flair, but I wanted a complete renewal.”
She finally decided on Shana Irish at Skyn Studio, in Chicago, about an hour away from her hometown. At her preliminary consultation, Shana spoke with Nancy about all the custom brow shapes she could get. “I had seen some people who got the Cruella de Vil look and I did not want that,” Nancy explains. “I work very closely with people in dental hygiene, so I wanted a very friendly, smooth, rounded arch that wouldn’t be intimidating to my patients. I wanted one that would open up my face.”
Shana’s extensive knowledge made Nancy feel very confident, so she booked her microblading appointment then and there.
Nancy before her microblading procedure with makeup. (Photo Credit: Nancy Anglis)
The Procedure
The first hour was all about prep work. Shana applied a topical anesthetic to the eyebrows to get the tissue numb. She reviewed Nancy’s medical history and consent forms and confirmed that she followed her directions: no coffee, alcohol, Advil, or aspirin for 24 hours before the procedure.
Once Nancy’s eyebrows felt sufficiently numb, Shana took a makeup pencil and began drawing and mapping out her new brows. As she determined the best shape, Nancy was able to speak up if she wanted any modifications.
The actual procedure took about an hour. Nancy kept her eyes closed throughout the process, but Shana let her know everything she was doing along the way. She could feel Shana’s fingers on her eyelid to ensure that the tissue — and the ink — would be even along the way. She could also feel her moving back and forth between the brows to make sure they were even, which calmed her nerves.
Shana used a few different types of needles throughout the process. The first, attached to a machine, added the color that would serve as a base for her new “hairs.” It also had an additional topical agent on it to numb the tissue even more. “The numbing gel makes it comfortable,” says Nancy. “But you’re aware — it feels like there’s tweezing and pinching.”
The next machine had needles that added shadowing to the brown shade to make it look natural. Then finally came the handheld microblading instrument, which Shana used to draw the hairs on top of the shadowing and shading from the inner corner of the brow and filling in the tail with a little speckling. These tiny details, coupled with the layers of the new “hairs” on top of the shadow ink the reason microblading can look so natural.
After the procedure, Shana sealed the brows with a liquid bandage and gave Nancy special ointment to apply a couple times a day. “I was done in two hours, and when I looked at the brows, I loved them,” she says. “It was just stunning. It was exactly what I wanted.”
The After-Care
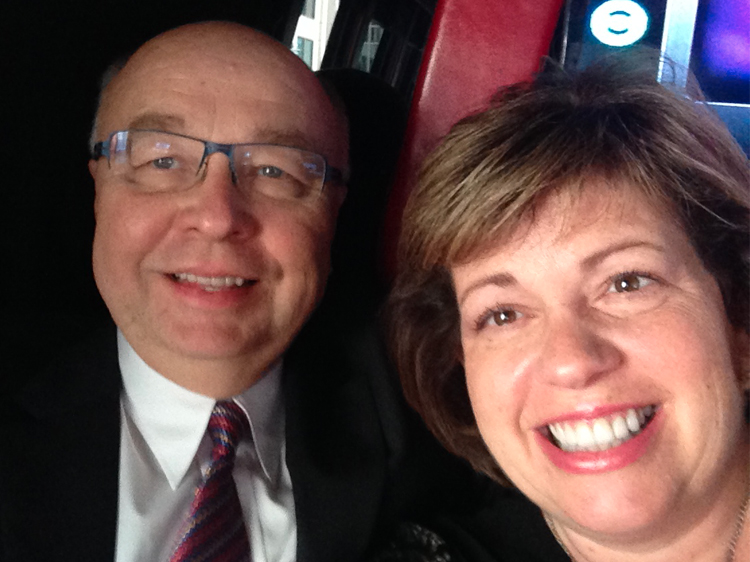
Though it was love at first sight for Nancy, be warned that right after the procedure brows will look pretty intense. “When you leave, it’s very dark,” she says. “So my husband was really surprised when he saw me. His eyes got as big as saucers, like, ‘Whoa!'”
But after a week, her brows faded to a medium tone that fit her hair color — and her husband and the rest of her loved ones were just as happy with the results as she was. As for care, Shana instructed Nancy to keep the area around her eyebrows dry for three days. When there was oozing, she was just to press gently on her brows with a clean paper towel. And for about 10 days, she couldn’t wear makeup and had to avoid sweating.
After the healing period, she simply had to put sunscreen on them every day to protect the skin and preserve the ink, so she can avoid having touch-ups any sooner than she needs to. In her case, she agreed with Shana that she’d see her again in three to five years.
Nancy after her microblading procedure. (Photo Credit: Nancy Anglis)
The New You
Nancy no longer has to spend all that time on her brows in the morning. She wakes up, starts putting on her makeup (she also feels like she doesn’t need as much eye makeup as she once did), and feels so happy to skip her tedious brow process. Oh, and they look perfect — every single day! A bunch of her friends have even asked for referrals to get theirs done, too.
If you’re sick of obsessing about your brows, Nancy highly recommends microblading. But the key is finding an artist to do it correctly. Be sure to look for a place that emphasizes cleanliness, safety, and experience. No matter where you live, she encourages you to go online, read reviews, look at before-and-after photos in your age range, and save up to go to the very best artist.
Nancy spent $750 plus tip on her new brows. “There are plenty of places nearby that just cost $200, but like with anything, you get what you pay for,” she says. For Nancy, there was no skimping on experience, professional care, or artistic talent.
“In my life, I never thought I would do this,” Nancy says. “I’m pretty conservative and it was a really big deal to think about putting something semi-permanent on my face.” But she couldn’t be more grateful that she did. “I’m really happy,” she says. “It’s such a difference!”
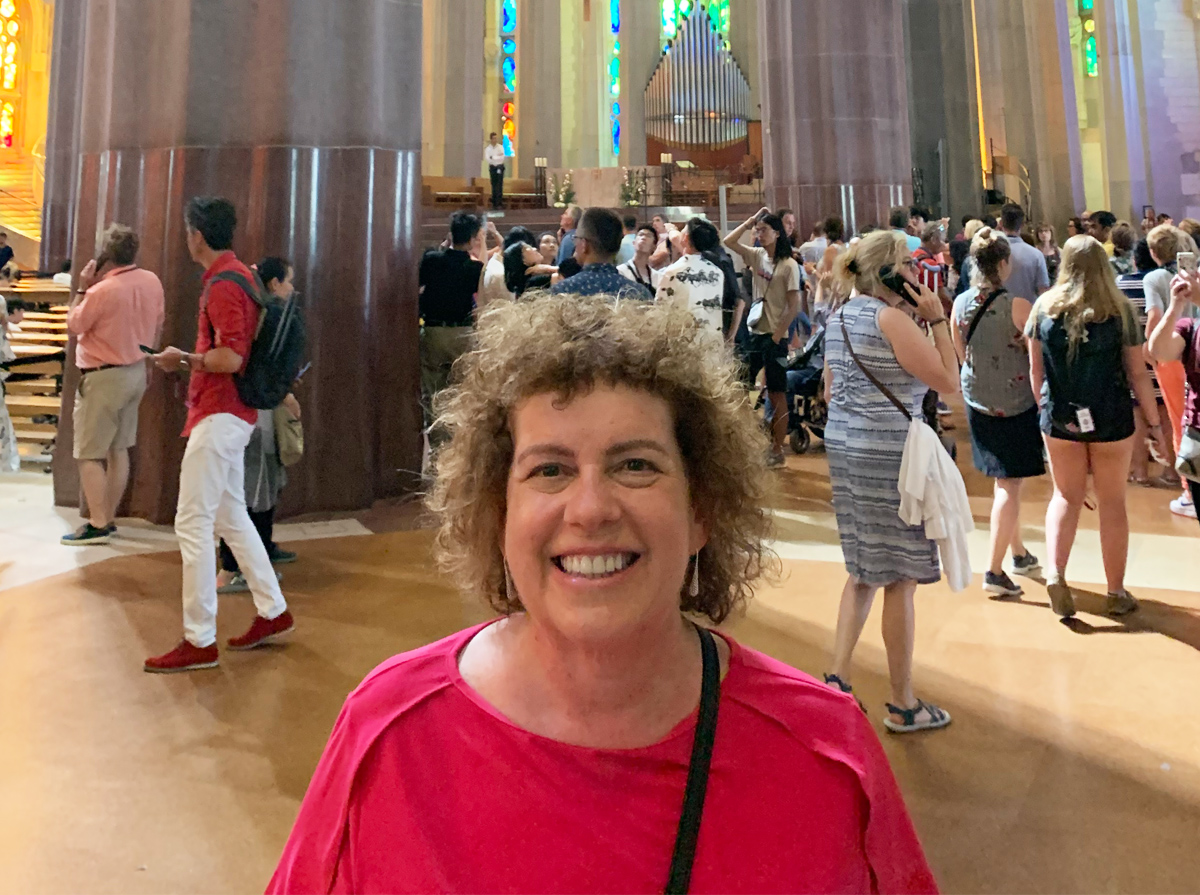
Nancy several weeks after her microblading procedure. (Photo Credit: Nancy Anglis)
More From FIRST
This Affordable Oil is Kate Middleton’s Go-To for Flawless Skin
What Skincare Products Do You Really Need – And In What Order?
29 Best Natural Skincare and Beauty Products for Healthy, Glowing Skin