5 Tips for Safely Lighting and Burning Candles So Your House Smells Amazing
Nothing sets the scene like candlelight at home to provide a welcoming fragrance or to encourage relaxation. Experts know that you get what you pay for when buying candles. The best candles are often the priciest to reflect the raw materials, time, and skill that have all come together to make your home smell amazing while they burn.
And if you’ve spent a pretty penny on your candle collection, it’s only natural to want to make each candle last longer. But it’s the little things you’re doing that are compromising the burning experience and the long life of your candle. We spoke to Winnie van Donk at Candle Kiosk for tips on avoiding five of the most common mistakes people make when they burn candles.
Not Setting the Memory of Your Candle
A common mistake is to not let the candle burn for long enough during the first burn. The size of the wax pool during the first burn determines the life of the candle. Subsequent burns won’t melt the wax beyond the initial wax pool, so if it didn’t melt close enough to the edge of the candle, tunneling (when a candle burns hollow or leaves a thick, unused mantle or rim) might occur. Tunnelling can be avoided by making sure the initial burn is long enough to melt the candle all the way to the edge. This is called “setting the memory” of the candle.
Do this instead: As a rule of thumb, burn a new candle for one hour per one inch in diameter. So for a three inch diameter candle, the initial burn time should be at least three hours.
Not Trimming the Wick
A wick that is too long can cause a candle to start smoking. Keep your wick trimmed at all times. A trimmed wick creates a calm, steady flame, which means the candle’s burning process is in balance. The wick is efficiently pulling up the right amount of wax, and the flame creates complete combustion. A wick that is too long won’t be able to draw wax all the way to the top, and the wick itself will start to burn, causing it to smoke.
Do this instead: Before lighting, trim the wick to 1/4 inch and remove any wick debris. Any debris left in the wax pool can disturb the burning of the candle.
Placing the Candle Too Close to Drafts
A candle that is in a draft can start flickering and will likely smoke, and a strong draft can cause a candle to start dripping.
Do this instead: To avoid this, eliminate it the source of the draft by moving the candle to another area or shielding the candle to protect the flame.
Using the Wrong Container
Candles look great and burn safely inside a container or vase, however make sure you use the right size container. If the vase is too small for the candle, the candle might start flickering and smoking.

Do this instead: Use a container that is open on both sides (top and bottom) so hot air can rise out and cold air can get sucked in from the bottom. Choose a bigger container or smaller candle — make sure that there is roughly half the candle diameter of space between the candle and the vase edge. For a three inch candle, there should be at least one inch of space between the candle and the edge of the container
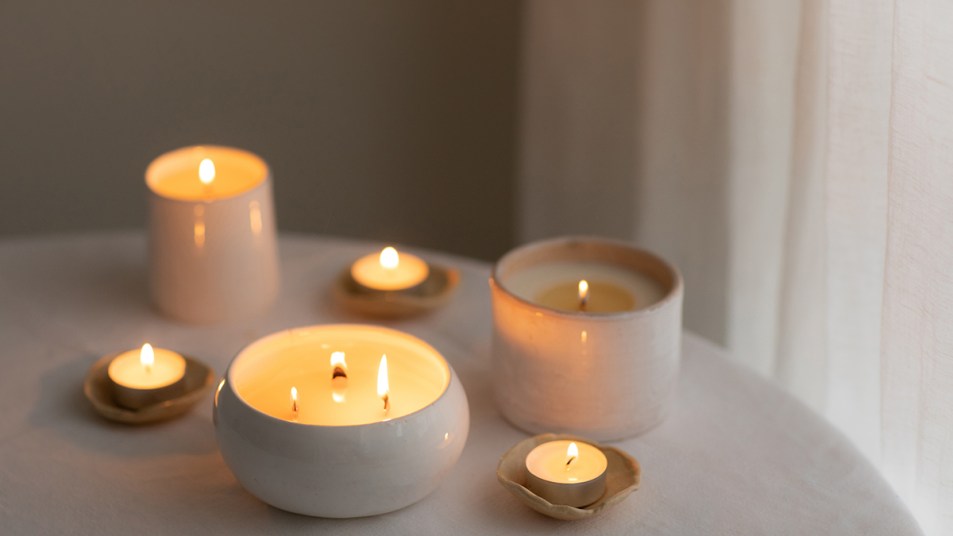
Placing Candles Too Closely Together
A setup with multiple candles in a variety of sizes can look beautiful, yet make sure the distance between the candles is large enough to avoid irregular melting, warping, and ultimately dripping.
Do this instead: Place lit candles at least three inches apart to avoid melting and warping due to heat from neighboring candles.
This article originally appeared on our sister site, Homes to Love.


