How to Find and Fix a Leak in an Air Mattress — Genius Soap Trick Makes It So Easy
Here's everything you need to know whether you're at home or on the go!
Air mattresses come in handy in a number of situations, but especially during overnight get-togethers when extra beds are in high demand. Whether you’re using one to camp outdoors or hosting a slumber party in your basement, an air mattress provides a comfortable night’s sleep if properly inflated. But if you’ve ever slept on one, you know how quickly it can deflate, and a sneaky, likely very small hole is almost always to blame. Luckily, repairing it is pretty simple. The real trick? Knowing how to pinpoint the leak. That’s why we turned to pros for their time-tested tips of how to find an air mattress leak and fix it fast.
The best way to find a leak in an air mattress
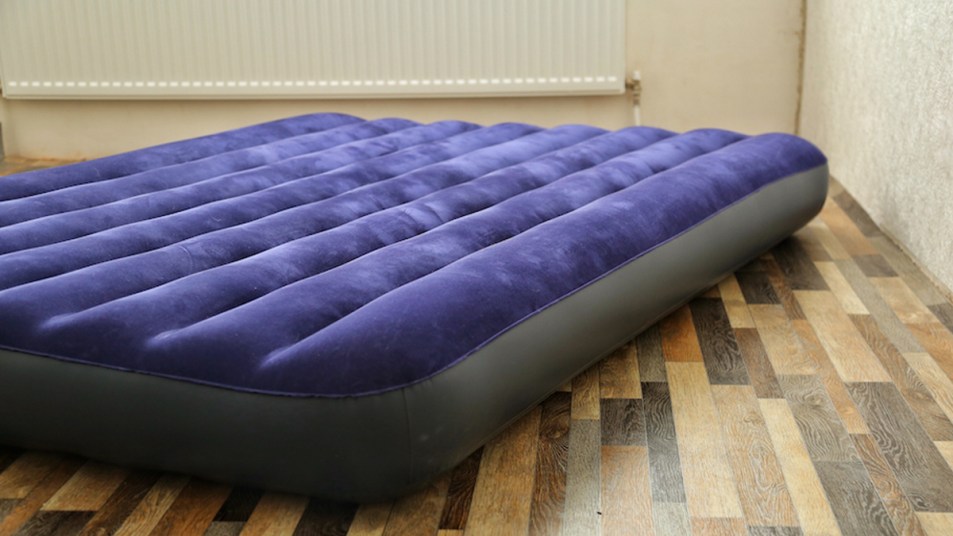
Over the last several years, air mattresses have become more elevated and luxurious, often feeling as comfortable as a traditional mattress. But it’s important to take a step back and remember that an air mattress is really just a glorified balloon. And while often made with sturdy plastic, air mattresses tend to be frail. They’re an easy target for sharp objects, and while we’d like to hope they’re as sturdy and bouncy as a birthday bounce house, air mattresses simply are not. Here’s exactly what to do if your air mattress deflates overnight.
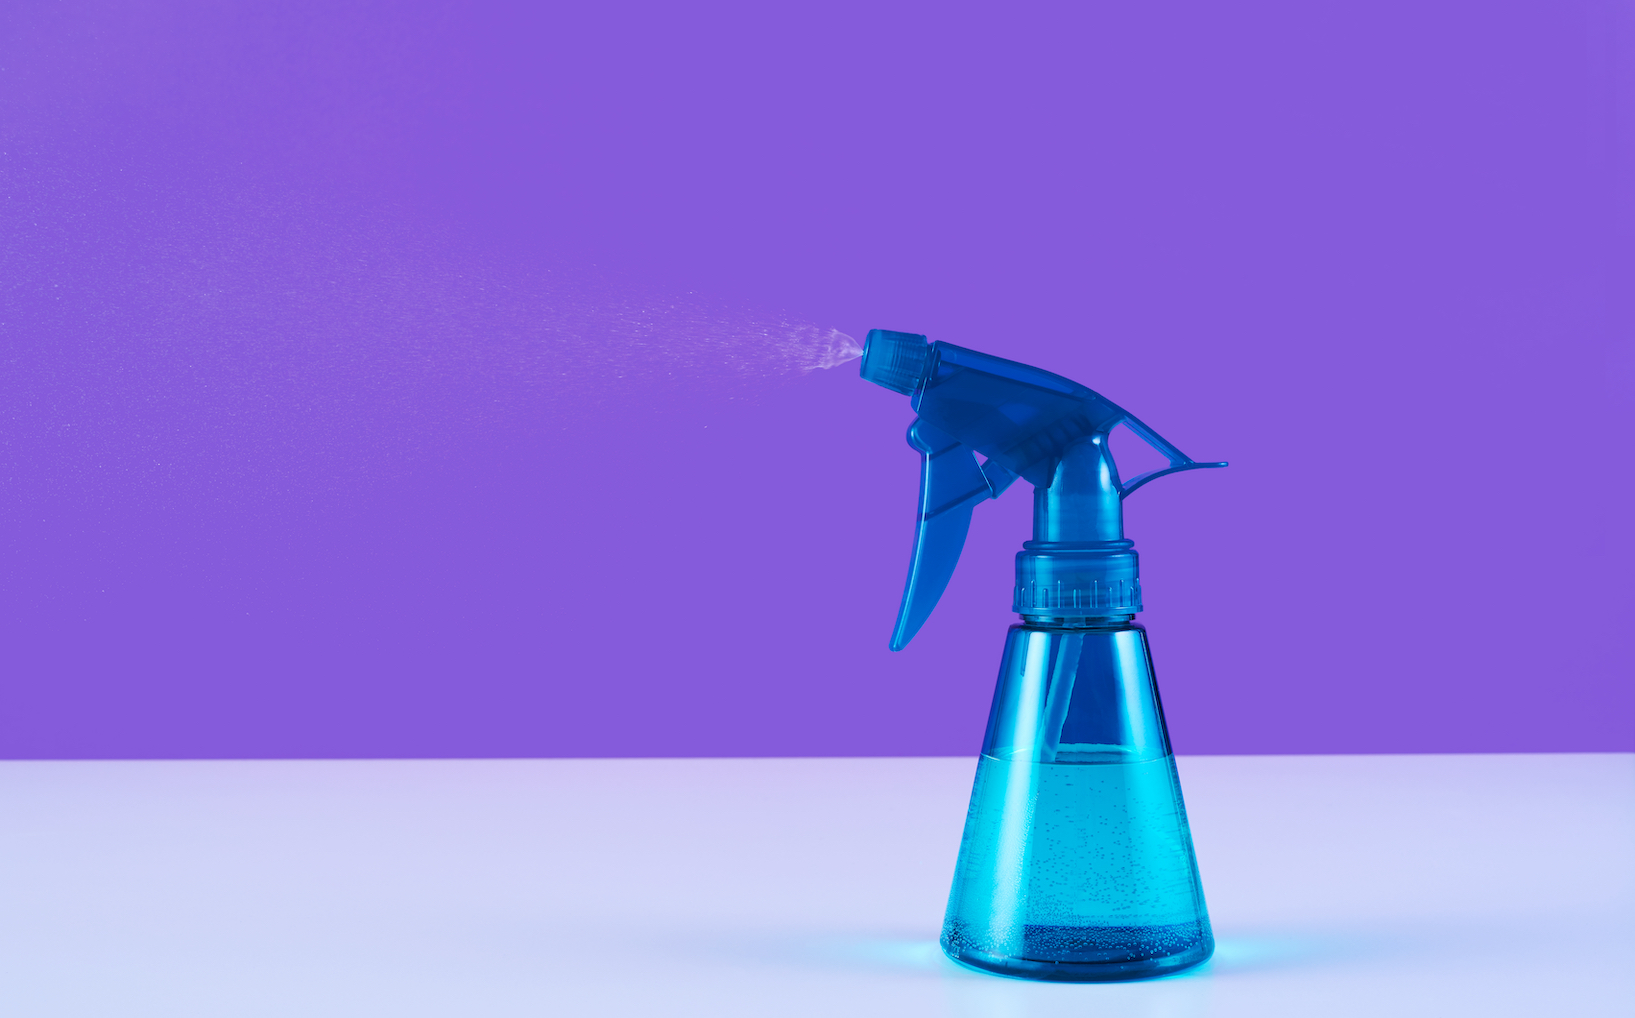
If you’re at home and an air mattress won’t stay inflated, Dave Robel of Northeast Mechanical Services recommends the following four steps to find a leak in an air mattress. You’ll need a few things for this process: a spray bottle with a mixture of water and dish soap, a sponge or cloth and a marker.
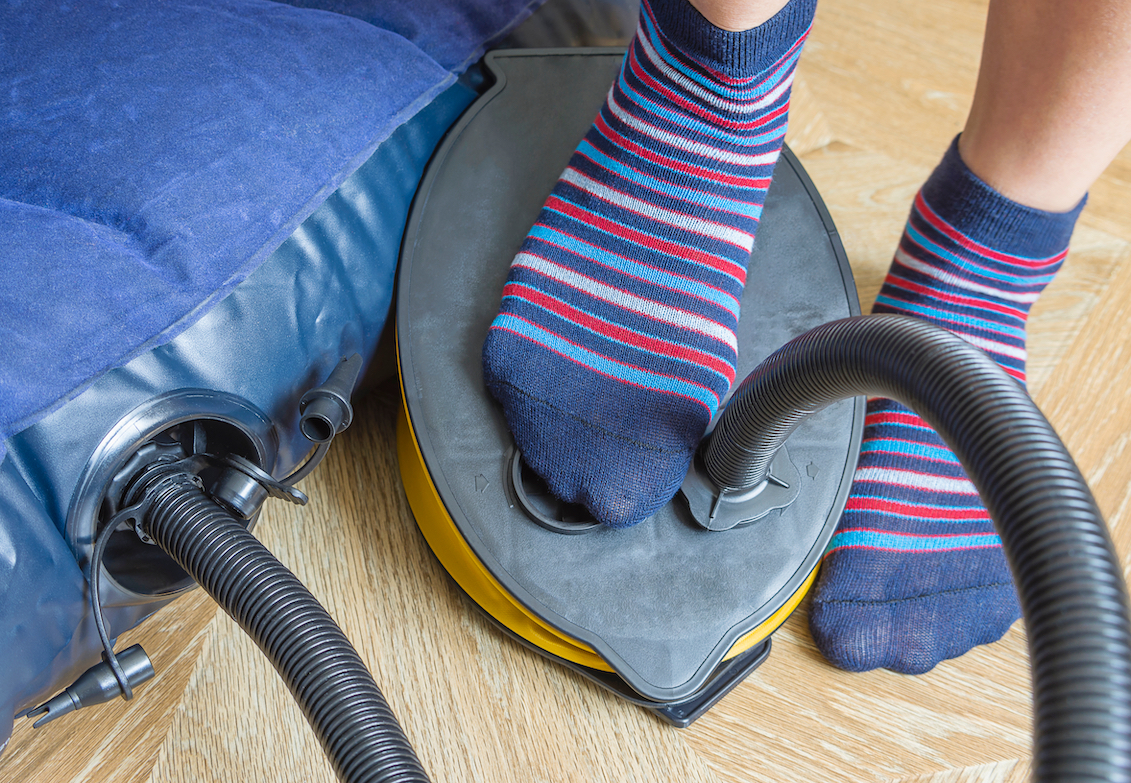
Step 1: Inflate the mattress. Fully inflate the air mattress. Use an air pump to expedite the process. After fully inflated, take a few quiet moments to listen carefully. Locating a hole in an air mattress can be fairly obvious. “The slight hissing sound or the feeling of escaping air can help you locate the hole,” says camping expert Adrian Todd of Great Minds Think Hike. If you don’t hear it, move to step 2.
Step 2: Mix the soap solution. Prepare the water and dish soap solution in the spray bottle. Shake it gently to mix. Spray the solution all over the inflated mattress, paying close attention to seams, valve areas and any suspicious spots.
Step 3: Watch for bubbles. As you spray, look for any areas where bubbles start forming. Bubbles indicate air escaping from the mattress, pinpointing the location of the leak.
Step 4: Mark the spot. When you find a spot with bubbles, mark it with a marker so you can easily locate it again to patch the hole.
Keep in mind that the process for identifying holes generally requires patience. Even after you find one hole, continue inspecting the entire air mattress for more holes.
Watch the soapy water method in action in this video:
How to find a leak in an air mattress without soapy water
If you’re in a pinch and don’t have a spray bottle and soapy water at your disposal, “one of the most effective ways to find a hole in an air mattress is by using smoke,” says Liam Lucas, CEO and founder of Off Road Genius. The best kind of smoke to do this with comes from an incense stick. “You can inflate the mattress then move a lit incense stick around it — the smoke will be sucked toward the hole due to the air pressure, indicating the leak’s location. This method is particularly useful for finding small, elusive leaks that are hard to see with the naked eye.”
The best way to *fix* a leak in an air mattress
Once you’ve identified your hole or tear in the air mattress, repairing the hole is a relatively simple process. Robel shares his best advice for fixing a small to moderate-sized leak in an air mattress:
Step 1: Clean and dry the area. Use a cloth or sponge to clean the area around the leak. Make sure it’s completely dry before proceeding. Dirt and moisture can prevent the patch from adhering properly. (While you have your cleaning supplies out, click through for more brilliant uses for sponges.)
Step 2: Apply a patch. If your air mattress came with a patch kit, follow the instructions provided in the kit to apply the patch. If you don’t have a patch kit, you can use a vinyl repair adhesive like the Loctite flexible adhesive (Buy from Amazon, $8.99), which is specifically designed for inflatable items. Handle the patch with care as it is expected be extremely sticky:
- Apply the adhesive to the patch and the area around the hole.
- Press the patch firmly onto the hole, smoothing out any air bubbles or wrinkles.
- Allow the adhesive to dry according to the manufacturer’s instructions.
Step 3: Wait and test. Allow the patch to bond for a few hours. It’s best to wait overnight if possible. If you do not have much time, wait at least 30 minutes. But the longer the better. After the waiting period, inflate the air mattress and check if the leak is fixed. If the patch holds and there are no more leaks, you’ve successfully repaired the mattress.
Step 4: Reinforce if needed. If the leak is near a seam or a particularly stressed area, you might want to reinforce the patch by adding a layer of repair tape over the first patch.
Remember that the effectiveness of the repair depends on proper cleaning, drying and following the instructions provided with the repair materials. If the leak is extensive or the mattress is heavily damaged, it might be more practical to consider replacing the mattress. “Always follow the manufacturer’s instructions for cleaning, drying and applying the patch, as proper preparation and application are essential for a successful repair,” Todd says.
The best air mattress patch kits
Many air mattresses come with their own repair kit, which is designed to address valve leaks and other issues specific to the individual product. However, if you’re looking for an alternative patch kit that’s highly regarded for repairing air mattresses, Todd recommends Coghlan’s 8880 Airstop (Buy from Amazon, $7.90) or the Gear Aid Tenacious Tape Repair Tape (Buy from Amazon, $5.95). “Both of these options are well-known for their effectiveness in repairing various outdoor gear, including air mattresses,” he says. Remember to ensure that the patch kit you choose is compatible with vinyl or PVC, as many air mattresses are made from these materials.
In a time crunch? Try duct tape
If you don’t have an air mattress repair kit on hand, use a piece of duct tape to patch the hole. Todd says if you’re on a camping trip or in a time crunch at home, that duct tape (Buy from Amazon, $7.16) will work to temporarily seal the hole and should buy you some time. If you’ve got an extra 30 seconds and have super glue (Buy from Amazon, $4.58) on hand, add a dab of glue over the hole before you apply the duct tape.
How to repair a leak around the air mattress pump or valve
Dealing with a leak around the pump or valve area requires a slightly different repair process than a leak in the primary body of the mattress. Robel recommends the following tips to remedy these types of air leaks.
Step 1: Disconnect, inspect and clean. Disconnect the pump or valve from the air mattress. Inspect the valve or pump for any visible damage. If there’s no visible damage, clean the area thoroughly.
Step 2: Apply sealant. Use a specialized sealant designed for air mattresses or inflatables such as PVC Stitch Liquid (Buy from Amazon, $15.99). Apply the sealant around the valve or pump area as per the manufacturer’s instructions. Allow it to dry completely.
Step 3: Reattach and test. Once the sealant is dry, reattach the pump or valve and inflate the mattress. Check for leaks around the repaired area. If no leaks are detected, inflate the mattress and use it as normal.
How to repair a leak in a seam of an air mattress
Repairing a leak in the seam of an air mattress is a difficult task. If there’s a visible hole, you may need to fold the seam in on itself to close up the leak. You’ll want to make sure to fold along the entire seam (not just the affected area) so the repair is even throughout the seam of the piece. If you skip this step, the extra fold is likely to attract stress, causing an even larger problem down the road. This is where you may want to spring for a new mattress.
What if the air mattress continues to leak?
If your air mattress loses air consistently, it could be due to exceeding the maximum weight capacity of the bed. Refer to the manufacturer instructions to make sure you’re not overloading it.
Another reason an airbed loses air: a temperature change. As air temperatures decrease, expect your air mattress to condense. Conversely, as temperatures increase, the air in your air mattress is expected to expand.
How to avoid leaks in an air mattress
Treat your air mattress like a gentle balloon, which is really what it is. Avoid jumping or bouncing on it. If you’re using the air mattress outdoors, put a thick blanket or quilt between the ground and the actual air mattress. Creating an extra layer of protection will minimize unwanted pokes from sticks, rocks and other items that could puncture the air mattress.
Want more repair hacks? Check out our stories below.
5 Budget Hacks (From Professional Plumbers) That Will Save You Big Bucks on Home Repairs
How To Fix a Broken Zipper at Home — No Trip To the Tailor Required!

Rachel Weber is an award-winning journalist with a passion for all things lifestyle, home, and garden. She started with Better Homes & Gardens as an editorial apprentice in 2006 and has been writing and editing ever since. She teaches journalism classes at Iowa State University, works at a boutique public relations firm and loves to write about all the things she learned when she was homeschooled. She’s worked on brands like Allrecipes, Lowe’s Creative Ideas, Shape, and Better Homes & Gardens doing everything from recipe testing to designing kitchens.
Rachel holds a B.A. in journalism and psychology from Iowa State University and an M.A. in communication leadership from Drake University. She loves to crack a good dad joke and listen to Taylor Swift. She’s also pretty proud of her alphabetized spice rack and color-coded closet. A breast cancer survivor, Rachel is passionate about early detection and healthcare advocacy.
LinkedIn: www.linkedin.com/in/rachelmweber
Instagram: www.instagram.com/rachel.m.weber


