Say Cheese! A Professional Shares How to Take Good Photos Using Just Your Phone
Want to know how to take good photos with your cell phone? It’s not as tricky as you think, especially with how advanced most phone technology is these days. If you’re angling to take the perfect shot of that dinner you slaved over a hot stove for, the creative project you’ve been working on for months, or your adorable family dressed up for a nice night out, we have the secrets to phone photography you need. And we’ve even consulted with the professionals. We chatted with food photographer Tessa Duff from Blooming Bites Photography to get all of her best advice, tools, and tricks, then did some research of our own. Check it out.
How to Get the Right Lighting for a Photo on Your Phone
A nice picture is all about the lighting, and Tessa recommends using natural light whenever possible. “First thing, I am going to find the best light in the room,” she explains. “Then I put my subject next to it.” FYI, that includes you if you’re taking a selfie. “If [natural light] is not available, I’ll start turning on as much artificial light as I have available. I use the flash on my phone as a last resort.” And when it comes to using the flash, it’s something the professional photographer likes to be purposeful about. “[When it’s too dark], adjust manually as needed for sure,” she explains, rather than setting it to automatic. And when there’s still extra work to be done, leave it to the editing process. “There is not much I find that works for adjusting light on your phone while taking a photo that is as good as editing it after the fact.”
If you’re outside, pay special attention to the “HDR” setting on your phone’s camera app. “When you have the HDR setting on, [your camera] is taking one image with three different exposures and stacking them on top of each other to create a high dynamic range of colors,” says Tessa. “I recommend when shooting landscapes (without people) that you have the setting on auto.” You can turn the setting on and off as needed, but using it “between high light hours [gives the] optimum effect — between noon and 3 p.m. is best.”
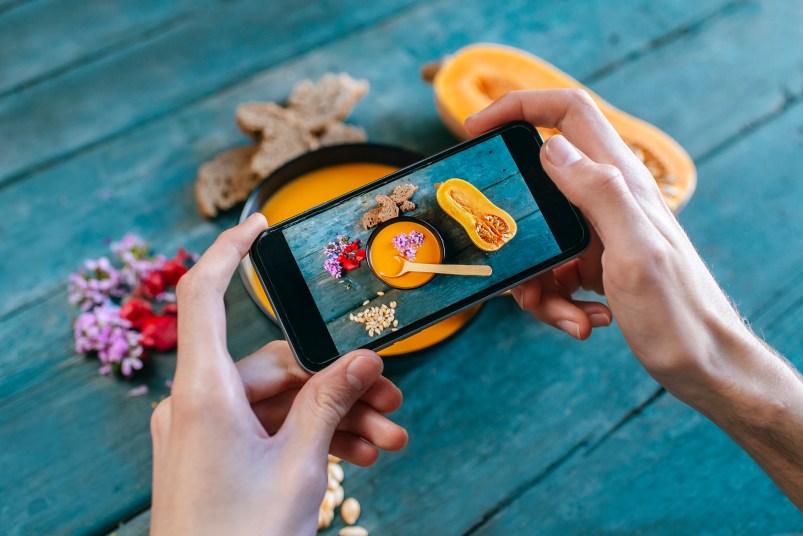
How to Frame a Good Photo on Your Phone
No, we don’t mean actually printing out the picture and framing it for your wall — though there are, of course, apps for that like Frambridge. We’re talking about how you frame the photo with your camera. If you have an idea of what you want to use the photo for, that can help you figure out how to shoot it. “For example, If I am taking a picture of my food, which is my most common subject, I’ll choose the standard photo mode or square mode for Instagram,” Tessa says.

(Photo Credit: Getty Images)
If you’re taking a photo for a blog or for your Facebook, you might want to focus on taking a horizontal photo instead of a vertical one. When you’re not sure, though, it’s better to take a photo farther away from your subject. You can always crop out the excess background — but you can’t add background back into a photo that you’ve taken too close. Once you’ve framed your shot, focus it. “Tap your screen to choose your focus point,” Tessa recommends. By doing so, you can make sure your camera is emphasizing your subject instead of accidentally blurring it while something in the background is crystal clear.
How to Edit Photos on Your Phone
Though your phone may give you the option to shoot in black and white or some other tinted filter, Tessa recommends shooting using the default color settings. That way you have full creative control later when you’re sprucing your photos up. “I never use the built in filters as I like having the control in post production to edit and add filters there,” she says. “Meaning all my adjustments are made in an editing software where I can have control over how strong the filter will appear on the image, as well as make any other adjustments needed.”
And you don’t need professional software on your computer to make those adjustments. There are apps for your phone that can work just as well. “[For lighting], bringing the image into the Photoshop Express app or the Snapseed app is your best bet. The Photoshop Express app is a great extension of Photoshop, and if your comfortable using Photoshop on the computer, it’s a smooth transition between the two. Snapseed is very similar to Photoshop Express with similar features, and I find the editing process to be quicker. I use both, and they are great.”
How to Upload Your Photo from Your Phone
Now, getting your photos off your cell and onto your computer can be half the battle. It’s too easy to accidentally send yourself a smaller file than you realize and end up with a shot that’s not as high quality as you thought. To maintain that quality of your images, the Blooming Bites photographer recommends using the Dropbox app. “You can connect it to your camera roll on your phone, and then have access to them on your computer making it easy to share/download full resolution files.” Once you’ve added them to the app, they’ll sync to your account automatically and you can sign in on other devices to access or download them later.

(Photo Credit: Getty Images)
Other Phone Photography Tips and Tools
The real secret to taking a good photo with your phone? Taking a lot of pictures. “I’ll take anywhere from five to 15 photos of the same subject from slightly different angles,” Tessa shares. “If you take a lot of photos, you have tons of options to pick from.” This is especially helpful when taking photos of your family. If someone accidentally blinks in one shot, there’s a good chance you’ve managed to grab a couple more where everyone has their eyes open. Take several shots in one go instead of trying several times to set up for a picture and luck is more likely to be on your side.
When you’re taking a picture of an object — like a delicious cocktail or the most amazing egg sandwich you ordered at brunch — don’t overcomplicate things. “I find simplicity in your compositions and using opposite colors is important to keep in mind.” A background that’s too busy will keep your eye moving across the image instead of letting it rest on the subject of your photograph. Complimentary colors will keep the photo interesting without becoming overwhelming.

And you can always find additional accessories for your phone online. The selfie ring light ($10.99, Amazon) can help make your solo pics perfect. A set of clip-on camera lenses ($19.99, Amazon) for your phone can turn any cell into a macro or fisheye camera. Heck, you can even get a tripod and selie-stick pack ($27.99, Amazon) if you’re feeling fancy. It’s all as serious as you make it.
More from FIRST
How to Clean Your Phone Screen so It Stays Spotless
13 Clever Food Inventions That Make Cooking Fun and Easy
How to Block Annoying Robocalls From Numbers With Your Area Code


