How To Clean a Blender So It’s Spotless
A step-by-step guide from an appliance and cleaning expert.
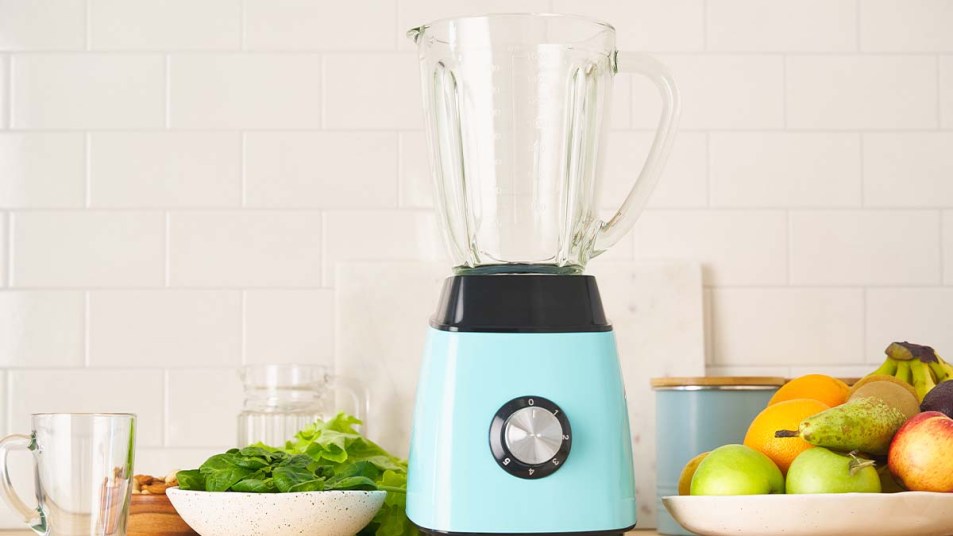
Your blender delivers tasty smoothies every single time, but are you returning the favor by cleaning it properly? A survey reveals that blenders are one of the dirtiest household items (more on that later). Stuck-on bits in your blender can ruin the flavor of your drinks and make you sick.
Fortunately, Victoria Culbertson, founder and CEO of NYC House Cleaners, offers First for Women several tips for how to properly clean a blender.
Why You Need To Thoroughly Clean Your Blender
You may not know the ins and outs of your blender like you think you do. In a National Science Foundation’s (NSF) 2013 germ study, volunteers didn’t consider blenders to be unclean items.

However, scientists discovered salmonella, E. coli, yeast, and mold within blender gaskets (the rubber seal at the bottom of the jar). This finding made the appliance the third germiest household item on the NSF’s list.
Ensuring that the entire blender is cleaned and sanitized limits your exposure to foodborne illness-causing bacteria.
How To Clean a Blender
Taking your time when cleaning a blender after each use pays off. Follow these steps from Culbertson to get every part of your appliance spick and span:
- Disassemble blender by unplugging it. Unscrew bottom part of blender and remove from base. Take off blade and gasket seal.
- Rinse blender jar with water. Spritz all-purpose cleaner such as Simple Green All-Purpose Cleaner (Buy from Walmart, $1.97) in jar.
- Clean jar inside and out by removing any buildup with a sponge or scrub brush.
- Rinse again, then separate lid pieces and spray cleaner on them. Wash after scrubbing away any buildup.
- Fill jar with water. For every one cup water, add one ounce cleaner. Place locking ring, cutting blades, and gasket seal in jar. Let sit for a minute or two to disinfect parts.
- Rinse every part.
- As normal, use dish soap and hot water to wash jar, lid, gasket, seal, cutting blades, and locking ring. Air dry or gently wipe with clean cloth.
- Clean blender’s motor and base by misting cleaner onto paper towel and wiping it. (Note: Never put the motor or base in dishwasher or submerge them in water. Frequently inspect the cord for damage, wipe it with a damp cloth lightly sprayed with cleaner and air dry.)
- Reassemble blender once all parts are completely cleaned and dry.
With a spotless blender, it’s time to whip up your next delicious smoothie. Or try using it to make the fluffiest scrambled eggs imaginable!


