Chemical Peel Before and After Photos + Why the Treatment Is Great for Women Over 50
Plus, see the video that shows how a peel is done
Ever wondered how some people seem to glow effortlessly? Well, let us let you in on a little skincare secret: chemical peels. These treatments can sound a bit scary, but we can assure you that they leave skin as radiant as ever. They tackle everything from acne scars to fine lines with ease. So, let’s dive into the world of chemical peels together, unraveling what they’re all about and why they’re worth the hype. Read on for all the details and see the amazing chemical peel before and after photos for yourself.
What is a chemical peel?
A chemical peel is a skincare treatment where a chemical solution is applied to skin, causing it to blister, peel off and reveal brighter, smoother skin underneath. Kiran Mian, MD, board-certified dermatologist at Hudson Dermatology & Laser Surgery explains: “The top layer of skin, called the stratum corneum, is made up of dead skin cells. Chemical peels help to remove these dead skin cells, to achieve brighter, smoother skin.”
Anna Karp, DO, dermatologist at SINY Dermatology adds that, “a peel turns over your skin cells quicker than they would on their own stimulating collagen production.” Though this sounds quite intense, the process is truly just a larger scale exfoliation that targets, “the upper most damaged layer of the skin” explains Nicole Fronter, FNP, skin expert and owner of Nicole Frontera Beauty and The Formula.
To learn more about chemical peels, check out the below YouTube video from dermatologist Andrea Suarez, MD.
The benefits of a chemical peel
Depending on the type and strength of the peel (more on this to come below), chemical peels can target a range of concerns. “Chemical peels can help smooth skin texture, even out skin tone, lighten dark marks or pigmentation like melasma, and stimulate collagen production over time.” says Dr. Mian.

Both Frontera and Dr. Karp note that chemical peels also can address acne, sun spots, age spots, hyper pigmentation, scars, fine lines and wrinkles, as well as stimulate cell renewal. Think of it as a reset button for your complexion, leaving you with that coveted fresh-faced glow. “Additional benefits, or for some peels, a main benefit, can be pores unclogging from exfoliation to clear or prevent acne,” adds Frontera.
The types of chemical peels
There are many different types of chemical peels that target different concerns. “There are superficial, medium depth and deep chemical peels,” says Dr. Mian. “Superficial chemical peels are the most mild and provide the shortest healing time, while deep chemical peels are more aggressive and take longer for the skin to heal, albeit giving more drastic results.”
“Chemical peels can be a mixture of various acids including glycolic, lactic, salicylic, mandelic acids, as well as ascorbic acid, retinoic acid, hydroquinone, glutathione, and other antioxidant and active ingredients,” adds Dr. Mian. Skincare expert and medical aesthetician Cassandra Bankson notes, “salicylic acid and Jessner peels are great for acne, glycolic or lactic acid peels can be great for texture, brightening, and pigmentation in the skin. There are very gentle and mild chemical peels that can even be done at home, such as a polyhydroxy acid peel that has little to no downtime and can be helpful for mild texture and large pores.”

The best chemical peels for different skin types/concerns
Want to brighten skin? Try a glycolic or lactic acid peel.
Dealing with acne? Superficial peels (epidermal), such as salicylic acid peels and Jessner peels will work best for you.
Have hyperpigmentation? Opt for medium peels (epidermis and upper dermis), like those done with trichloroacetic acid (TCA) and stronger concentrations of glycolic acid.
Want to smooth fine lines and wrinkles? Just like above, medium peels, like TCA and stronger concentrations of glycolic acid work great.
Suffering from severe sun damage? You’ll want to do deep peels (deep into the mid-dermis), such as Phenol.
For more on the different types of chemical peels, watch the below video from the Platinum Skin Care YouTube channel.
Who is a chemical peel good for?
Chemical peels can be beneficial for a wide range of people seeking to improve the appearance and health of their skin. Dr. Karp says, “unless you have extremely sensitive skin, most people can benefit from some sort of chemical peel.” However, you want to make sure you are getting the treatment done by someone who has experience administering them.
It’s also important to note that some medications prevent you from being able to get a chemical peel. So, Frontera recommends sharing your medications with your provider to ensure your safety. In addition to certain medications, chemical peels can irritate skin conditions such as eczema or rosacea, so it’s best to consult your doctor and provider before your treatment. Additionally, you cannot get a chemical peel if you are currently pregnant and/or breastfeeding.
How a chemical peel is done
Before getting into the steps of a chemical peel treatment, there’s a few important things to do ahead of time. They include: Avoiding using exfoliators (like scrubs, active skin care acids and retinol) and shaving or waxing at least 48 hours beforehand. It’s also recommend to skip tanning or applying self tanner for two weeks. Lastly, it’s beneficial to moisturize leading up to your appointment so the complexion is ready for the peel.
Step 1: Skin analysis
The first step to doing any skin treatment is analyzing the skin, says Bankson. “The expert administering the chemical peel needs to understand the client or patient skin type, major concerns, any allergies, contraindications, and past experiences with chemical peels.”
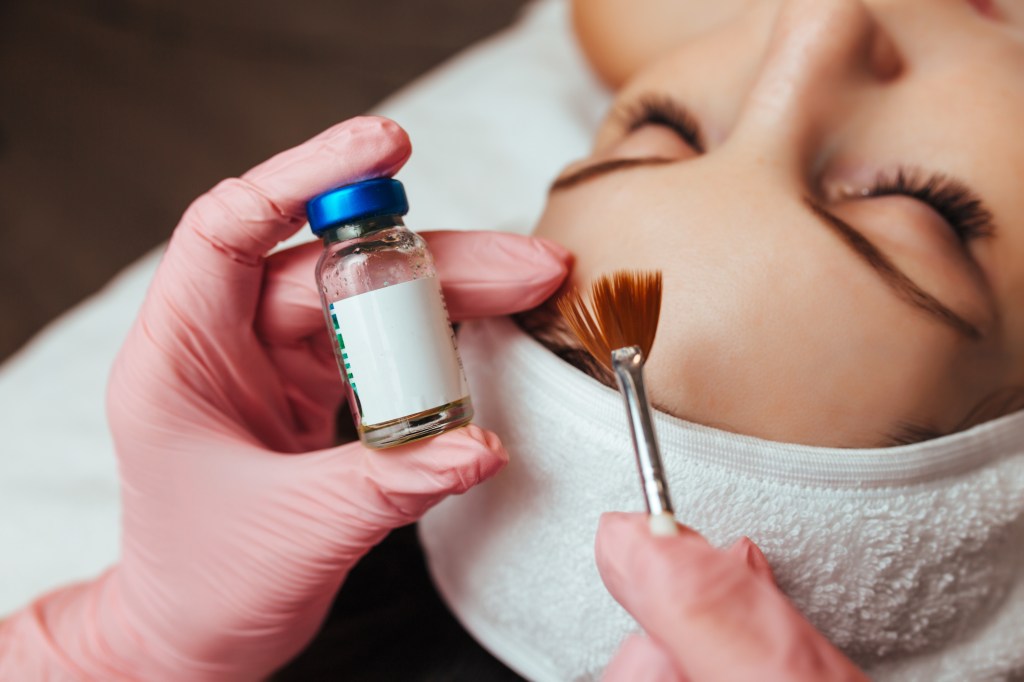
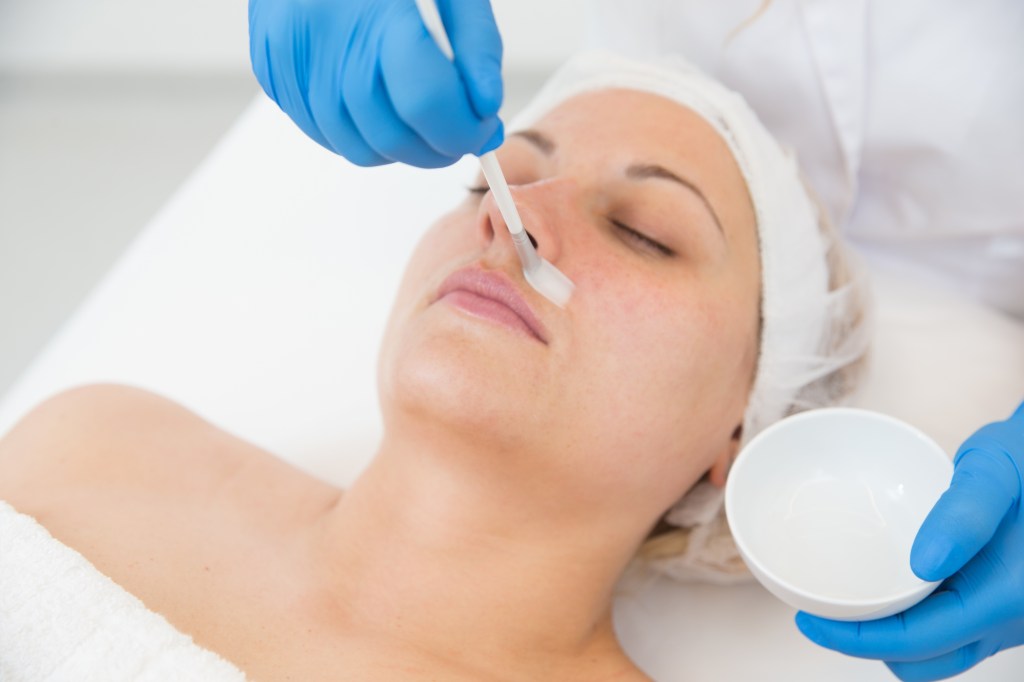
Step 2: Clean skin and apply the peel
Next, the practitioner cleans the skin to prepare for the treatment. After that they apply an exfoliating acid (different acids or blends are used depending on which kind of peel you get) to the skin, avoiding the eye area. “The chemical peel is generally applied in layers, depending on the type.”
“This could be just one layer all the way up to six or even 10. The more layers, the deeper the peel will go” says Bankson. There can be a few minutes of mild stinging for some as the peel sits on the face. “Once enough time has elapsed, the practitioner will apply a neutralizer to neutralize and remove the acid chemical peel from the skin.”
Step 3: Cleanser skin or apply skin care
“The practitioner will then move onto either cleanse the skin once more, or provide an aftercare product,” says Bankson. “Generally, the patient is also sent home with sun protective equipment, such as a facemask, to ensure that they are not being exposed to unnecessary damage.”
To see these steps in action, watch the below video from @Mixedmakeup on YouTube.
What to expect after getting a chemical peel
Over the following days, skin will start to peel. “It could get red, it could start to have flaky, dry patches, or, large swaths of skin could start to appear in chunks,” warns Bankson. “For intense peels, like a phenol peel, the face may lift from creating a mask of second skin,” but no need for concern as this is normal after a chemical peel.
The best part though is the new skin underneath. After shedding off the layer of skin, your new skin underneath will have “ less blemishes, fine lines and wrinkles, pigmentation and texture than the skin before,” says Bankson. “A patient or client should continue with a supportive skin care routine to maintain and protect their new results.” This includes “using sunscreen every day as well as any active ingredients in their routine as their skin heals completely.”
How much does a chemical peel cost?
“Chemical peel costs can vary dramatically, depending on where you get them done, the experience of the practitioner and the ingredients and quality of the peel.” says Bankson. Both Dr. Karp and Frontera note that the cost of a chemical peel ranges between $100 and $1,000. And it all depends on the peel you get and where you get it.
In general, Bankson notes, “you should look at the experience of the practitioner, and the quality of ingredients being used to decide whether or not the pricing is right for you. You should always go to a professional that is licensed, has experience and has at least certification in blood pathogens to prevent the unnecessary spread of disease or infection.”
What are the side effects of a chemical peel?
“There shouldn’t really be any side effects, just the after effect of the skin actually peeling, which is the purpose of the treatment,” says Frontera. Slight stinging and redness are all normal parts of the healing process and are not cause for concern, she adds.
Dr. Karp recommends being extra careful with sun protection after your treatment. “Most peels do increase your sun sensitivity so you want to be especially careful with sun protection.”
Frontera advises that “anything that looks like scarring or infection during the healing process are cause for concern and should be looked at by a professional. However, if you go to an experienced provider of chemical peels, this should not occur.”
How often should a chemical peel be done?
“Depending on the strength of the peel, one a month to once every few months, for three to six treatments, will likely yield the desired result,” says Frontera. “After that, treatments can be continued with less frequency to maintain the results.”
For less intense peels, “like a medium depth salicylic acid peel for acne may be a monthly treatment in 6 to 12 sessions to help get acne under control,” adds Bankson. While, “a very gentle peel, such as a polyhydroxy acid peel that barely causes any physical peeling and has little to no downtime, could be done once a week.”
Chemical peel before and after photos
To see the magic of chemical peels yourself, keep scrolling for 6 transformations that we love:
1. If scarring is an issue you deal with, you’ll want to see the below chemical peel before and after transformation posted by @glowonstudios on Instagram. It’s truly amazing how much smoother the client’s skin looks in the bottom image.
2. The below chemical peel before and after posted by @sknelements on Instagram is amazing. You can really see how well the chemical peel clears up acne. It’s like a fresh start for your skin, leaving you with a clear, radiant complexion.
3. For another chemical peel before and after, see below posted by @uptownmedicalaesthetics on Instagram. It shows the process of peeling throughout a few days to reveal brighter, smoother skin.
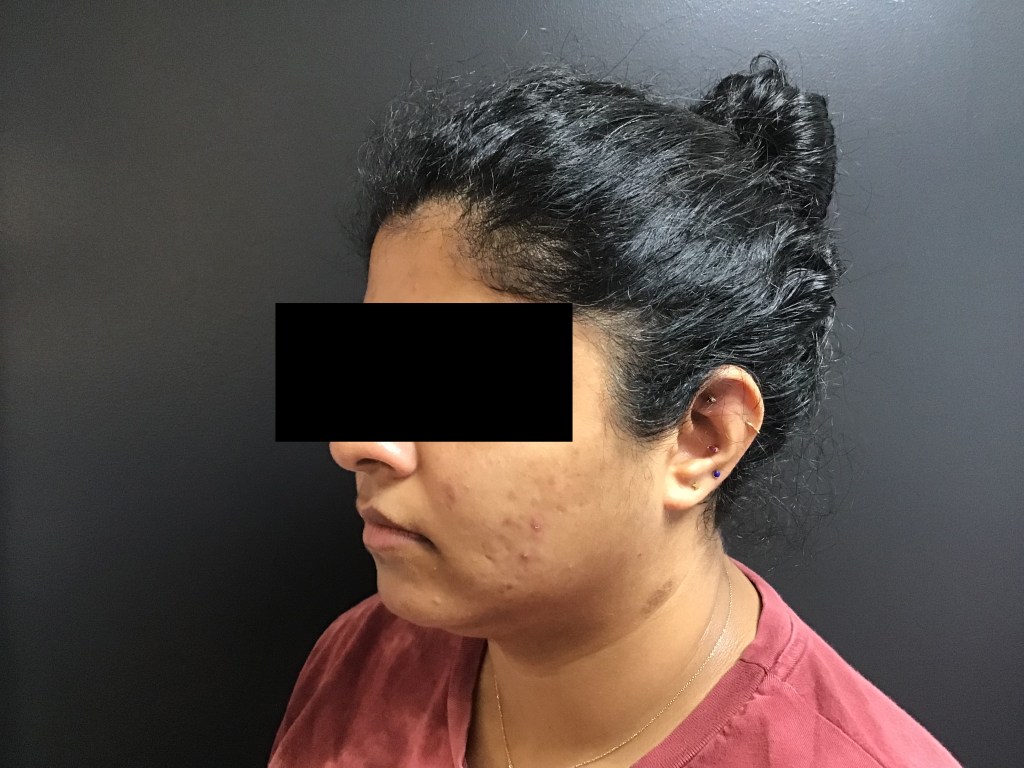
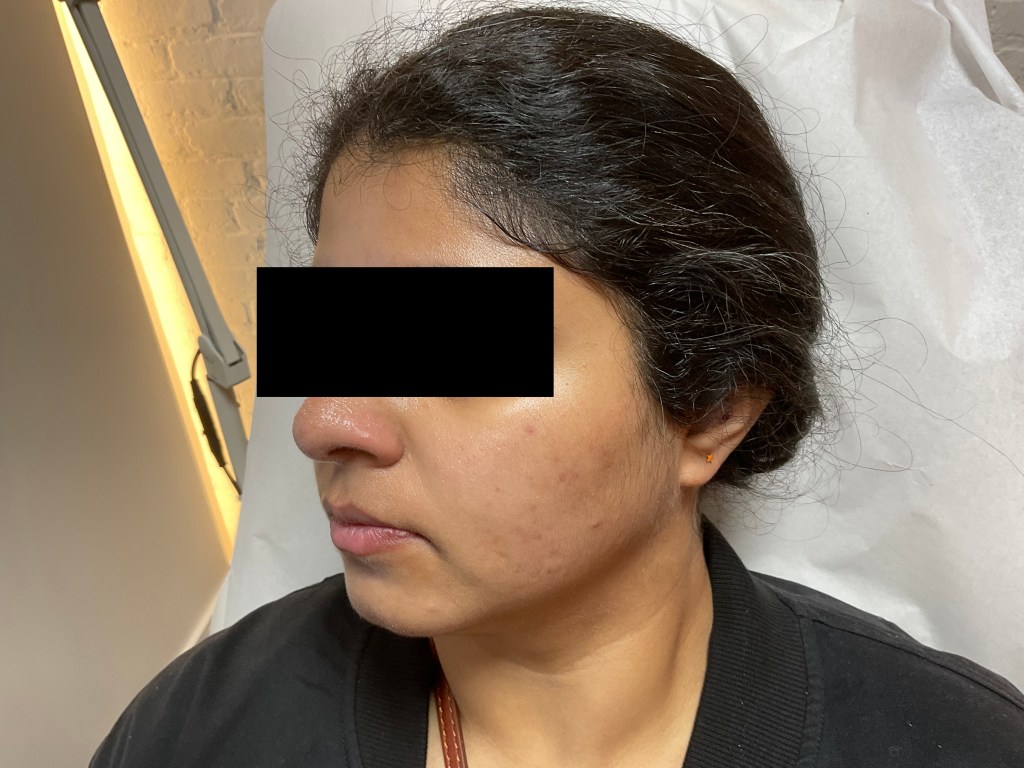
4. The below chemical peel before and after photos come straight from Dr. Mian’s office. You can really notice how much clearer this patient’s cheeks became after the chemical peel!
5. YouTuber @Prettisusu shares her experience of getting a chemical peel and the results are amazing!
6. To see a number of chemical peel before and after examples, watch the below YouTube video from dermatologist Alexis Stephens, MD. She shows a wide range of skin tones, specifically those with melanin-rich skin, proving that it works wonders for everyone.

For more before and after transformations:
Thread Lift Before and Afters: See How It Works as Well as a Facelift in Just 30 Minutes
Microneedling Before and Afters: See How It Can Tighten the Neck, Smooth Scars + Regrow Hair
Mini Tummy Tuck Before and Afters: The Results of This Procedure on Extra Ab Flab Can Be Dramatic


