Making Your Own Nut Milk Is A Lot Easier Than You Think
People are switching to nut milks of all varieties left and right. They’re free of harmful additives like hormones that are often found in traditional cow’s milk, they’re a delicious swap for those who can’t tolerate lactose, and not to mention, they boast a variety of nutrients that regular milk simply doesn’t have. Plus, you can easily make them at home!
While we sure do love the convenience of store-bought versions, some still contain harmful ingredients like added sugars and thickeners — and they aren’t cheap. Making your own nut milk is so easy (and might be even healthier if you’re looking to go all in on your clean eating routine), and all you need are nuts and filtered water.
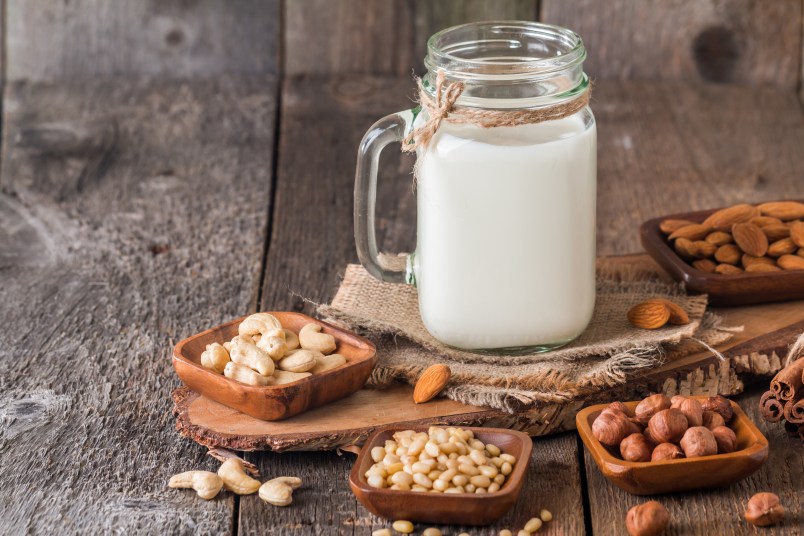
We believe that real, whole foods are always better than chemicals and additives when it comes to health, so why not give making your own a go? We encourage you to try with whatever nuts you might already have in your pantry like almonds, cashews, or even pine nuts. They’re all quite tasty, and it’s been shown that adding more nuts to your diet can help you lose weight and even ward off diseases like Alzheimers and diabetes!
To make your own nut milk, all you need is a cup of your favorite nuts, four to six cups of filtered water, a blender, and a nut milk bag or muslin cloth. Begin by soaking your nuts. Depending on the nut you’re using, soaking time will vary. Almonds, pine nuts, macademia nuts, peanuts, and hazelnuts should be about eight to 12 hours, or overnight. For pecans and walnuts, they should soak for at least four hours. Cashews can be soaked for as little as two.
Next, add your nuts and your filtered water to your blender and blend the milk until smooth for about one to two minutes. If you so desire, you can add flavor to your nut milk at this stage like a teaspoon of vanilla extract, cacao powder, or even a few pitted dates for sweetness. Otherwise, strain the blended milk over a bowl using your muslin cloth or nut milk bag. Squeeze the cloth so all the milk drips out and the pulp is left behind. Bonus: You can dry the pulp out and use it as a flour (like almond flour) for baking later on!

Finally, pour your nut milk into an airtight container or bottle and store in the fridge for three to five days. We hope you will use this guide to get creative and whip up some healthy and delicious beverages this summer — hello smoothie season!
More From FIRST
Avocado Pit Broth Is Packed With Nutrients and Super Easy to Make
Hate Kale? This Trick Will Get Rid of That Bitter Taste
This $8 Soap Claims to Get Rid of Smelly Garlic Hands In a Snap