6 Expert Tips to Make Candles Burn Longer — And the Common Hack That Can Backfire
Plus, genius tip to prevent 'candle sooting'
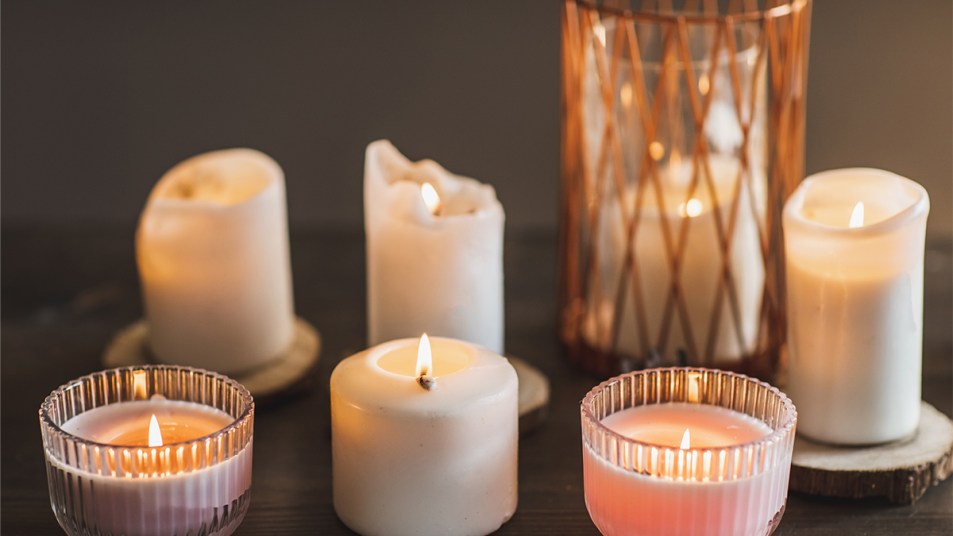
Candles can add a cozy, calming ambiance to any room, so it’s a bummer when they melt unevenly or burn too quickly. If you feel like you’re constantly replacing candles, you may be wondering what makes a candle burn longer. So we asked candle experts for their top tips to extend a candle’s lifespan using basic household items. Read on for the details!
1. Make the first burn count
Each time you light a candle, the wax tends to melt as far from the wick as it did on the previous burn — a phenomenon known as wax memory. Candle wax that has melted and re-cooled is slightly softer than unmelted candle wax. So if you blow out a new candle before the wax has melted all the way to the outer rim, your candle will continue to burn downward in that narrow “tunnel,” wasting the wax around the edges — a phenomenon known as “tunneling.”
“The most common mistake I see is burning candles for too short of a period, which creates tunneling,” says Melissa Knieriem, CEO and Founder at Frankfort Candle Company. “The best way to avoid this is to allow a long first burn time because it creates a successful wax memory.” For a new candle, the National Candle Association recommends burning your candle approximately one hour for every inch in diameter.
Related: How To Get Wax Out of a Candle Jar: Pros Explain When To Use Cold vs Heat
2. Reach for aluminum foil
If you have a candle you love that’s already started tunneling, don’t worry — you can still rescue it. All you need is a basic kitchen staple, says Preston Konrad, owner of the luxury candle company Preston Konrad Home. His hack for fixing a tunneled candle? To even out the surface of the candle, wrap a sheet of aluminum foil around the outside of the candle, making sure an inch or two of foil extends past the top of the candle. Then, gently fold in the top edges of the foil in toward the center of the candle, leaving the area above the wick open. This will trap the heat and allow the wax to melt evenly. Light the candle, and let it burn until the entire surface is melted and evens out.
Watch him put this tip to the test:
Related: 16 Startlingly Brilliant Uses for Aluminum Foil
3. Sprinkle some salt in candles
From skincare to laundry hacks, there are so many unexpected uses for salt. Add one more to the list: Salt can help candles burn longer! After you’ve burned a candle long enough for a small pool of wax to form around the wick, sprinkle table salt into the wax. Use a toothpick to distribute it evenly. The sodium chloride compounds will slow the melting and dripping processes, so your candle will burn longer than before.
Of course, the last thing you want is burnt flecks in your new candle, so you may be wondering, Does salt burn? The short answer is no. Sodium chloride is a stable compound that won’t ignite, even when exposed to high temperatures, so rest assured your favorite candle is safe.
4. Try a salt soak
If you have a little more time on your hands, table salt can come in handy here, too. Mix 2 tablespoons of salt into 2 cups of water, then submerge your new candle in the salt solution and soak it for 24 hours. Once it’s completely dry, you’re free to light it. The candle will start to melt from within instead of dripping down the sides of the candle. That’s because the salt creates a “shell” barrier around the candle where wax can’t escape.
5. Trim your wick
If your wick is too long, it can cause your candle to burn unevenly, flare or drip. It can also cause “candle sooting,” which occurs when the wick releases black smoke that coats the candle jar and can even stain nearby walls. So what’s the ideal length for a candle wick? Before you light a candle, the National Candle Association recommends trimming the wick to ¼ inch. The best way to do this is with a wick trimmer. (Buy on Amazon, $11.95)
If your wick is too short or is coated in wax, you can save your candle with another kitchen pantry staple: a toothpick. Simply use pliers to gently push a toothpick into the softer wax around the center of the candle. Bonus: A wooden wick provides a cleaner, more even burn than a string wick.
“For our vintage candles, we only use wooden wicks because they elevate the look of the candle and make a peaceful crackling sound when they burn,” Knieriem says. “Candles with wooden wicks should always be trimmed to ¼ to ⅛ inch before you burn them. You can do this using a wick trimmer.”
6. Keep your candle away from drafts
This may be the easiest tip on the list: Don’t place your candle under a ceiling fan or next to a drafty window or fireplace. The air movement can cause the flame to flicker or lean, resulting in an uneven burn. The candle flame should be steady and upright to maximize the life of your candle.
Avoid this popular candle hack
If you’ve been Googling how to make a candle burn longer, you may have come across the suggestion to put it in the freezer for a few hours. The idea is that the chilled wax will take longer to reach its melting point, extending the life of your candle.
However, freezing a candle can cause it to crack — especially if you get distracted and leave the candle in there too long. Freezing a candle may also damage its glass jar. “It’s possible that putting a candle in a freezer may extend its burn time, but it’s important to consider the vessel material before trying this,” Knieriem says. Some candles are made from jars or vessels than can get freezer burn — or worse, she says.

Click through for more easy home hacks:
7 Genius Homemade Air Fresheners Using Items You Already Have On Hand
Expert Cleaners Reveal How To Get Coffee Stains Out of Any Surface (Really!)
Plant Pros: 7 Genius Ways to Water Plants While You’re Away + One Hack Never To Try