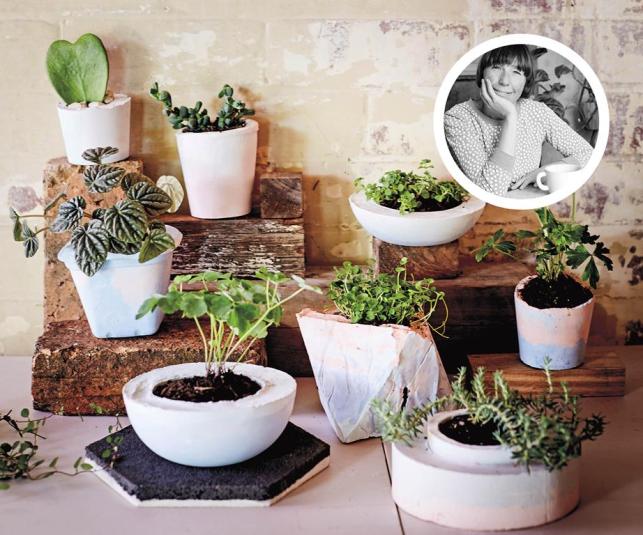
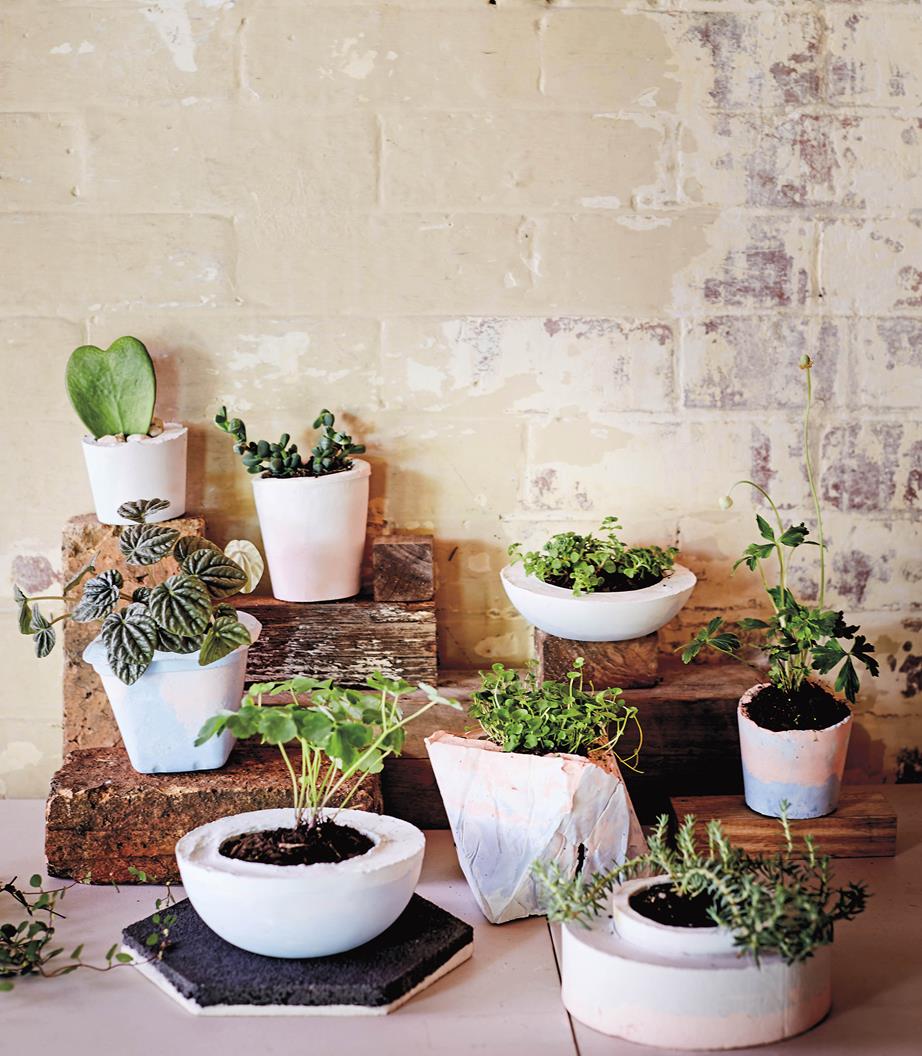
How to Make a Concrete Planter
During my apartment-living early twenties, I managed to accumulate a pretty good collection of potted plants. I did move frequently back then, and there were always a few moving victims: smashed pots, which left poor, bare-rooted plants behind! Had I known then how easy and cheap it is to make planters, I would have been doing that in the blink of an eye. Anyway, now I do know, and although I can afford to replace broken pots, it’s way more fun making your own, especially when you can make them almost any shape and color you like.
MUST-SEE: Homeowners Update Kitchen Cabinets for Just $60, But They Look Like a Million Bucks
YOU WILL NEED
1 small (about 8kg or 17 lb) bag of white cement (makes about 5 pots), water, safety glasses and mask, stick or spoon to mix concrete and colors, old containers for mixing concrete, a selection of plastic containers and pots to use as molds, small containers to place in the middle to create the opening, acrylic paint, small rocks, scissors, potting mix, small trowel, plants
STEP 1
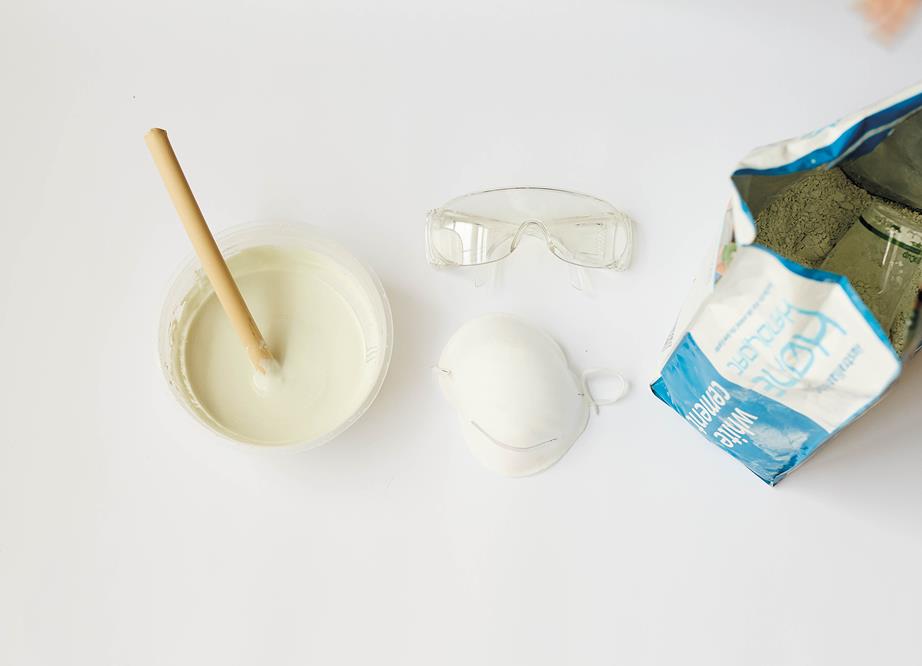
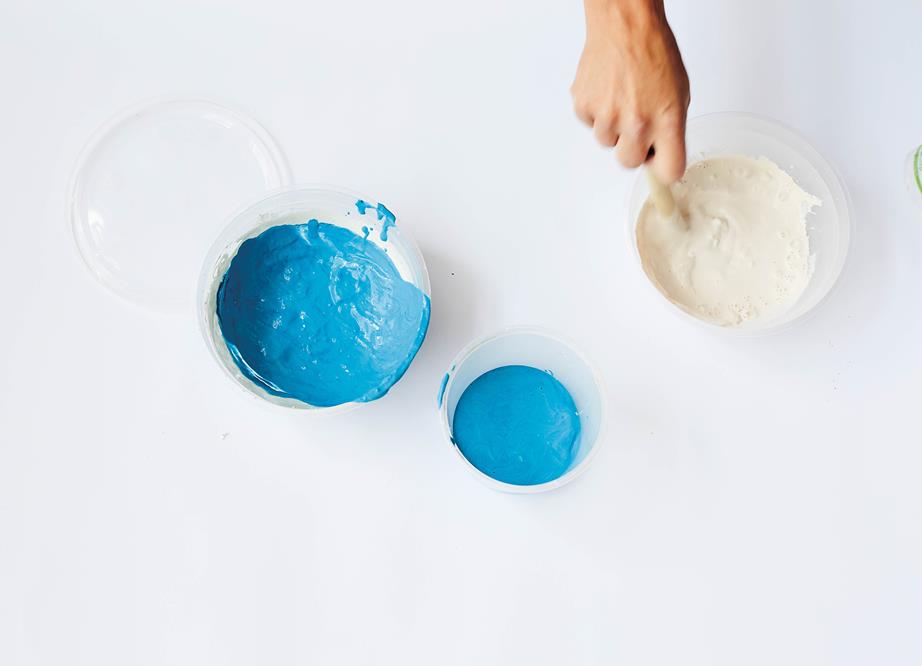
Put on your safety glasses and mask. Concrete dust is toxic! Mix the concrete following the instructions on the packet. For a finer finish, omit the sand. Pour concrete into separate containers.
STEP 2
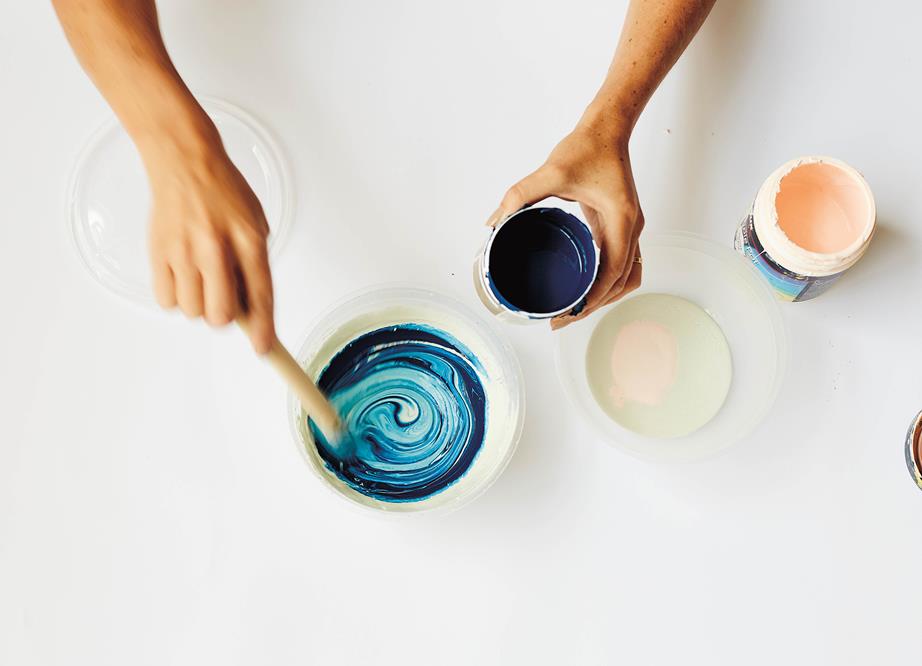
Add paint to the containers of mixed concrete. Note that when the paint and concrete dries, the color will be considerably lighter, so go for a darker shade.
STEP 3
Choose your mold containers and pour in some cement as a base color.
STEP 4
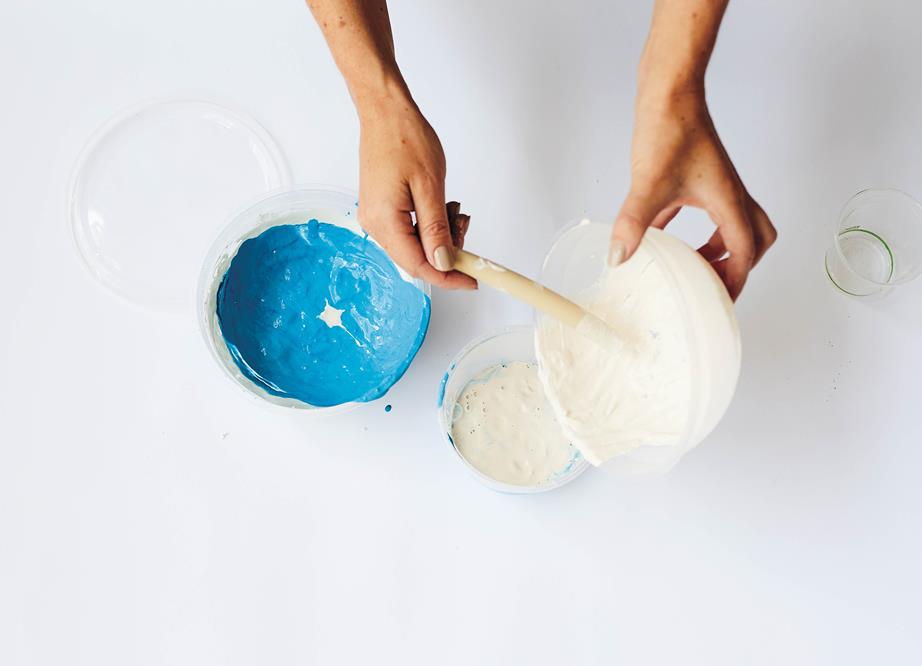
Add layers of different colors, or use one color per pot. When the container is almost full, use a stick or spoon to swirl the concrete around a little — this will produce a slight marbled effect between the layers.
STEP 5
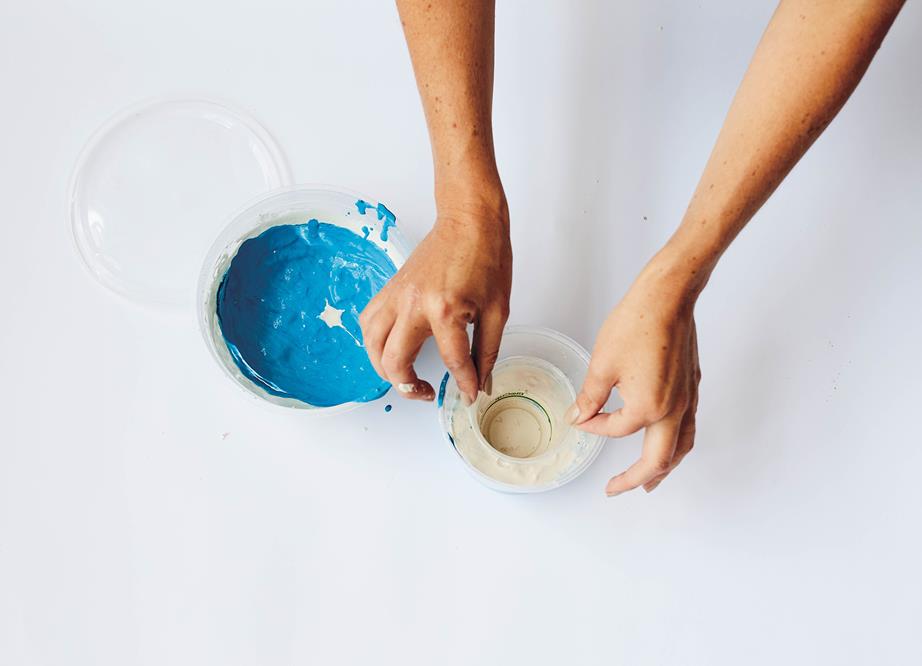
Insert a smaller container into the middle of each filled mold container to form the opening of the planter.
STEP 6
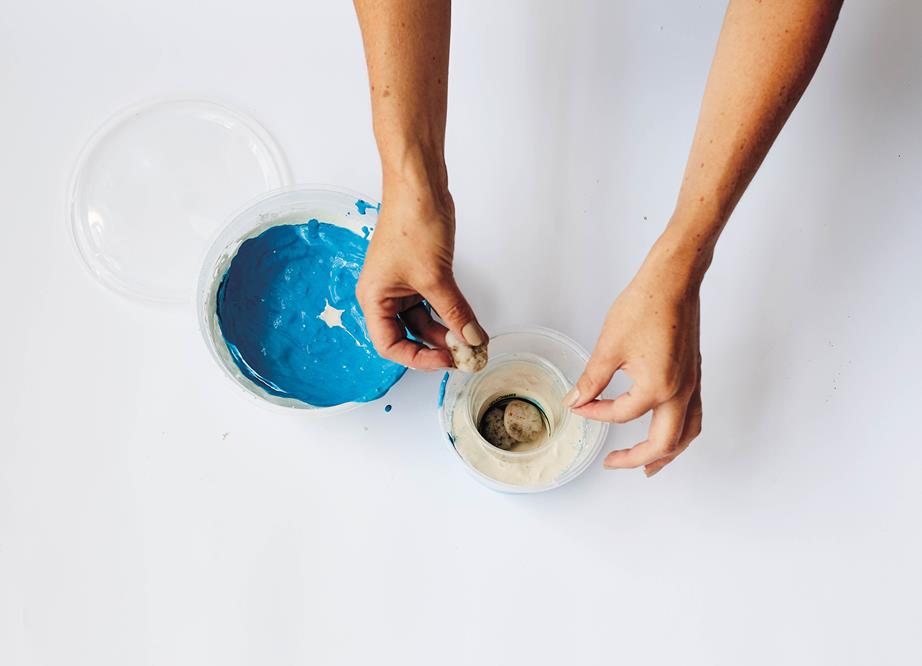
Put some rocks in the center of the smaller container to weight it down, but not too many or they will touch the base and the planter will end up with a very thin (or no) base. Leave concrete to harden. The longer, the better. I left mine for about a day.
STEP 7
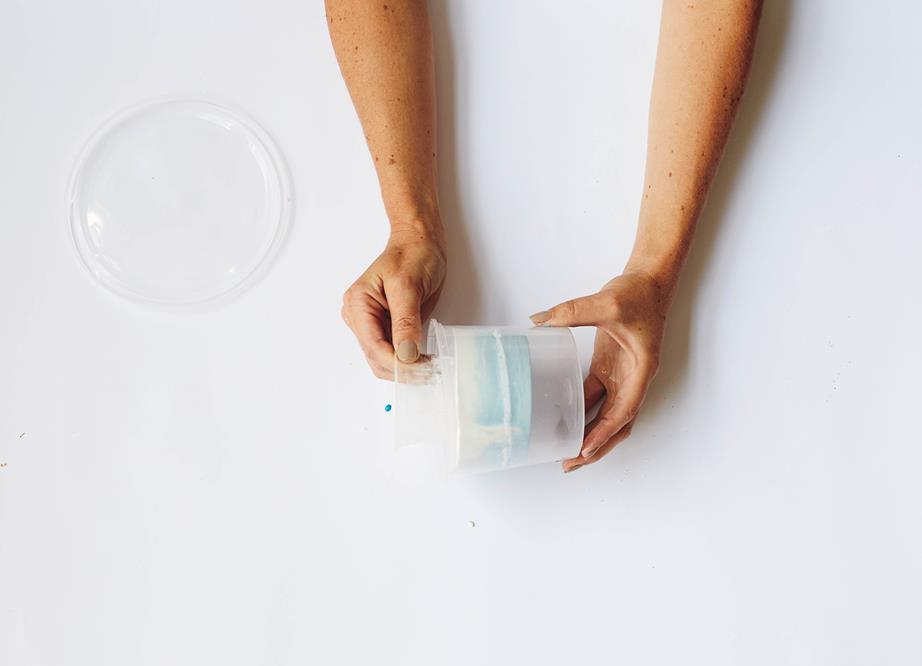
Once completely dry, carefully remove both the outer and inner containers. You may need to use scissors to cut away the edges of the container.
STEP 8
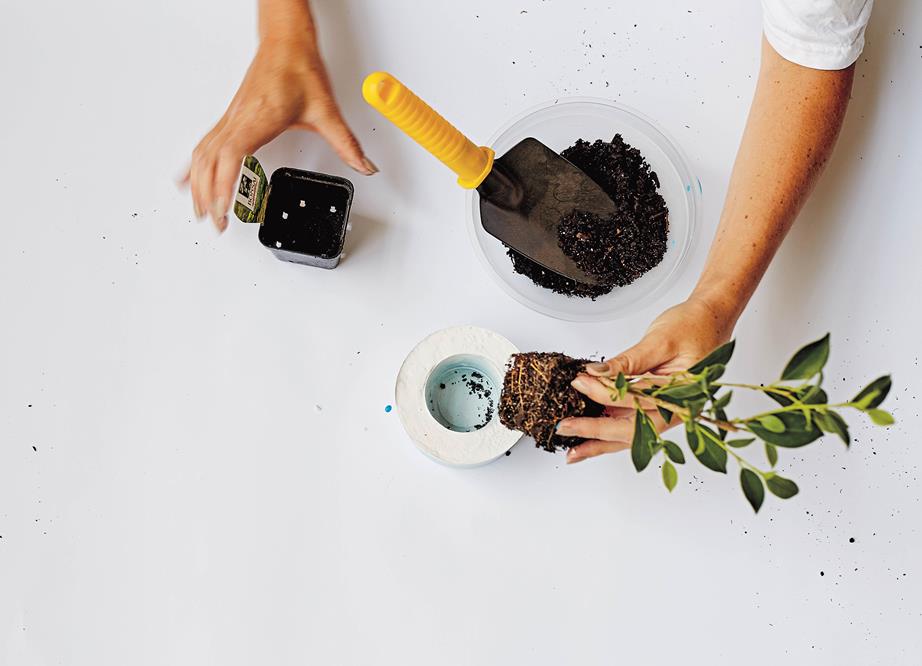
Add potting mix and a plant to your new concrete pot.

This is an edited extract from Sunshine Spaces by Beci Orpin, published by Hardie Grant Books, RRP $39.99. Available in stores nationally.

This post was written by the editors of Homes to Love. For more check out our sister site Homes to Love
More from FIRST
Homeowners Resurfaced Kitchen Cabinet For Less Than $200, But It Looks Like a Million Bucks
The Most Sought After Airbnb Is Right Here in the U.S. — and It’s Not Even a House
10 Dramatic ‘Fixer Upper’ Living Room Transformations That’ll Make You Want to Move to Waco, TX